Total magnification is the eyepiece power multiplied by the objective power, and the numbers engraved on a microscope (4x, 10x, 40x, 100x) are only half of that product. The other half is the eyepiece, and neither number says anything about image clarity. Confusing magnification with resolution leads to poor purchases and poor teaching, because a larger image is not a more detailed one. For deeper optical theory, Nikon MicroscopyU and the Molecular Expressions optical microscopy primer at Florida State University are the standard references.
This article provides a reusable chart, the calculation method, a field of view guide, a resolution check, and a troubleshooting table.
Key Takeaway
-
Total magnification = eyepiece magnification x objective magnification.
-
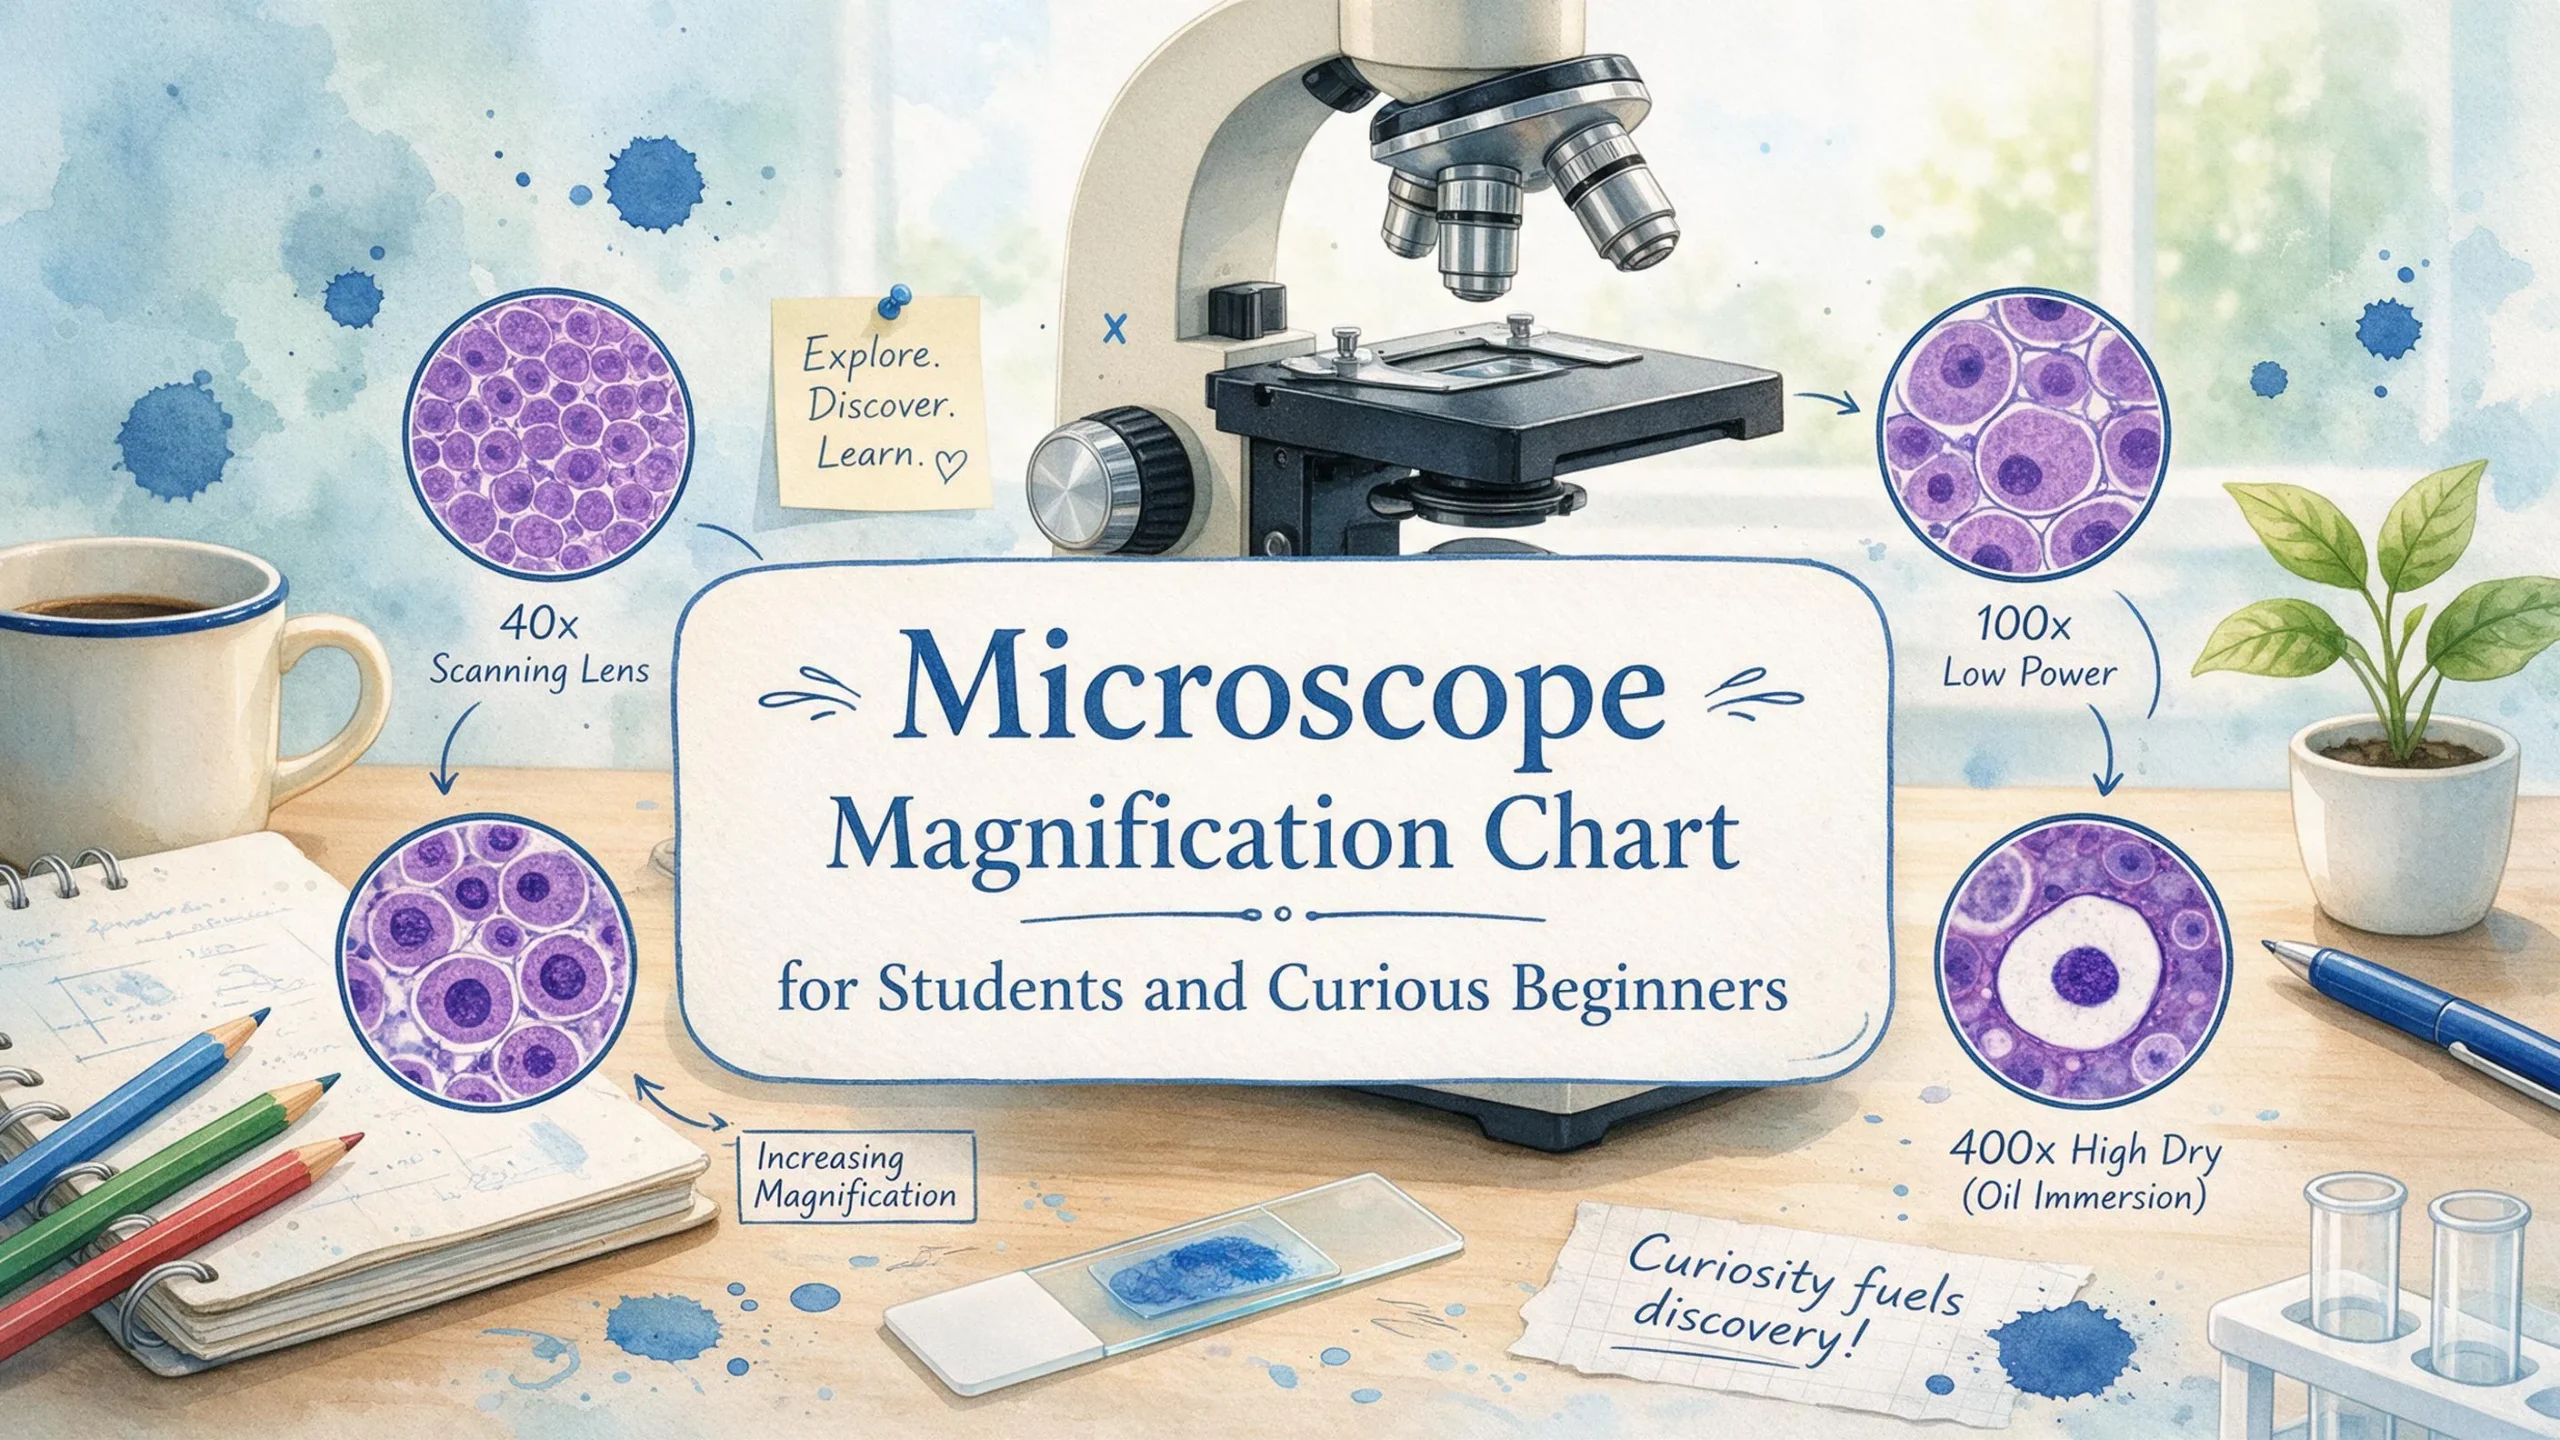
A 10x eyepiece with 4x, 10x, 40x, and 100x objectives gives 40x, 100x, 400x, and 1000x.
-
Higher power narrows the field of view and demands more light and finer focus.
-
Numerical aperture (NA) and wavelength set the real limit of useful detail, not the magnification number.
Before You Use the Chart
-
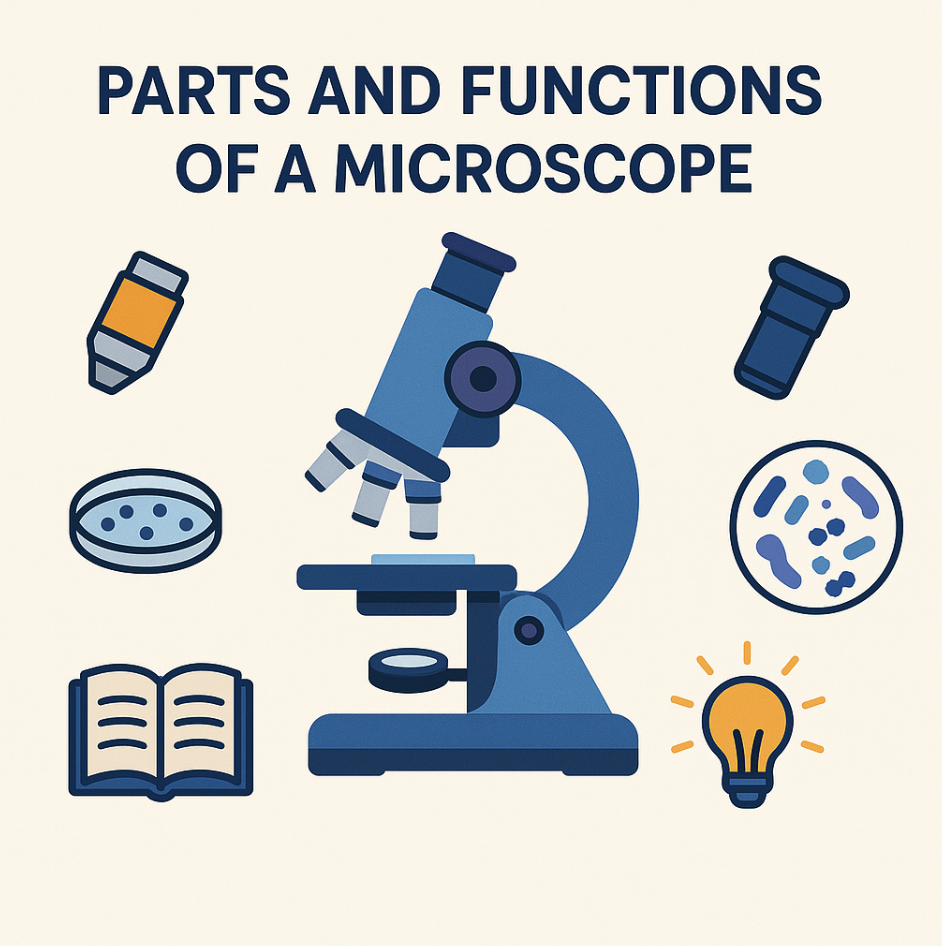
A compound light microscope with a labeled eyepiece and a nosepiece holding several objectives.
-
Familiarity with objective engravings. A marking such as 40/0.65 means 40x magnification and a numerical aperture of 0.65. Additional numbers often indicate tube length and coverslip thickness (for example 160/0.17, where 0.17 is the coverslip thickness in millimeters). Evident Scientific (formerly Olympus) publishes learning resources that explain these markings.
-
Prepared slides, lens paper, and immersion oil if an oil objective is present.
-
A stage micrometer or transparent ruler for measuring field of view.
This article covers visual observation. Camera sensors, projection, and intermediate magnification changers alter the effective magnification and should be checked against the instrument’s documentation.
Microscope Magnification Chart
|
Objective |
Objective power |
Eyepiece |
Total magnification |
Example field of view (FN 18) |
Typical use |
|---|---|---|---|---|---|
|
Scanning |
4x |
10x |
40x |
4.5 mm |
Locating and centering the specimen, tissue layout |
|
Low |
10x |
10x |
100x |
1.8 mm |
Survey of larger structures, small organisms |
|
High (dry) |
40x |
10x |
400x |
0.45 mm |
Cell detail, nuclei, protozoa |
|
Oil immersion |
100x |
10x |
1000x |
0.18 mm |
Bacteria, fine cellular structure |
|
Scanning |
4x |
15x |
60x |
Depends on eyepiece |
As above |
|
Low |
10x |
15x |
150x |
Depends on eyepiece |
As above |
|
High (dry) |
40x |
15x |
600x |
Depends on eyepiece |
As above |
|
Oil immersion |
100x |
15x |
1500x |
Depends on eyepiece |
As above |
Field of view values assume an eyepiece field number (FN) of 18 mm, which is illustrative. Field of view diameter equals the field number divided by the objective magnification. Read the actual FN from your eyepiece or specifications. The calculation method follows the optical principles described in the ZEISS Microscopy Campus tutorials.
Some instruments use 5x or 20x objectives. The same formula applies.
Using the Chart at the Microscope
Step 1: Read the markings
Note the eyepiece value (for example 10x) and the objective value (for example 40x/0.65).
Step 2: Calculate total magnification
10 x 40 = 400x
Step 3: Start with the lowest power
Find and center the specimen at 40x total. At low power the field is wide and the working distance is long, so the specimen is easy to locate and the objective is unlikely to strike the slide.
Step 4: Move up one objective at a time
Most student and laboratory microscopes are parfocal, meaning the image stays roughly in focus when the nosepiece rotates. Use only the fine focus after each change. Adjust the condenser and diaphragm to restore contrast, since more light is needed as magnification rises.
Tip: Never use the coarse focus knob at high power. It moves the objective far enough to damage the slide or the lens.
Step 5: Estimate field of view at higher power
Field of view scales inversely with magnification:
FOV(high) = FOV(low) x (low magnification / high magnification)
Illustrative example: if you measure 1.8 mm at 100x total, the field at 400x is 1.8 mm x (100 / 400) = 0.45 mm, or 450 micrometers.
Step 6: Estimate specimen size
If a cell spans about one tenth of the 450 micrometer field at 400x, it is roughly 45 micrometers long. This estimate is only as good as your measured field, so calibrate with a stage micrometer.
Step 7: Use oil immersion correctly
Apply a small drop of immersion oil only when the 100x oil objective is in position, and only to the slide. Never use oil with dry objectives. Clean the objective and slide with lens paper after use, following the manufacturer’s care guidance. Leica Microsystems science lab articles cover objective specifications and immersion media.
Tip: Record the objective used in every note or sketch. A drawing without its magnification cannot be interpreted later.
Magnification vs. Resolution
Resolution is the smallest separation at which two points are seen as distinct. For a light microscope, the Rayleigh criterion gives the approximate limit:
d = 0.61 x wavelength / NA
The table below assumes green light at 550 nm. NA values are typical for each objective class, and actual values vary by lens design.
|
Objective |
Typical NA |
Approx. resolution (550 nm) |
Useful magnification range (500 to 1000 x NA) |
|---|---|---|---|
|
4x |
0.10 |
3.4 micrometers |
50x to 100x |
|
10x |
0.25 |
1.3 micrometers |
125x to 250x |
|
40x |
0.65 |
0.52 micrometers |
325x to 650x |
|
100x oil |
1.25 |
0.27 micrometers |
625x to 1250x |
The 500 to 1000 times NA guideline is widely cited, including in Nikon MicroscopyU material. Magnification beyond that range is empty magnification: the image gets larger but shows no new detail. The table also shows why a 10x eyepiece on a 10x objective (100x total) sits just below the useful range for that lens, while 400x and 1000x totals fall inside theirs.
The practical ceiling for light microscopy is about 200 nanometers, set by diffraction. This is why electron microscopes, which use much shorter effective wavelengths, are used for finer structures. Background on the resolution limit is available through the NCBI Bookshelf, and the Microscopy Society of America supports the electron microscopy community.
Troubleshooting
|
Symptom |
Likely cause |
Fix |
|---|---|---|
|
Specimen vanishes at higher power |
Not centered at low power, or not refocused |
Return to low power, center, then refocus with fine focus |
|
Dim or low contrast image |
Condenser or diaphragm set incorrectly, lamp too low |
Open the diaphragm gradually, raise lamp intensity, check condenser height |
|
Blurry only at 100x |
No oil, air bubbles, dirty lens, wrong coverslip |
Add oil, remove bubbles, clean the lens, use a 0.17 mm coverslip |
|
Objective touches the slide |
Slide upside down, coverslip too thick, coarse focus used |
Remount the slide, check coverslip, use fine focus only |
|
Dark edges or partial field |
Nosepiece not clicked into place, condenser misaligned |
Reseat the objective, center the condenser |
|
Totals do not match the chart |
Different eyepiece or objective markings, magnification changer, camera adapter |
Verify every marking and optical accessory in the light path |
Practices for Students and Trainers
Teach the formula first. A user who understands multiplication of eyepiece and objective power can work with any microscope, not just the one the chart was written for.
Draw with a scale bar. A scale bar stays accurate when an image is resized, while a magnification statement does not.
Match objective to question. Low power suits tissue layout, high dry power suits cell detail, and oil suits bacteria and fine structure.
Calibrate with a stage micrometer. This is standard practice in teaching and research labs and prevents size estimates from drifting.
For learners, Khan Academy offers free lessons on cell structure and microscopy. Professionals seeking training and community can look to the Royal Microscopical Society.
Final Thoughts
The chart is a quick reference built on one formula. Image quality depends on numerical aperture, illumination, and technique. Save the table, then verify it against the markings on your own instrument. A practical next step is to measure the field of view at each objective with a stage micrometer and write the values beside the chart.
FAQ
What is the formula for total magnification? Eyepiece power multiplied by objective power. A 10x eyepiece with a 40x objective gives 400x.
What is the highest useful magnification of a light microscope? In practice, about 1000x to 1500x. The 500 to 1000 times NA guideline gives roughly 1250x to 1400x for high-NA oil objectives, and diffraction prevents meaningful gains beyond that.
Why does the field of view shrink at higher magnification? The same eyepiece field number is divided by a larger objective power, so a smaller area of the specimen is magnified to fill the view.
What does the second number on an objective mean? It is the numerical aperture, which describes the lens’s light-gathering ability and determines resolution.
Do I always need oil at 100x? Yes, if the objective is an oil immersion lens. It is designed for oil between the lens and the coverslip, and using it dry produces a poor image.
How do light and electron microscopes differ in magnification? Light microscopes top out around 1000x to 1500x in practice. Electron microscopes can reach magnifications of hundreds of thousands of times or more because of their much shorter effective wavelengths. Encyclopaedia Britannica provides historical and conceptual context on both types.