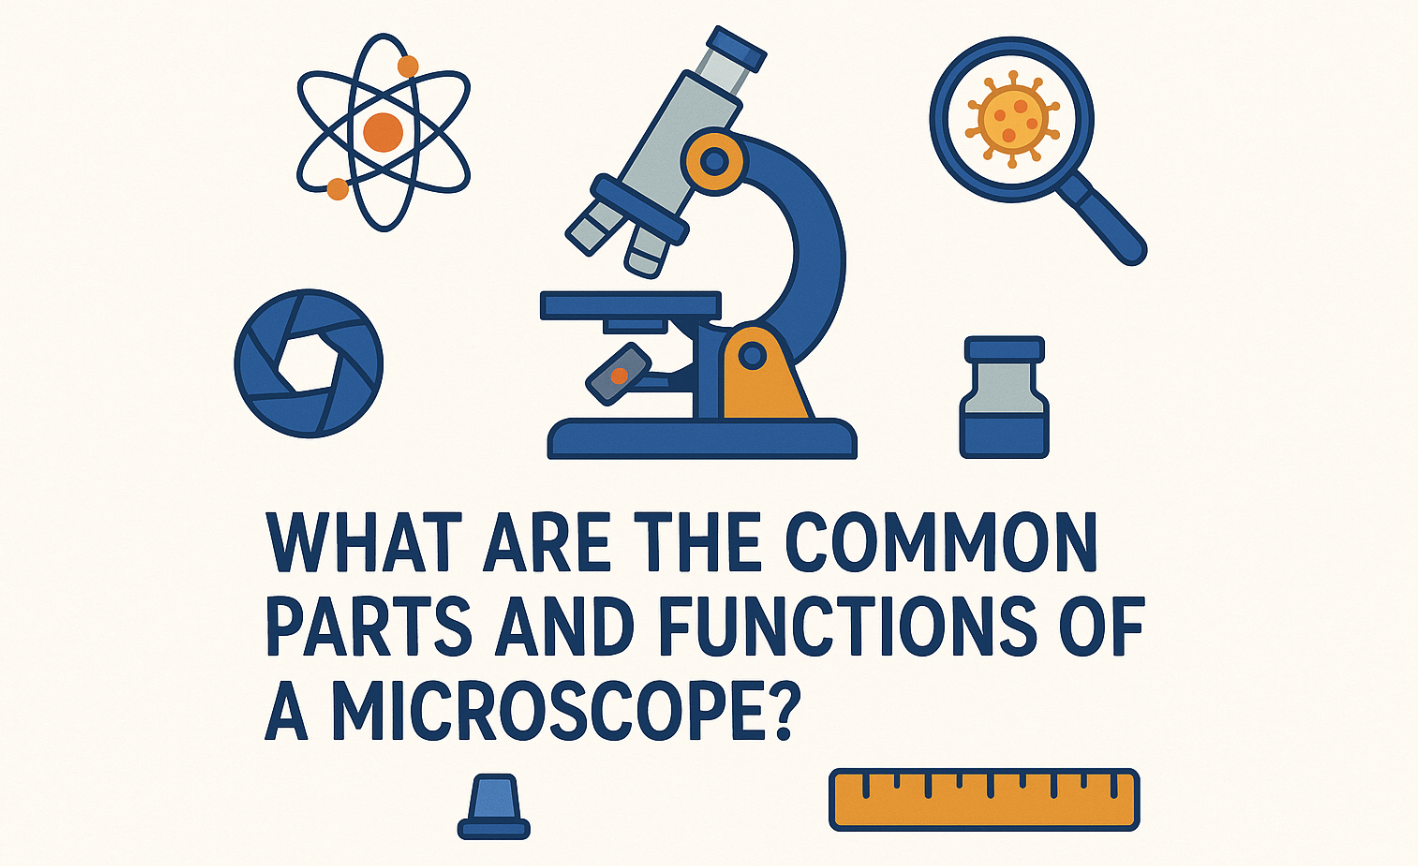
Microscopes have been an essential tool in scientific research for centuries. They allow us to observe and study objects too small to see with the naked eye. To understand how microscopes work and how to use them effectively, it’s beneficial to familiarize yourself with the various parts and functions of a microscope.
In this article, we will not only explore the common parts and functions but also help answer some frequently asked questions surrounding them. Even if you’re a student, scientist, or just curious about microscopy, this knowledge will enhance your exploration and improve your efficiency in using a microscope.
Core Insights |
| Microscopes are essential tools in scientific research |
| Understanding the various components of a microscope is essential for conducting efficient and meaningful scientific exploration. |
| The different parts of a microscope work together to produce clear and magnified images of the specimen. |
Microscope Base
The microscope base is the foundation of the instrument, providing stability and support. The base should be flat and heavy, preventing any movement or vibrations during use. The weight of the base helps keep the microscope steady, especially while adjusting the focus knobs. Microscopes with light bases may cause the instrument to wobble, which can lead to blurry images.
Make sure to place the microscope on a stable surface, such as a table or desk, to further enhance its stability. The base also houses the illuminator, which provides light to observe the specimen. Proper positioning of the base can ensure efficient use of the illuminator. Ensure that the base is kept clean and free of any debris that may affect the instrument’s stability. A clean base will also prevent any accidental damage while moving or storing the microscope.
Microscope Illuminator
The illuminator is a crucial component of the microscope that enables you to view the specimen clearly. The illuminator can be an external source, or it may be built into the microscope. The light source provides the necessary illumination required to observe the specimen. The amount of light can be adjusted by controlling the intensity of the illuminator. Most microscopes are equipped with a variable light source that allows you to adjust the brightness level from low to high depending on the specimen being observed. Want a brighter and cooler light source? Use a dedicated LED illuminator for steady even lighting.
In addition to controlling the intensity of the light, the illuminator also provides contrast to the specimen under view. By adjusting the microscope’s diaphragm, you can regulate the brightness and contrast of the specimen further. This feature is particularly useful when observing samples with low contrast, such as cells or bacteria.
When using the microscope, ensure that the illuminator is positioned correctly for optimal results. A well-positioned illuminator will minimize glare and ensure that the specimen is adequately lit.
Microscope Eyepiece
The eyepiece, also known as the ocular, is a crucial part of the microscope. It is the part where you look through to observe the specimen. The eyepiece contains lenses that magnify the image produced by the objective lenses. It usually has a standard magnification power of 10x. The eyepiece can be adjusted by moving it up or down to change the focus of the image. This adjustment ensures that both your eyes can see the image clearly, making the observation easier and more comfortable. The quality of the eyepiece determines the level of detail and clarity of the image you observe. It is important to use a high-quality eyepiece to obtain accurate and reliable results.
When purchasing an eyepiece, you should consider its magnification power, field of view, and eye relief. The magnification power determines the level of magnification, while the field of view determines the area of the specimen that can be viewed.
Eye relief is the distance between your eye and the eyepiece that provides a clear image without any distortion. Eye relief is an important consideration when buying a microscope for several reasons:
Why Eye Relief is Important? |
|
| Comfort | Adequate eye relief ensures that your eyes are at a comfortable distance from the eyepiece, preventing eyestrain during prolonged use. This is particularly important for individuals who wear glasses, as it allows them to maintain the correct distance between their eyes and the eyepiece. |
| Safety | Maintaining a proper distance from the eyepiece can also reduce the risk of inadvertently touching the lens or damaging the microscope, especially if you need to wear safety goggles or other protective gear while using the microscope. |
| Consistency | Eye relief helps maintain a consistent viewing distance, which is crucial for achieving accurate and reliable observations. Variations in the distance between your eye and the eyepiece can lead to distortion or reduced image quality. |
| Long-Term Use | Microscopes are often used for extended periods in laboratories, research settings, and educational environments. Adequate eye relief makes it more comfortable to use the microscope for extended periods without causing discomfort or fatigue. |
| Compatibility | Depending on your microscope’s design, eyepiece, and your personal preferences, you may need different levels of eye relief. Some microscopes have adjustable eyepieces or eyecups to accommodate different users, ensuring everyone can find a comfortable viewing position. |
If you are looking for a reliable 10x widefield eyepiece? This model is a solid pick for clear views.
Overall, the eyepiece is an important component of the microscope, playing a significant role in producing clear and magnified images. Investing in a high-quality eyepiece will enhance your microscopy experience and enable you to achieve better results. If you need lab rated eye protection these ANSI Z87 goggles fit over glasses.
Microscope Coarse Focus
When using a microscope, it is essential to focus accurately on the specimen to see it clearly. The coarse focus knob is the part that allows you to make significant changes to the focus of the microscope. It is located on the outer part of the microscope and is typically larger than the fine focus knob. By turning the coarse focus knob, you move the stage up and down to bring the specimen into focus. This knob is ideal for bringing the specimen into rough focus quickly.
Once you have the specimen in rough focus, you can then use the fine focus knob to make precise adjustments to the focus. It is important to be gentle when using the coarse focus knob, as rough handling can damage the delicate components inside the microscope. The coarse focus knob is a vital part of the microscope. Without it, the user would find it challenging to bring the specimen into focus. When used correctly, the coarse focus knob can provide a fast and efficient way to focus the microscope, allowing you to spend more time examining the specimen.
Now that you understand the importance of the coarse focus knob, you can use it efficiently to bring your specimens into clear focus.
Microscope Fine Focus
 One of the most important parts of a microscope is the fine focus knob, which is responsible for making small adjustments to the focus of the microscope. It helps you achieve a clearer and sharper image of the specimen, enhancing the quality and accuracy of your observations. This knob is usually smaller and located near the coarse focus knob. When using the fine focus knob, it is essential to make gradual adjustments to avoid over-focusing or under-focusing the specimen. Start with the coarse focus knob to bring the specimen into focus, then use the fine focus knob to refine the image.
Remember that the fine focus knob is used for small adjustments only, and should not be used for large movements. When focusing on a specimen, it is important to keep both eyes open and adjust the interpupillary distance, or the distance between your eyes, for optimal viewing. This will help you observe the specimen more comfortably and accurately.
Overall, the fine focus knob is a critical component of the microscope, allowing you to achieve the best possible view of the specimen. Use it carefully and wisely to enhance your scientific exploration and improve your microscopy skills.
Microscope Tube
The microscope tube is a vital part of the instrument that connects the eyepiece to the objective lenses. The tube houses the lenses that magnify the image and transmit it to the eyepiece. The length of the tube determines the overall magnification of the microscope. When adjusting the focus, the tube moves up and down to maintain the proper distance between the objective lens and the specimen. The tube also prevents any interference or obstruction between the lenses and the light source.
The tube is typically made of metal or plastic and may have marks or labels to indicate the magnification power of each objective lens. It is essential to keep the tube clean and free of any debris or dust that may affect image quality.
Microscope Objective Lenses
The objective lenses are arguably the most critical components of a microscope. They are responsible for magnifying the specimen and producing a clear, crisp image. Microscopes usually come with multiple objective lenses with varying magnification powers, commonly ranging from 4x to 100x. You can switch between these lenses by rotating the turret located above the stage. Each objective lens has a numerical aperture, or NA, that determines its resolving power, or ability to distinguish between two closely placed points. The larger the NA, the higher the lens’s resolving power, making it possible to observe finer details and structures. A standard set of 4x 10x 40x 100x objectives covers most biology work. Here is a ready to use set.
The objective lenses also have different working distances or the distance between the lens and the specimen. Lenses with higher magnification powers have shorter working distances, which means that they must be placed closer to the specimen. When using a microscope, it is recommended to start with the lowest magnification objective lens and work your way up gradually. This ensures that you can locate and focus on the specimen accurately before zooming in for a closer look.
Microscope Stage
The stage is where you place your specimens for observation. It is a flat platform that typically features a glass surface, allowing light to pass through. The stage also includes movable clips or a mechanical stage to secure and adjust the position of your specimen. Using the stage, you can move the specimen up and down or side to side to view different areas. Having a movable stage can be especially helpful when observing a large specimen or when trying to locate a specific area of interest. With the help of the stage, you can adjust the position of the specimen without having to move or reposition the entire microscope. Keep slides steady with simple stainless steel stage clips.
The stage aperture is also a critical component of the microscope stage. The diaphragm, located below the stage, controls the amount of light that passes through the aperture, affecting the brightness and contrast of your specimen. Adjusting the diaphragm can improve the clarity and resolution of your image. For brighter sharper images add an Abbe condenser NA 1.25 with iris control.
Microscope Turret
The turret, also known as the nosepiece, houses the objective lenses of the microscope. This component allows you to switch between different lenses without having to remove and reattach them individually. The turret is typically located above the stage, making it easily accessible for changing lenses while observing the specimen. The objective lenses on the turret have varying magnification powers, such as 4x, 10x, 40x, and 100x. By rotating the turret, you can select the desired magnification for observing the specimen.
Always handle the turret with care to avoid damaging the delicate objective lenses. When rotating the turret, make sure to do it gently to prevent any sudden movements that could harm the lenses or disturb the specimen. Replacing or upgrading the revolving nosepiece? Here is a nosepiece turret adapter for standard objectives.
Microscope Arm
The arm is the curved part of the microscope that connects the base to the tube. It provides support and stability to the microscope. When carrying the microscope, make sure to hold onto the arm to prevent any damage. The arm should be strong and durable to withstand the weight of the microscope and prevent any wobbling or shaking during use.
The microscope arm is typically made of metal or plastic and may have a textured surface to provide a secure grip. It should be positioned in a way that allows for comfortable use and easy access to the various parts of the microscope. When adjusting the focus or switching between lenses, use the arm to hold the microscope steady and avoid any sudden movements that can affect the accuracy of your observations.
The quality and design of the arm can affect the overall usability and durability of the microscope. A well-designed arm will allow for smooth movements and easy adjustments, while also providing adequate support and stability. When selecting a microscope, consider the quality and strength of the arm to ensure reliable and accurate use over time.
Microscope Diaphragm
The diaphragm is an essential component of the microscope that controls the amount of light passing through the stage aperture. By regulating the brightness and contrast of the specimen, you can achieve a clearer and sharper image. The diaphragm is a circular disc located beneath the stage, and it can be adjusted by rotating it. If you need more light to illuminate the specimen, you can rotate the diaphragm to open the aperture wider.
On the other hand, if the image is too bright, you can rotate the diaphragm to decrease the amount of light passing through. It is important to adjust the diaphragm carefully to optimize the quality of the image. Too much light can cause glare or wash out the details of the specimen, while too little light can make the image too dark or blurry.
When examining different specimens, you may need to adjust the diaphragm accordingly to obtain the best image quality. By practicing and experimenting with the diaphragm, you can become more proficient in using the microscope and achieving accurate and precise results.
Iris condenser reminder: An Abbe condenser with iris helps you dial in contrast and resolution.
Adjustable diaphragm – You can also use an adjustable diaphragm unit to fine tune light throughput.
Now that you are familiar with the different parts and functions of a microscope, you can optimize your microscopy experience. By understanding how each part works, you can efficiently and meaningfully explore the microscopic world. Remember to always handle the microscope with care, holding onto the arm when carrying it to prevent any damage. With this knowledge, you can enhance your scientific exploration and improve your efficiency in using a microscope.
Thank you for reading this article on microscope parts and functions, and we hope it has been informative and helpful for you.