
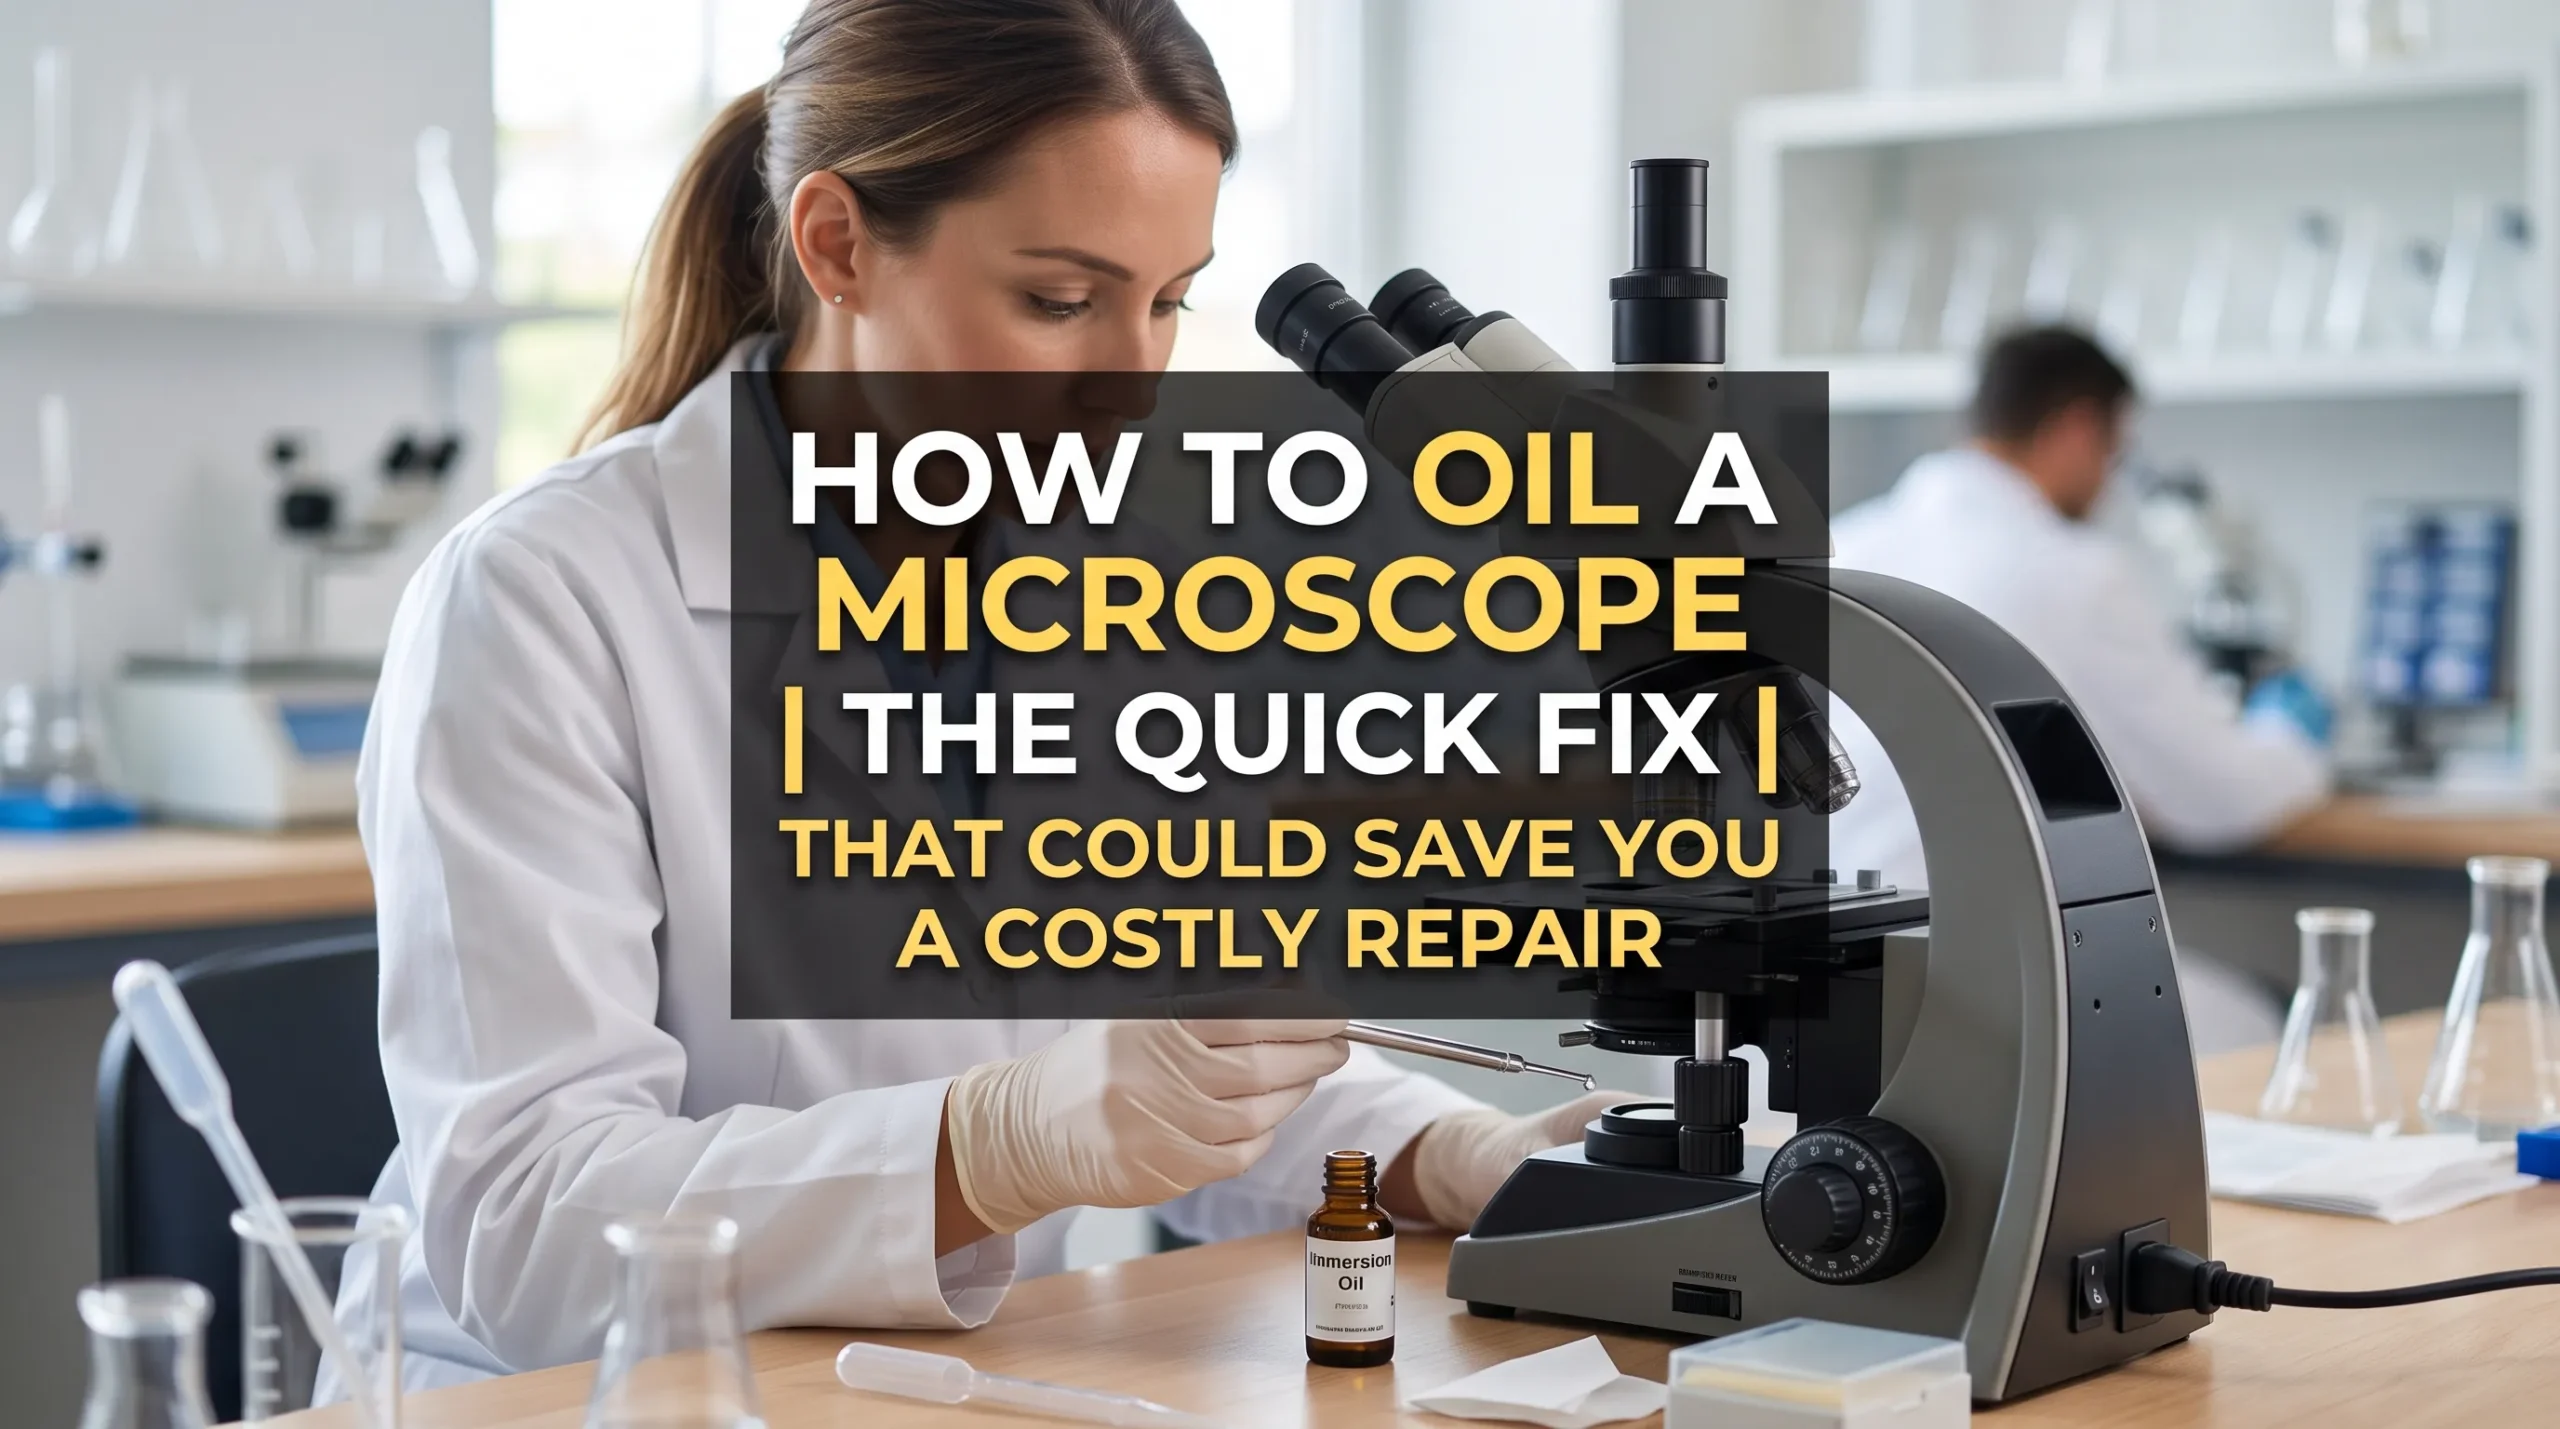
High-NA oil-immersion objectives only deliver the resolution you paid for when a continuous optical path replaces the air gap between cover glass and front lens. Leave that gap in place and the image softens; crank the focus harder to “fix” it and you start loading mechanical parts that were never meant to grind through dried residue. That is how a five-minute habit turns into a seized nosepiece, solvent-etched coatings, or fungus blooming under a haze of neglected oil, often at invoice levels that make a shared centrifuge failure look charming by comparison.
Skipping immersion-oil care is the lab equivalent of never changing the oil in that centrifuge and then acting surprised when it screams at 3 p.m. on a STAT run. The fix is not heroic. It is a fast, correct oiling and cleanup routine that protects optics and budgets.
For optical-coupling fundamentals, see Nikon MicroscopyU’s oil-immersion overview and Olympus guidance on objective care.
Key Takeaway
Use only designated microscope immersion oil matched to the objective’s refractive-index specification. Never substitute mineral oil, cedarwood oil (unless the objective and lab policy explicitly allow a legacy formulation), or anything from the break room.
Apply one small drop, engage the lens carefully, and clean thoroughly after every session before the oil can polymerize.
Wrong solvent, excess oil, or oil left on a dry objective is how repairs happen.
If the mechanism already feels gritty or the lens coating looks etched, stop and schedule service instead of forcing more oil.
Prerequisites
Have the following on the bench before any oil touches glass:
- Manufacturer-approved immersion oil (commonly (n_D \approx 1.515) for standard brightfield oil objectives; check the barrel and the manual)
- Lint-free lens paper or vendor-approved wipes
- Approved lens cleaner or the solvent named in the scope manual (many labs have moved to xylene alternatives; follow the manual, not folklore)
- Disposable gloves
- Soft brush or bulb air blower
- The microscope’s user manual and your lab’s chemical-hygiene plan
Confirm the objective is actually oil immersion (typically 100×, marked Oil, HI, or similar). Confirm whether the condenser must also be oiled to reach the system’s rated NA. Power the instrument down or leave it in a safe idle state, clear the stage of samples you cannot afford to ruin, and knock dust off the work area with the blower, not your sleeve.
This routine is appropriate for trained lab staff. It is not a substitute for authorized service when gears already bind.
Keep Zeiss objective cleaning guidance and Leica’s optics maintenance notes handy, and pull the MSDS for your exact oil lot from the supplier (for example, a current Thermo Fisher immersion-oil product page and its linked safety data) before you invent a cleanup chemistry.
Step-by-Step Instructions
Step 1: Identify and prepare the oil-immersion objective
Rotate the oil objective into the working position without fingerprinting the front element. Inspect under oblique light for crusted rings of old oil at the bezel. A simple mental diagram helps: nosepiece turret, barrel markings (100× / 1.30 Oil or similar), and the tiny front lens that must never meet the slide bare.
If residue is present, clean before you add fresh oil.
Step 2: Clean any old oil first
Blow loose dust. Then wipe with fresh lens paper moistened with the approved cleaner, one pass per sheet, center outward. Reusing a wipe redeposits sludge in a tidy spiral. Core facilities publish usable SOPs for this; the UC Berkeley microscopy resources on cleaning optics and similar university core cleaning procedures are worth bookmarking so your bench practice matches something peer-reviewed by people who repair these instruments for a living.
Step 3: Place the slide and find focus dry
Start at low or mid power, focus, center the field, then swing the oil objective into place without yet forming an oil contact. You want the geometry right before you commit fluid.
Step 4: Apply one small drop
Place a single drop of immersion oil on the cover glass over the field of interest. Pinhead-sized, not a puddle. If your method requires condenser oiling for full NA, add a drop to the condenser top lens with the same restraint. Excess oil migrates into the nosepiece threads and turns tomorrow’s focus knob into a archaeology project.
Step 5: Make contact and fine-focus
Slowly raise the stage or lower the objective until the oil bridges and forms a continuous meniscus. Fine-focus only after contact. If you hear crunching, you have already lost the argument with physics; back off and inspect for a jammed slide, wrong working distance, or a dry objective driven into the cover glass.
Step 6: Observe and finish the work
Collect the images or counts you came for. Avoid racking the oil objective up and down through the film repeatedly. Every unnecessary break of the meniscus invites bubbles and smears.
Step 7: Clean immediately
Lower the stage, remove the slide, and clean the objective front lens, the condenser if oiled, and any stage clips or surfaces that picked up transfer. Inspect under oblique light until the glass shows no smear. Coverslip thickness and optics practice matter here: many high-NA oil objectives assume a No. 1.5 cover glass (~0.17 mm). Wrong glass plus wrong oil viscosity produces drift, shear, and soft contrast that no amount of fine-focus will save.
Step 8: Close out
Recap the oil bottle, dispose of wipes under your lab’s solvent and solid-waste rules, and log the session if your QA system requires it. For solvent handling expectations, align with institutional policy and a clear reference such as OSHA laboratory safety guidance.
Reference points (verify against your manuals)
| Parameter | Typical target or rule | Why it matters | Primary references |
|---|---|---|---|
| Immersion oil refractive index | Often (n_D \approx 1.515) at 23 °C for standard oil objectives | Matches cover glass and lens design for rated NA and resolution | Olympus, Nikon, Zeiss, Leica objective manuals |
| Objective markings | Oil, HI, Imm, plus NA (e.g., 1.30) | Confirms the lens is not a dry or water-immersion optic | Barrel engraving; vendor objective catalogs |
| Approved fluid | Vendor immersion oil specified for that objective series | Wrong index or fluorescence background ruins data and coatings | Manufacturer oil IFU; product MSDS |
| Prohibited improvisations | Cooking oil, mineral oil, generic “lens oil,” random bench solvents | Residue, swelling of cements, coating attack | Vendor care guides; core facility SOPs |
| Cover glass | Frequently No. 1.5 (0.17 mm) unless objective says otherwise | Spherical aberration control at high NA | MicroscopyU coverslip notes; objective datasheet |
| Cleanup timing | After every immersion session | Prevents polymerization and nosepiece migration | Zeiss/Leica cleaning guides; institutional SOP |
Treat the table as a orientation aid. The engraved objective specs and the manual shipped with your stand remain the authority when house habit and vendor text disagree.
Troubleshooting
Cloudy or “swimming” image. Usually bubbles or too little oil. Back off contact, add a tiny drop, or clean and reapply. Do not keep spinning the fine focus hoping turbulence becomes science.
Sudden stiffness in focus or nosepiece. Dried oil has likely migrated. Do not force gears. Clean externally accessible surfaces only, then call service if resistance remains. Manufacturer troubleshooting PDFs exist for a reason; use them instead of a screwdriver.
Rainbow film or smeared haze after cleaning. Wrong solvent or a reused wipe. Switch to the vendor-approved cleaner and fresh lens paper. Zeiss and Leica both stress gentle, repeated dry and moist wipes rather than soaking the mount.
Oil on a dry objective by mistake. Clean immediately per the manual. Overnight “I will get it tomorrow” is how cement softens and dust becomes permanent glitter.
Image drift or shear. Check cover-glass thickness and oil type. Viscosity and index mismatches show up as restless specimens and soft edges long before anyone admits the wrong bottle was open.
Tips and Best Practices
Buy oil in bottle sizes your lab will finish before it oxidizes on the shelf. Date the bottle when opened. Never mix brands on the same lens in one session without a full clean between them; additive packages are not a tasting flight.
Train every new user once on this scope, with this oil, under this SOP. Most destroyed front lenses are social failures, not optical mysteries. Keep a dedicated oiling kit (oil, paper, approved cleaner, bulbs, gloves) next to the instrument so nobody “borrows” acetone from the chemistry bench. On high-use teaching or clinical stands, add a two-minute end-of-day wipe check.
Glove note: Wear gloves when handling oil and solvent, then remove them before you touch keyboards, focus knobs you just cleaned, or the one pristine eyepiece someone else owns emotionally.
Cover-glass note: Stock No. 1.5 as default unless the objective datasheet says otherwise. High NA is unforgiving about optical path length.
Condenser oiling note: Oil the condenser only when you truly need the full NA the system is rated for. Many workflows stay cleaner, and faster to tear down, with objective oil alone.
Clinical and shared-lab hygiene culture matters as much as optics. Resources from groups such as ASCP on instrument care and professional accountability pair well with a second core-facility guide and vendor technique videos when you write or refresh the local SOP.
Final Thoughts
Correct oiling is minutes of discipline versus weeks of downtime and budget drama. Pair the routine with written SOP ownership so the jokes stay jokes and the objectives stay clear. When house tradition and the manufacturer manual disagree, the manual wins.
FAQ
Can I use cedarwood oil?
Only if the objective and lab policy explicitly allow legacy formulations. Most modern scopes and fluorescence workflows expect synthetic immersion oil with a controlled index and low autofluorescence.
How often should oil be cleaned off?
After every session, without exception. Polymerized oil is not a personality trait you want the nosepiece to develop.
Is condenser oiling mandatory?
Only when you need the full NA the system is rated for. Otherwise many protocols stay cleaner with objective oil alone.
What if oil hardened on the threads?
Stop DIY disassembly. Escalate to qualified service before you convert a cleaning bill into a turret replacement.
Does brand of oil matter?
Yes. Match refractive index, temperature rating, and fluorescence specs to the application and vendor guidance. Mix-and-match bottles are how background haze and coating complaints are born.
Where should our lab standardize documentation?
Start with the stand’s manual, then align cleaning details to Olympus objective care, Nikon MicroscopyU immersion basics, Zeiss cleaning guidance, Leica optics maintenance, your chosen university core SOPs, the oil manufacturer’s IFU/MSDS, solvent safety policy, coverslip practice notes, and a professional society instrument-care resource so training is consistent when staff rotate.