Why Squinting Through an Eyepiece Is So Last Century
If your lab’s current inspection workflow involves one person hunched over an eyepiece while four colleagues wait their turn and ask “what am I even looking at,” you have discovered the single biggest bottleneck in microscopy work that nobody talks about. It is the scientific equivalent of hoarding the TV remote: technically fair, practically infuriating. QA inspectors squint at solder joints and then try to describe them verbally to a supervisor who cannot see what they see. Pathology instructors narrate slide features to a room of students who are nodding along without any idea what a “reactive lymphocyte” actually looks like.
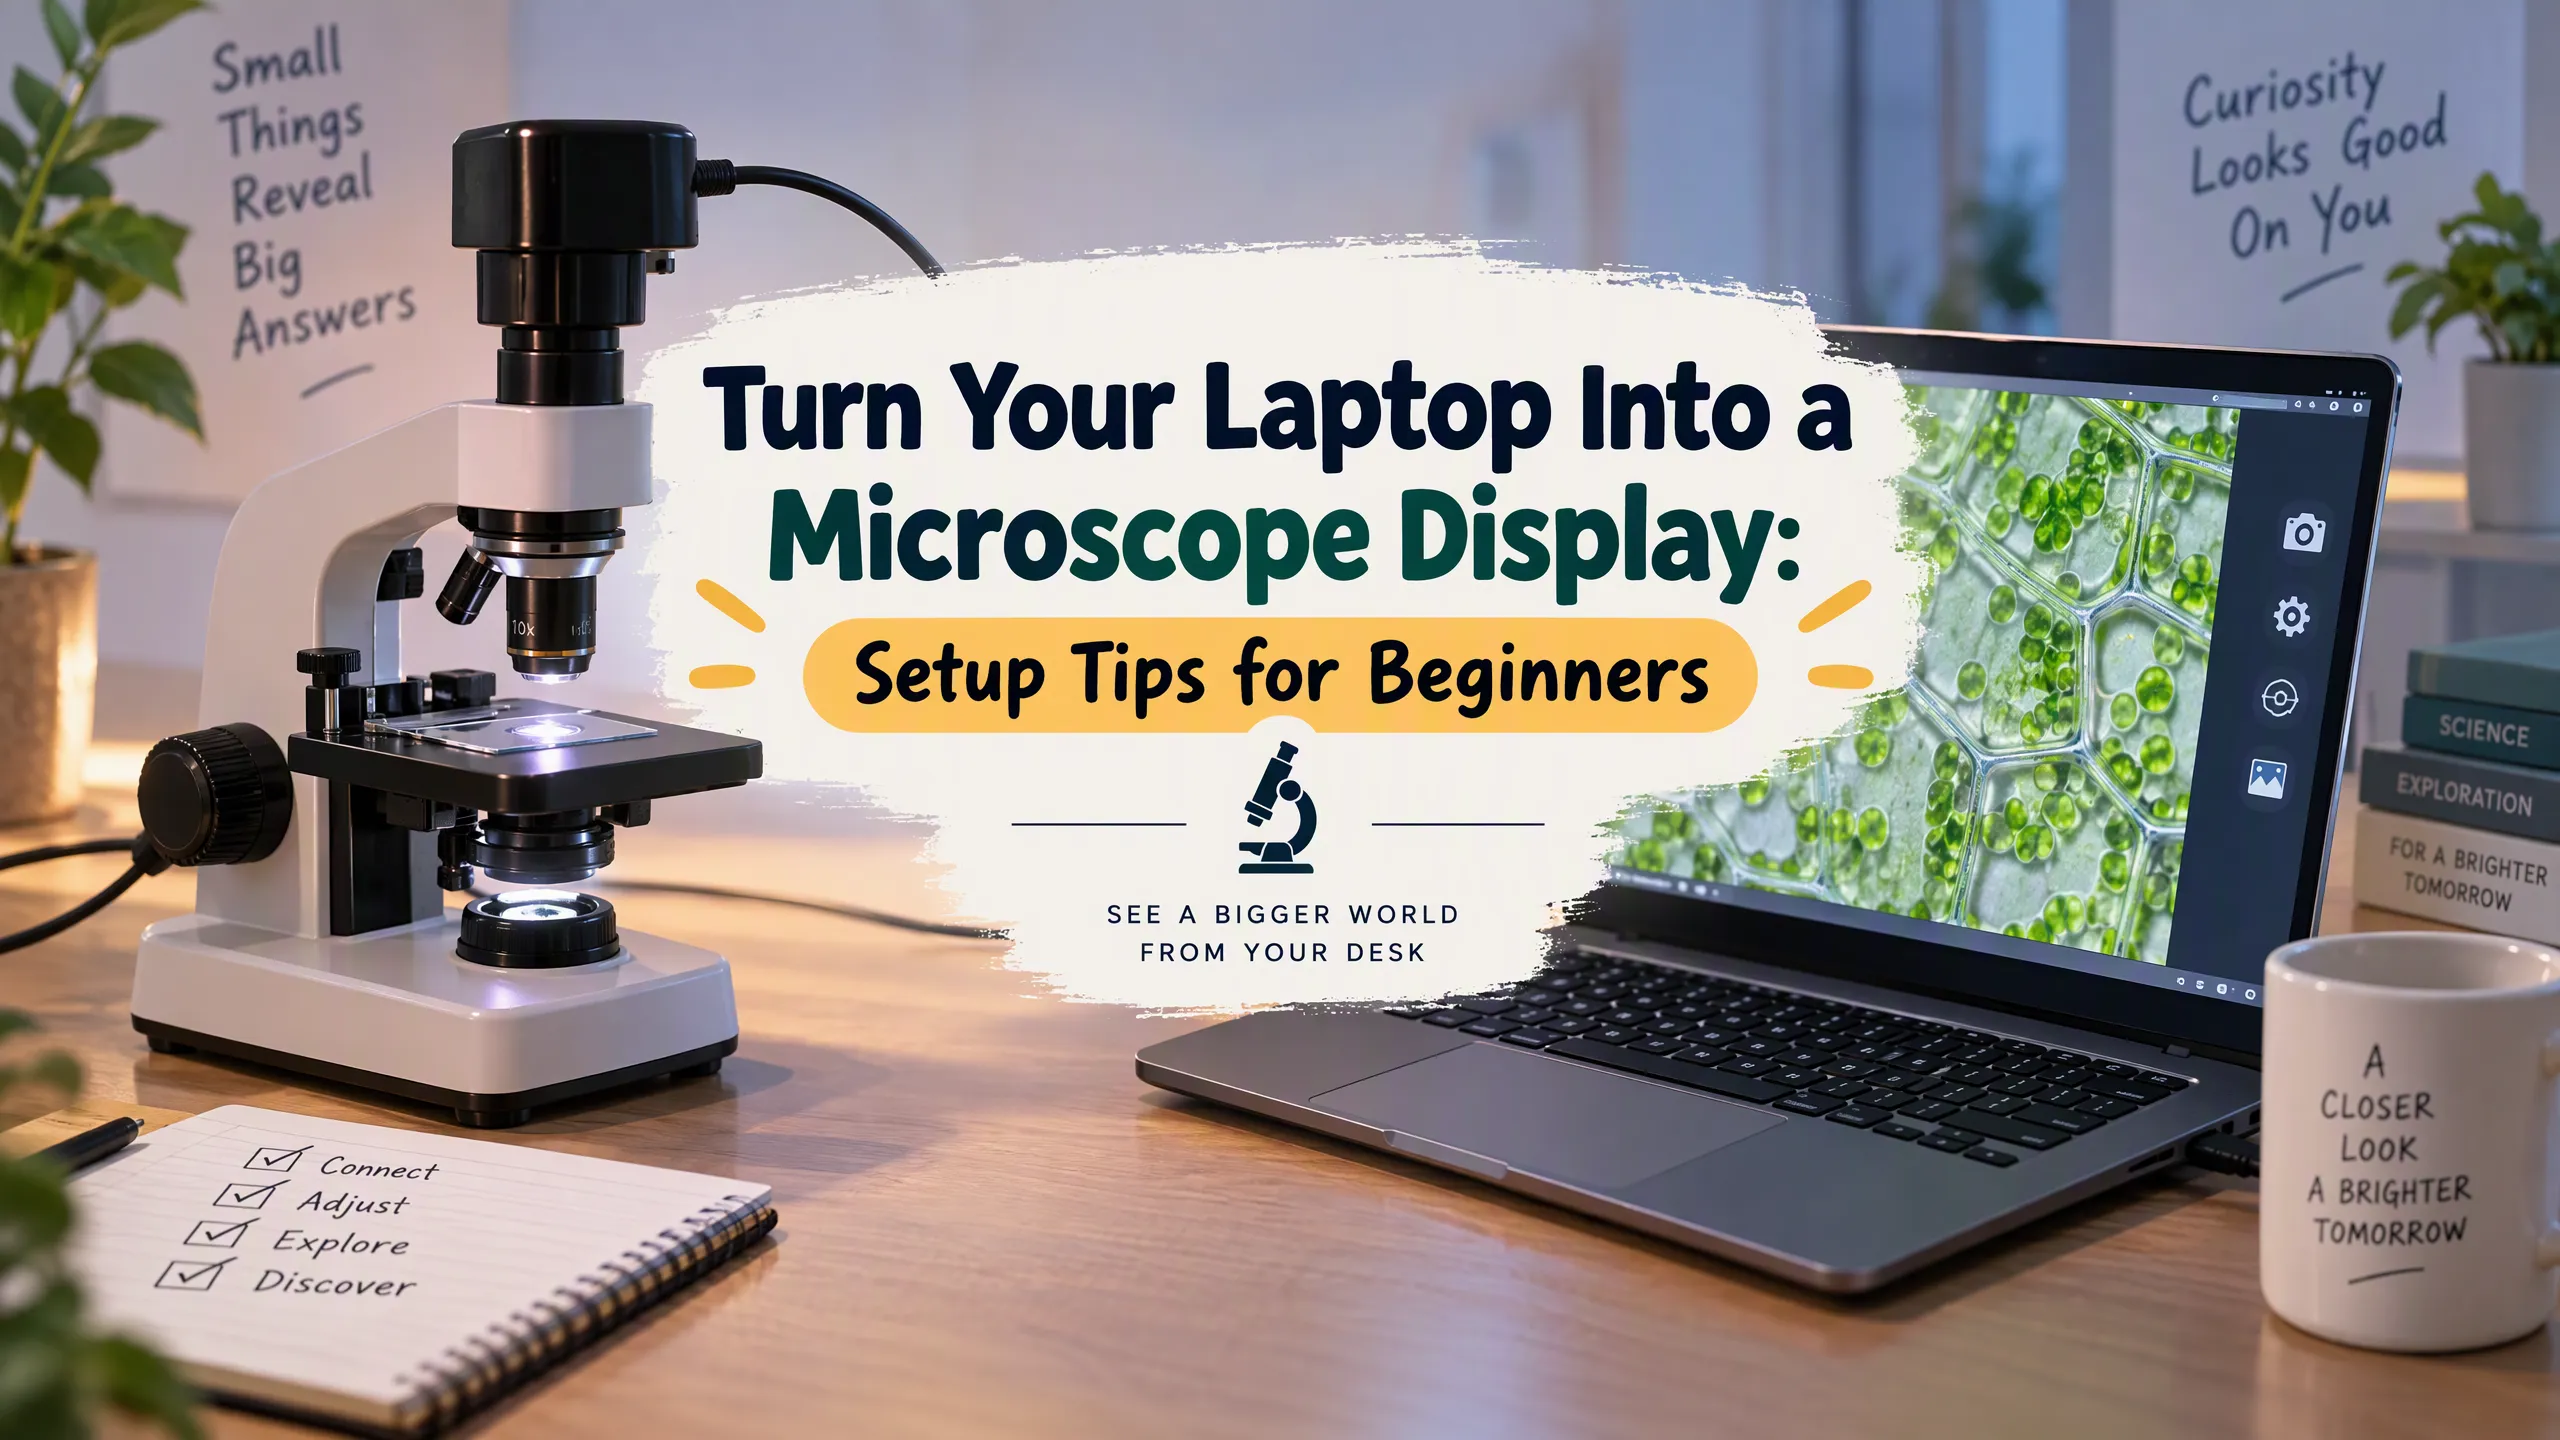
Electronics repair techs photograph their eyepiece view with a phone, at an angle, through glass, producing documentation that looks like a crime scene photo from 1987. None of this is necessary anymore. Piping your microscope’s image to a laptop screen solves all of it at once. Everyone sees the same feed, screenshots happen with a keystroke instead of a phone held at a weird angle, and remote reviewers can join a video call and actually participate.
This guide covers both routes to get there: adding a USB camera adapter to a traditional optical microscope, and using a microscope with a built-in digital camera that outputs directly to HDMI or USB. Neither requires an IT department, though you may want to thank IT anyway, because deep down they will be glad you stopped using your phone as a camera stand.
Key Takeaway
- You need four things working together: a compatible camera or adapter, the correct drivers, imaging software, and a stable USB or HDMI connection. Skip one and the rest doesn’t matter.
- The overwhelming majority of setup failures are driver mismatches, not broken hardware. Before you assume your $3,000 camera is dead, check whether you installed the 32-bit driver on a 64-bit system.
- Once configured correctly, the setup supports live viewing for groups, still image capture for reports, video recording for training material, and screen sharing for remote consultations, all from the same laptop you already own.
Prerequisites
Before touching a single cable, confirm you have:
- A microscope with a camera port, trinocular head, or a built-in digital camera. Binocular-only scopes need a port conversion, which is a bigger project than this article.
- A USB 2.0/3.0 camera adapter, or an HDMI output module if your microscope is a digital model rather than an optical one with a bolted-on camera.
- A laptop that actually meets the minimum specs: an available USB port, enough RAM to not choke on live video, and an operating system that has been updated sometime this decade.
- The manufacturer’s driver and imaging software, downloaded directly from the source rather than whatever disc shipped in the box eight years ago. Check the manufacturer’s support page before assuming the installer CD still works.
- Optional but recommended capture software. OBS Studio handles recording and screen sharing well, while microscope-specific tools like AmScope’s software suite or Celestron’s imaging software are built for still capture and measurement overlays.
- A stable surface and decent lighting. This is lab equipment, not a séance; ambient light matters more than people expect.
Step-by-Step Instructions
Step 1: Identify Your Microscope’s Output Type
Before buying anything, figure out what you’re actually working with. Optical microscopes typically need a USB camera adapter inserted into the trinocular port or eyepiece tube. Digital microscopes often have HDMI or USB output built in already. Older analog setups exist too, and if you have one, prepare for a short detour through a video capture dongle. A solid buying guide for microscope camera adapters will walk you through sensor size and port compatibility before you spend money on the wrong part.
Step 2: Install the Camera or Adapter
If your microscope has a trinocular head, the camera adapter slides into the vertical port and locks with a thumbscrew, not brute force. Alignment matters: a crooked adapter produces a vignetted image that looks like you’re viewing your sample through a keyhole. If you’re doing this for the first time, an installation walkthrough video saves far more time than guessing from a printed diagram that was clearly translated twice.
Step 3: Install Drivers and Software
This is where most setups die quietly. Download the driver from the manufacturer’s actual driver repository, not a third-party download site that also wants to install a toolbar. Match the driver architecture to your operating system: 64-bit Windows needs the 64-bit driver, and installing the 32-bit version will produce an error message that tells you almost nothing useful. Restart the laptop after installation. Yes, actually restart it.
Step 4: Connect to the Laptop
For USB cameras, plug directly into the laptop rather than through an unpowered hub, which frequently cannot supply enough current for the camera sensor. On Windows, open Device Manager and confirm the camera appears under “Imaging Devices” without a yellow warning triangle; a triangle means the driver didn’t install correctly, not that the universe hates you specifically. On a Mac, check System Information under the USB section to confirm the device is recognized before opening any capture software. For HDMI-output microscopes, connect to the laptop’s HDMI input if it has one, or use a capture card if it doesn’t, since most laptops only have HDMI output, not input.
Step 5: Configure Display and Resolution Settings
Open your capture software and set resolution and frame rate before you start panicking about image quality. Higher resolution looks great until your laptop’s processor starts treating live video like a personal insult, so find the setting where image quality and frame rate don’t fight each other. Color calibration matters more than people assume; a quick pass through a white balance and color calibration guide fixes the sickly green tint that makes every sample look like it’s radioactive.
Step 6: Test Live View and Capture an Image
Confirm the live feed is smooth, then capture a still image to check focus and color accuracy. If you need to annotate images with measurements or labels for a report, tools like ImageJ are standard in research and QA settings and are free, which is always a nice surprise in lab equipment procurement.
Comparison Table: Connection Methods and Software Options
| Connection Type | Typical Latency | Max Resolution | Best For | Source |
|---|---|---|---|---|
| USB 2.0 adapter | 80 to 150 ms | 1.3 to 5 MP | Basic inspection, education | USB.org specifications |
| USB 3.0 adapter | 20 to 50 ms | Up to 18 MP | QA inspection, detailed documentation | AmScope camera specs |
| HDMI digital microscope | 30 to 60 ms | 1080p to 4K | Group training, live demonstrations | Celestron digital microscope specs |
| Built-in Wi-Fi microscope camera | 150 to 300 ms | Up to 1080p | Field use, portable setups | Dino-Lite product documentation |
Real-world performance varies with laptop processing power, USB port generation, and whether three other devices are fighting for the same bandwidth. Treat these numbers as a starting point, not a guarantee.
Troubleshooting
No signal or black screen: Check that the cable is fully seated, confirm the software is pointed at the correct input source, and verify the driver actually installed rather than silently failing. A driver troubleshooting forum thread is often faster than official support for oddly specific error codes.
Laggy or frozen video: Lower the resolution or frame rate first. Close other USB-connected devices competing for bandwidth, especially other cameras or external drives.
Color distortion or washed-out image: Recalibrate white balance inside the software rather than adjusting monitor brightness, which just hides the problem instead of fixing it.
Software crashes on launch: Verify the software version is actually compatible with your OS version using the manufacturer’s compatibility matrix before assuming your laptop is cursed.
Driver conflicts after a Windows update: This happens more often than it should. Reinstall the latest driver from the manufacturer’s site; Windows updates have a habit of quietly reverting or breaking device drivers without asking permission.
Tips and Best Practices
Always use the manufacturer’s current driver, not the one on the installation CD from 2016. That disc has seen things. Let it rest.
Label and coil your cables. The “mystery unplug” where someone’s foot disconnects the camera mid-inspection is a rite of passage nobody needs to repeat twice.
Clean lenses and sensors periodically; dust on the sensor looks identical to a sample defect and will cause genuine confusion during QA reviews. A lens cleaning best-practices guide keeps image quality consistent over time. Save your software configuration as a named profile so switching between projects doesn’t mean rebuilding settings from scratch every morning. And position the laptop screen at eye level rather than flat on the bench; nobody’s neck was designed for six hours of looking downward at a microscope feed.
Final Thoughts
The payoff here isn’t flashy, but it’s real: shared visibility during inspections, documentation that doesn’t require describing a defect out loud like a sports commentator, and noticeably less eye strain by the end of a shift. Once the setup is stable, it’s worth spending an afternoon learning your capture software’s recording and annotation features, since a two-minute screen recording often explains a defect faster than a paragraph in a report ever could.
Retiring the single-person eyepiece scramble is a small change that quietly improves nearly every part of the workflow around it. Your eyepiece will miss the attention. It will get over it.
FAQ Section
Can I use any laptop with any microscope camera? No. Compatibility depends on the camera’s driver support for your operating system, available USB port generation, and whether your laptop has enough processing power to handle live video without stuttering.
Do I need special software, or will the Windows Camera app work? The built-in Camera app can display basic live video from a compatible USB camera, but it lacks resolution control, calibration tools, and measurement overlays, so most professional use cases still need dedicated microscope software.
Why is my video choppy over USB? Usually a bandwidth or driver issue. See the troubleshooting section above, lower the resolution first, and make sure nothing else is competing for USB bandwidth.
Can I record video, not just take still photos? Yes. Most microscope software suites support video recording, and OBS Studio works well for recording or streaming a live feed, which is useful for training sessions or remote consultations.
Is a Wi-Fi connection reliable for lab use? It’s convenient for portability but introduces more latency than a wired USB or HDMI connection, which matters if you’re doing precise, time-sensitive inspection work rather than casual viewing.