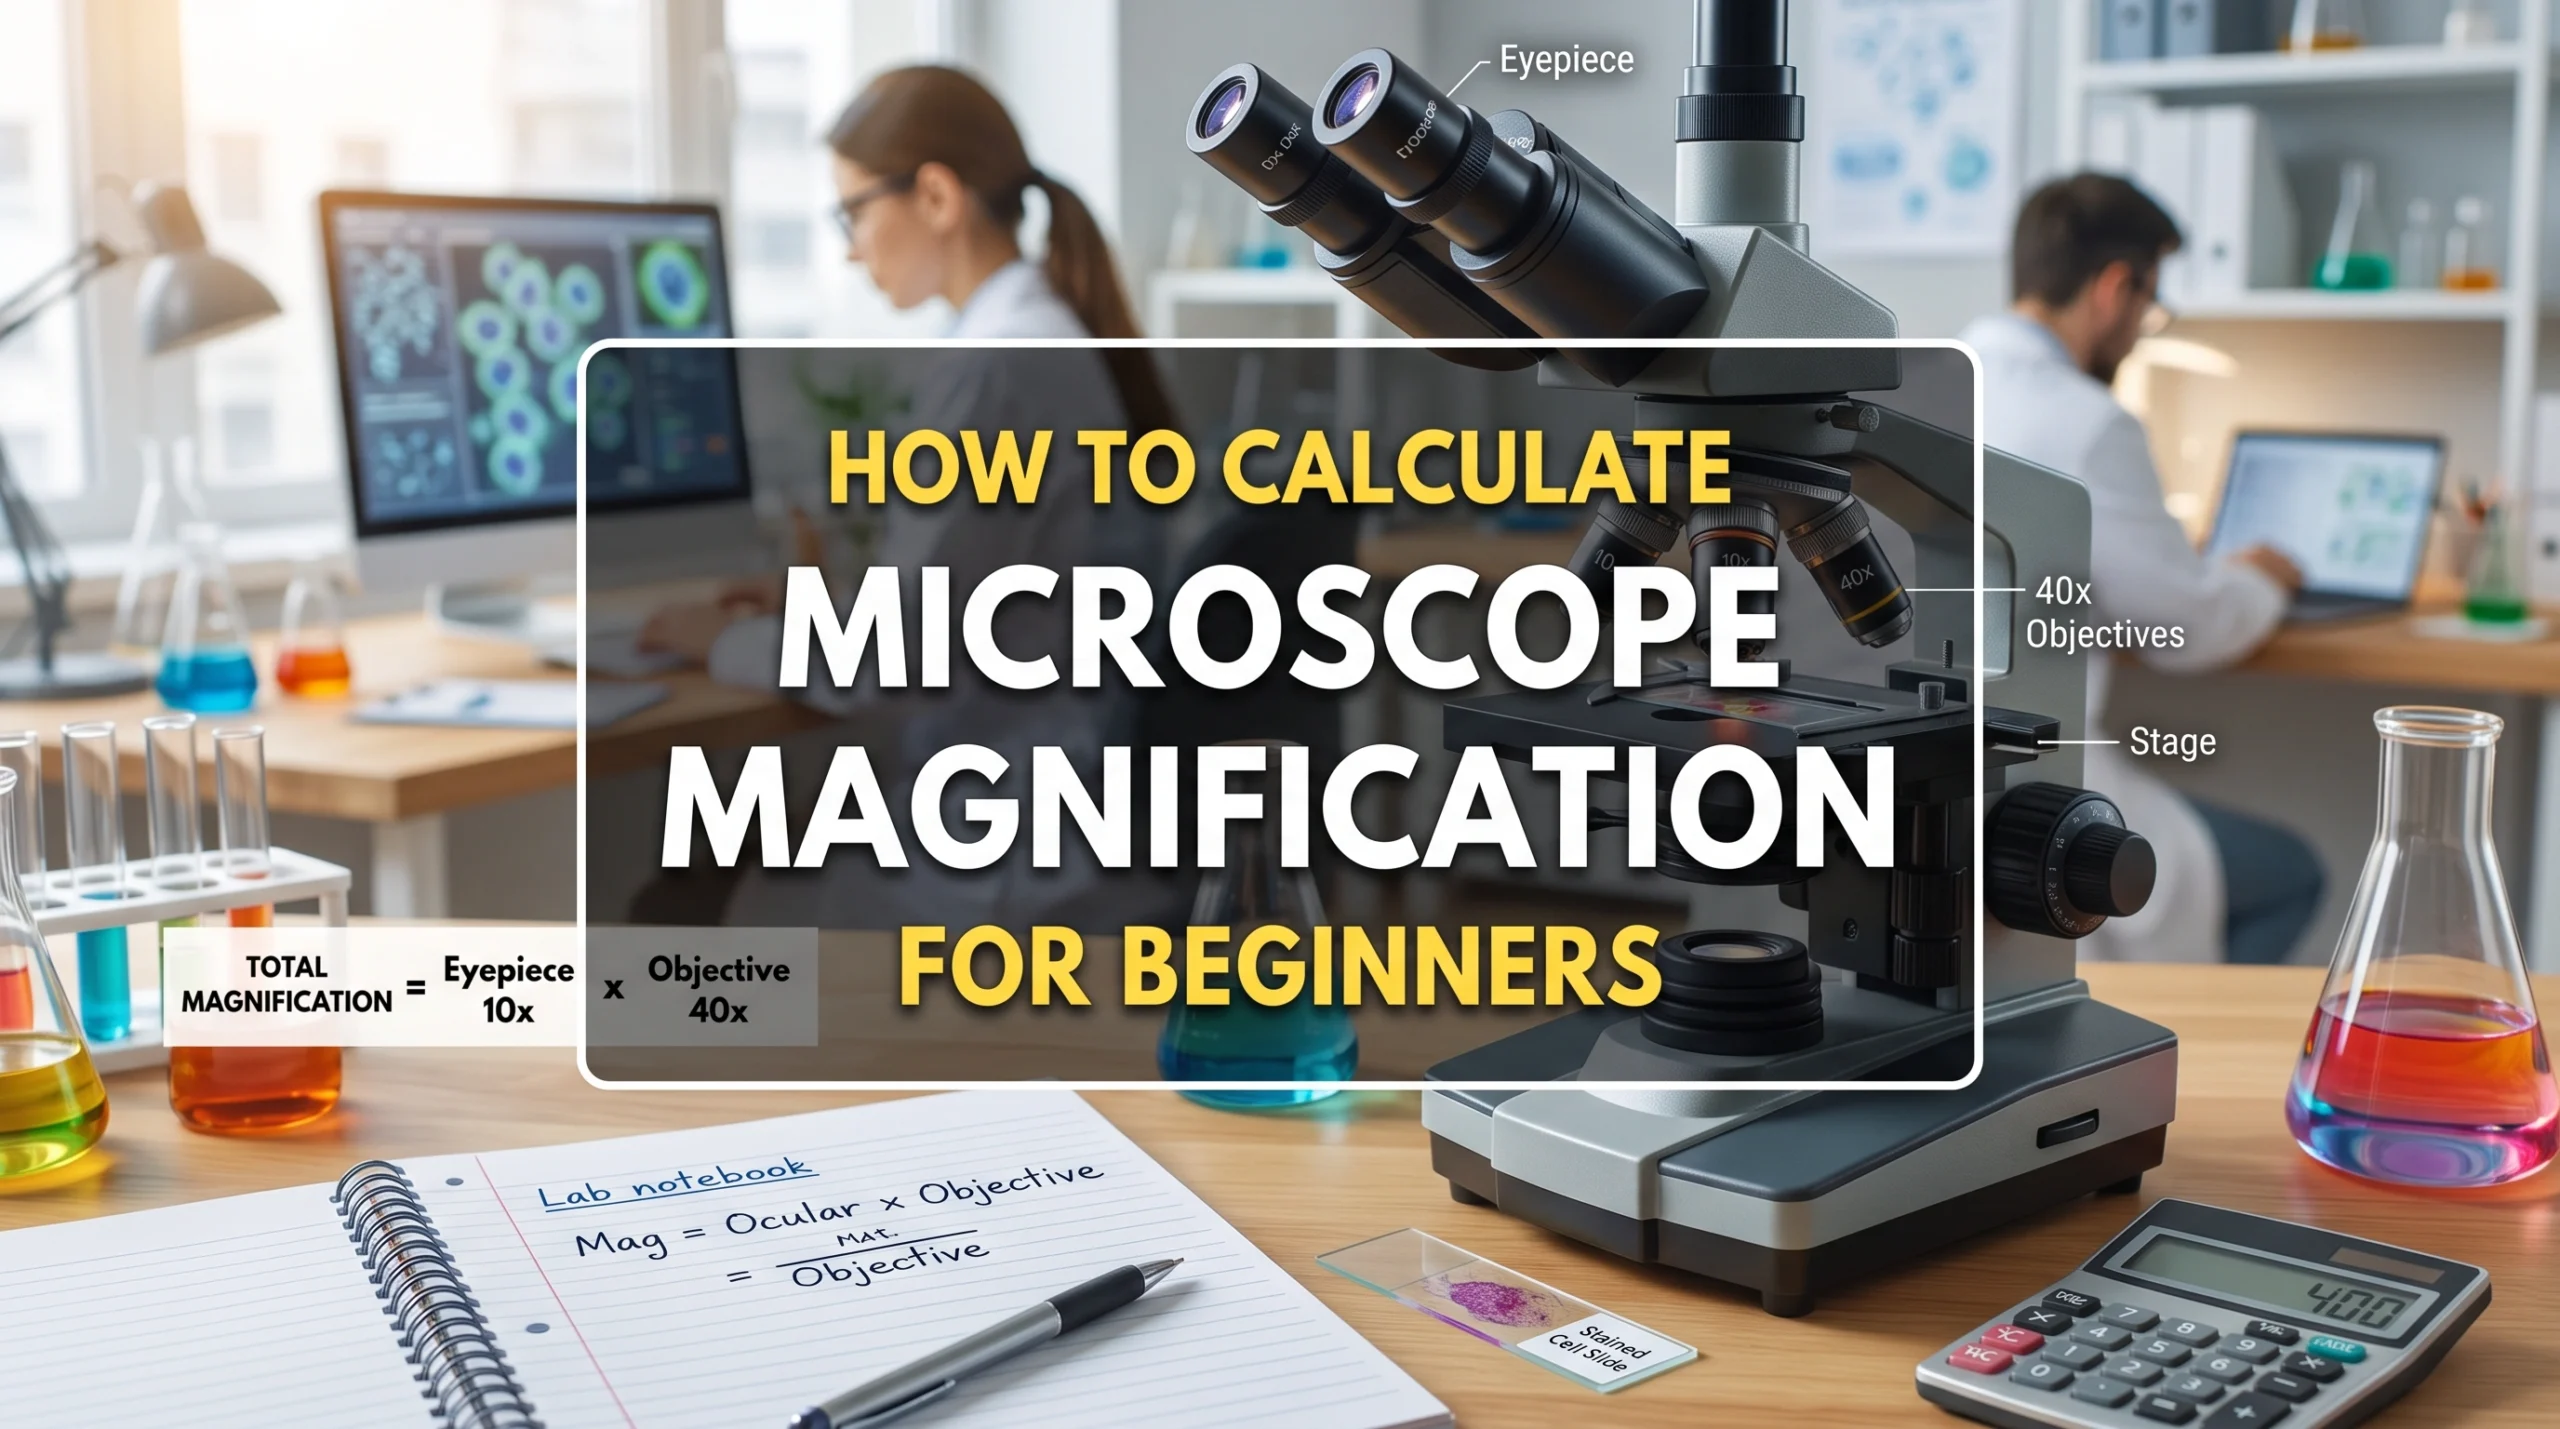
If you are new to microscopes, magnification can feel confusing at first. The good news is that it comes down to a simple rule. You multiply the eyepiece number by the objective number. Once you know where to find those numbers on the lenses, the rest is easy.
In this guide you will learn how to read lens markings, pick the right objective for your sample, and calculate total power in seconds. You will also see what you can expect to view at 40x, 100x, 400x, and 1000x. We will keep the steps clear and practical so you can use them right away in the lab or at home.
Let’s begin with the basics. We will look at the core magnification formula and what those lens numbers really mean.
Understanding Magnification Basics and Formula
Beginners master understanding magnification by recognizing how compound instruments process light. A compound microscope magnifies specimen features through two distinct optical systems working in series. The primary objective lens collects light near the slide to project a real, inverted image into the intermediate plane. The ocular eyepiece then enlarges this intermediate image, delivering a final virtual view to your eye.
Compound light systems provide maximum useful optical magnification between 1,000x and 1,500x before light diffraction limits resolution. Beyond this physical limit, additional power creates empty enlargement without resolving smaller structures. By contrast, specialized electron instruments reach magnification levels past 1,000,000x due to extremely short electron wavelengths.
The Core Multiplication Formula
You calculate the overall power of your viewing setup by using a simple mathematical relationship. Combining the distinct power ratings of both glass components determines the overall view scale.
Eyepiece Power
The ocular piece sits at the upper top end of the body tube. Most standard laboratory systems feature a 10x ocular glass component, though specialized eyepieces vary from 5x to 30x.
This top component magnifies the intermediate image produced by the objective below. You can find the specific strength value engraved directly on the metal casing of the ocular housing.
Objective Power
Objective lenses attach directly to the rotating nosepiece directly above the stage. Standard instruments usually feature multiple objectives providing 4x, 10x, 20x, 40x, or 100x magnifying strength.
These lower lenses collect light straight from the specimen, forming the primary magnified image. High-quality objectives supply the vast majority of image detail and clarity for your overall observation.
Real-World Calculation Example
Evaluating standard laboratory settings requires basic direct multiplication. You calculate system strength by multiplying ocular power by objective strength.
Mathematical Step Breakdown
|
Component |
Magnification Value |
|---|---|
|
Eyepiece Lens |
10x |
|
Objective Lens |
40x |
|
Total System Power |
10x x 40x = 400x |
You identify your 10x ocular piece first. You then locate the 40x high-power objective turned toward the specimen slide. You multiply 10 by 40 to calculate 400x total magnification.
Final Power Interpretation
A total rating of 400x allows you to observe fine cellular structures clearly. You can easily view individual plant cells, stained cell nuclei, blood cells, and basic bacterial shapes.
Higher visual strength reduces your visible field of view and reduces light intensity. You must adjust the fine-focus knob continuously because higher settings create a shallow depth of field.
Reading the Eyepiece Ocular Lens
Locating Ocular Magnification Markings
Standard Eyepiece Magnifications
You examine the top portion of your instrument to evaluate ocular parameters. Manufacturers supply different types of lenses to adjust your viewing capabilities. Eyepiece values typically span a range from 5x to 30x across various laboratory setups.
Most standard microscope configurations rely on 10x ocular parts. You will encounter 10x to 15x values most commonly in academic settings. Higher power choices like 15x, 20x, or 30x offer additional magnification options for specialized tasks.
|
Magnification |
Usage/Note |
|---|---|
|
10x |
Standard eyepiece/ocular lens magnification |
|
15x, 20x, 30x |
Higher magnification eyepieces available |
|
5x–30x |
Eyepiece magnification range |
|
10x–15x |
Most commonly used eyepiece magnifications |
Identifying Lens Markings
You locate power numbers directly on the top rim of the housing. Engravings show numbers like 10x/18 printed clearly on the outer casing. The 10x text indicates your magnification factor.
|
Part of marking |
What it indicates |
|---|---|
|
|
Eyepiece magnification: the ocular magnifies the image 10 times. |
|
|
Field number (FN): the diameter of the eyepiece field-defining diaphragm, 18 mm. |
|
Formula |
Real field diameter = FN / (objective magnification × tube lens magnification, if any). |
The secondary number after the slash reveals critical spatial dimensions. A marking of /18 specifies an 18 mm field number (FN). This value represents the internal diameter of the field diaphragm.
The Optical Function of the Eyepiece
Enlarging the Primary Image
The objective lens forms a real, inverted intermediate image inside the body tube. This intermediate construction serves as the primary image of your sample. The objective lens handles all primary detail capture directly from the slide.
The upper eyepiece does not create this primary image. Instead, the eyepiece acts as a secondary magnifier for your eye. You view a virtual image enlarged through this ocular optical assembly.
Field Number Considerations
The field number determines the observable specimen area during inspection. You calculate actual physical coverage through a straightforward ratio. Real field diameter equals FN divided by objective magnification and tube lens factors. For a 22 mm field number combined with a 40x objective lens, your visible field diameter equals 22 / 40 = 0.55 mm.
Higher numerical objective settings yield narrower physical fields of view. You select proper ocular specifications to balance field diameter against overall image resolution.
Decoding Objective Lenses and Color Codes
You inspect the revolving nosepiece to choose the right glass optics for your sample. An objective lens captures light straight from the specimen slide, providing primary magnification powers for your observation.
Standard Objective Magnifications
Scanning Lens (4x)
The red 4x scanning optical assembly offers the lowest magnification level on your instrument. You use this component to locate specimens quickly, scan large sample areas, and find structural boundaries easily.
This initial setting works exceptionally well for whole specimens like insect parts, fibers, or plant cross-sections. You center your target sample under this setting before moving to higher optical levels.
Low-Power Lens (10x)
The yellow 10x objective lens provides intermediate viewing power. You switch to this setting for general observation of larger biological structures.
|
Lens Option |
Primary Application |
|---|---|
|
4x Scanning |
Locate whole specimens, fibers, insect parts |
|
10x Low-Power |
View cell groupings, yeast clusters, protozoa |
You examine cell groupings, cheek cells, or yeast clusters easily with this optic. It bridges the gap between wide scanning views and tight cellular inspections.
High-Power Lens (40x)
The light blue 40x lens option delivers detailed cellular views. You utilize this power to observe individual cells, stained nuclei, budding yeast, and internal protozoan structures.
This setting drastically reduces your field view and focus depth. You carefully turn the fine-adjustment knob to keep delicate internal cell features sharp.
Oil Immersion Lens (100x)
The white 100x lens provides maximum visual power. You use this high-resolution component specifically for observing minute bacterial structures.
You must place specialized synthetic immersion oil between the slide and the glass tip. This liquid prevents light diffraction, directing full illumination straight into the glass element.
Reading Barrel Markings and Colors
Objective Lens Color Rings
Standardized color bands across different types of lenses identify visual power instantly. You read these DIN standard color codes without checking engraved numbers:
|
Magnification Range |
Color Code |
Typical Role |
|---|---|---|
|
4x – 5x |
Red |
Low-power objective |
|
10x – 12.5x |
Yellow |
Medium-power objective |
|
40x – 50x |
Light Blue |
High-power objective |
|
100x |
White |
Oil immersion objective |
These color rings allow immediate identification during active laboratory sessions. You rapidly pick the correct power band simply by looking at the barrel tip.
Numerical Aperture Values
Engravings on the objective casing pair an x rating with a numerical aperture (NA) value, such as ACH 10x with 0.25 NA or ACH 40x with 0.65 NA.
A higher NA rating gathers more diffracted light rays, directly enhancing spatial resolution capability. You compare these dual inscriptions to select the optimal brightness and clarity for your specialized microscope work.
How to Calculate Total Magnification Step-by-Step
You follow a systematic optical sequence to examine slide samples efficiently. Moving through lenses sequentially ensures proper optical alignment and precise focal adjustments on your target sample.
-
Begin at low power using the 4x or 10x objective lens to scan a larger area of the specimen.
-
Switch to the high-power 40x objective to observe finer cellular details.
-
Finish with the 100x oil immersion objective, applying immersion oil to reduce light refraction and achieve optimal resolution.
Calculating Low-Power Viewing Levels
Scanning Power Calculation
You always start your sample observations with the lowest power setting on the nosepiece. The 4x scanning optical assembly provides a larger field of view to locate specimens easily across the slide surface. Starting at this stage prevents accidental contact between the optics and the glass slide.
You calculate total magnification by multiplying the objective power by the ocular value. A standard 10x eyepiece combined with a 4x scanning optic yields a 40x visual strength. This initial calculation gives you a clear baseline before you advance to narrower viewing fields.
Low-Power Calculation
You rotate the nosepiece to the yellow 10x objective after centering your primary target area. This intermediate setting sharpens specimen boundaries without losing your visual orientation on the slide. You can observe larger cell groupings and protozoa clearly at this level.
You determine overall viewing strength through direct magnification calculations. A 10x objective combined with a 10x ocular creates a 100x image enlargement. Using a 12.5x ocular with this same 10x objective produces a 125x viewing level.
Calculating High-Power Viewing Levels
High-Dry Calculation
You transition to the 40x objective element when you require detailed structural inspection. This high-dry optic brings individual cells and stained cell nuclei into clear focus without touching the slide liquid.
You determine final power by multiplying the objective rating by your ocular strength. A standard 10x ocular paired with this 40x objective yields 400x total magnification. You turn the fine-focus knob carefully because higher magnification drastically decreases your depth of focus.
Oil Immersion Calculation
You engage the 100x objective to inspect minute bacterial structures under high magnification. This advanced optical level requires placing a dedicated synthetic oil drop directly onto your specimen cover glass.
Immersion oil bridges the air gap between the glass slide and the optical glass tip. This specialized liquid prevents light refraction and retains full illumination at the highest magnification level. Combining a 100x objective with a standard 10x ocular delivers 1000x total visual power.
Microscope Magnification Guide for Digital Displays
Digital imaging technology changes how you view samples on a screen. You must understand digital display setups to evaluate overall image power accurately.
Optical Magnification vs Digital Zoom
Physical Lens Power
Glass lenses bend light to project fine sample details directly onto a camera sensor. You select glass elements to establish true visual resolution. This optical process reveals actual structural information from your slide specimen.
|
Aspect |
Optical Lens Power |
Digital Zoom |
|---|---|---|
|
Mechanism |
Uses objective lenses to collect light |
Resamples captured image pixels |
|
Detail Capture |
Reveals new structural detail |
Duplicates existing pixels |
Changing physical objective lenses improves your ability to resolve small structures clearly. Eyepieces and objective glass components determine your physical imaging potential.
Digital Screen Enlargement
Digital software enlarges captured images by resampling pixel data across display monitors. Computer software duplicates single image pixels into larger 2×2 pixel blocks. This digital process increases displayed image dimensions without adding physical specimen details.
Optical magnification enlarges the subject using the lens and preserves image detail. Digital zoom enlarges the image after capture and often reduces clarity.
Excessive electronic zooming creates pixelated images on display screens. You rely on physical objective glass power to maintain sharp, detailed specimen images.
Digital Magnification Variables
Camera Sensor Factor
A digital camera attaches directly to the microscope body tube using an adapter. Camera sensor dimensions directly affect your final rendered image size.
Smaller camera sensors display larger relative images on standard computer monitors. You calculate sensor impact by evaluating physical sensor diagonals against display dimensions.
Monitor Screen Size
You compute total on-screen power by combining objective power, adapter values, and screen dimensions. Follow these sequential steps to calculate your total on-screen magnification:
-
Multiply your objective lens power by your camera coupler rating.
-
Divide your monitor diagonal measure by your camera sensor diagonal measure.
-
Multiply the optic calculation result by the monitor display ratio.
Consider a 10x objective lens paired with a 0.5x optical coupler. You mount this camera system onto a 0.28-inch sensor and display images on a 16-inch monitor. You calculate total display magnification as (10 x 0.5) x (16 / 0.28) = 5 x 57.14 = 285.7x.
Larger monitors increase display magnification automatically without changing glass hardware. This practical microscope magnification guide helps you evaluate digital display systems accurately.
Quick Reference Microscope Magnification Chart
Standard 10x Eyepiece Combinations
Magnification Power Matrix
You calculate viewing powers quickly by pairing standard ocular lenses with common objective options. Dissecting instruments operate at 6x to 50x for whole-specimen inspection. Compound microscope systems operate from about 40x up to 1000x for high-resolution cellular examination.
Standard compound units feature a 10x eyepiece ocular element. You multiply lens ratings directly to determine final viewing levels.
|
Purpose |
Total power (10x eyepiece) |
Objective lens |
Observable detail |
|---|---|---|---|
|
Scanning whole specimens |
40x |
4x |
Widest visual area; whole small organisms, fibres, plant sections |
|
General observation |
100x |
10x |
Cell groups, plant tissue, larger protozoa, yeast clusters |
|
Cellular detail |
400x |
40x |
Individual cells, stained nuclei, budding yeast, protozoan structures |
|
High resolution inspection |
1000x |
100x |
Closer viewing of bacteria, blood cells, internal bacterial detail |
This reference grid accelerates choosing the right magnification during active laboratory work. You match your specimen type directly to the correct objective selection.
Recommended Specimen Applications
Selecting appropriate lenses depends heavily on your specific target sample. You use 40x power to observe whole small organisms, synthetic fibers, and thick plant sections. A 100x power level displays onion-cell groups, cheek-cell groups, larger protozoa, and yeast clusters. Bacteria appear only as tiny dots at this medium level.
You engage 400x total power to examine individual plant and animal cells closely. This setting reveals stained nuclei, budding yeast, and distinct protozoan structures. Individual red and white blood cells become visible. Bacteria appear as distinct shapes. Applying 1000x oil immersion optics allows closer viewing of bacteria, blood cells, and internal bacterial structures.
At 400x power, you can observe bacteria, blood cells, and protozoans swimming around your sample.
High-Power Eyepiece Combinations
15x and 20x Eyepiece Calculations
You swap standard oculars for 15x or 20x eyepieces when you require high magnification without altering objective lenses. Multiplying a 15x eyepiece by a 40x objective yields 600x total visual power. Pairing a 20x eyepiece with a 40x objective creates an 800x viewing level.
This practical microscope magnification guide assists your work with specialized ocular glass components. You evaluate total microscope magnification by multiplying ocular values against objective ratings. Using a 20x eyepiece with a 100x objective achieves 2000x visual power. However, physical light limits usually restrict useful clarity above 1500x.
Field of View Trade-offs
Switching to strong ocular lenses affects your overall image quality and optical spatial parameters. You gain higher magnification by inserting a 20x ocular piece into the body tube. However, this adjustment introduces specific physical optical compromises during sample observation. You must manage focus adjustments carefully to maintain visual clarity across your sample.
Using a 20x eyepiece instead of a 10x eyepiece creates several physical trade-offs:
-
Narrower field of view: less of the specimen is visible at once.
-
Shallower depth of field: a smaller vertical range remains in focus.
-
Shorter working distance: there is less space between the lens and the specimen.
You evaluate total magnification easily by multiplying eyepiece power by objective lens strength. Always begin scanning your specimens with the 4x scanning optic. The 4x objective provides a larger field of view to locate target sample areas easily before increasing magnification. You then advance to higher objective choices sequentially to inspect fine cellular details. Inspect the engraved numbers on your physical microscope hardware to identify each optical value quickly.
Testing these simple multiplication steps helps you operate laboratory optics equipment with complete confidence. This practical microscope magnification guide equips you to calculate exact viewing power levels on any optical instrument today.
FAQ
How do you calculate total microscope magnification?
You multiply the ocular power by the objective lens power. A standard 10x ocular paired with a 40x objective yields 400x total power. Always check the physical markings on each glass piece before calculating your overall viewing level.
Why should you start viewing samples at the lowest power?
Starting with the 4x scanning optic provides a wider field of view. You locate target specimen areas easily without hitting the glass slide.
What is the maximum optical limit for compound light instruments?
Compound light systems reach maximum useful power between 1,000x and 1,500x. Higher power creates empty enlargement without adding structural detail due to diffraction limits.
Why do high-power objectives require synthetic immersion oil?
Immersion oil bridges the air gap above the slide cover glass when using 100x power. The liquid prevents light refraction, directing full illumination into the optical tip for maximum clarity.
What do the color rings on objective barrels mean?
Standardized DIN color bands indicate visual power instantly. Red marks 4x scanning power, yellow indicates 10x medium power, light blue represents 40x high power, and white identifies 100x oil immersion optics.
Does digital screen zoom increase optical resolution?
Digital software duplicates existing pixels across larger display monitors. This process enlarges displayed image dimensions, but physical glass optics handle true detail capture.