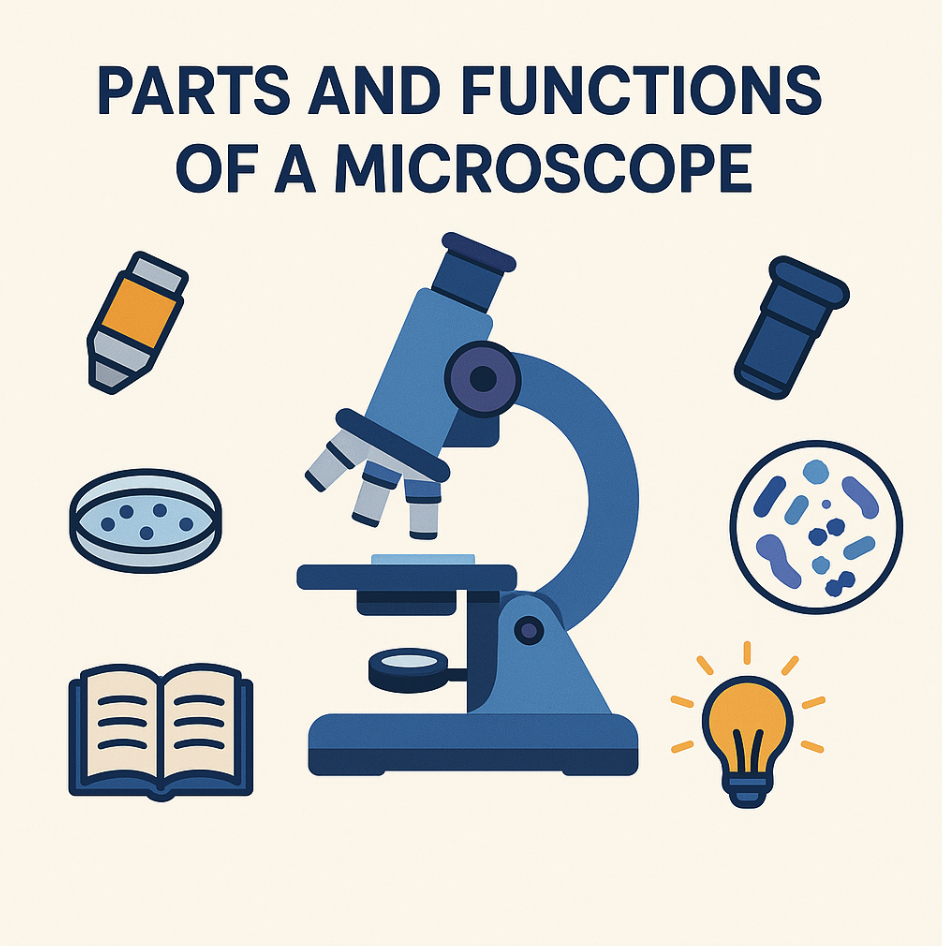
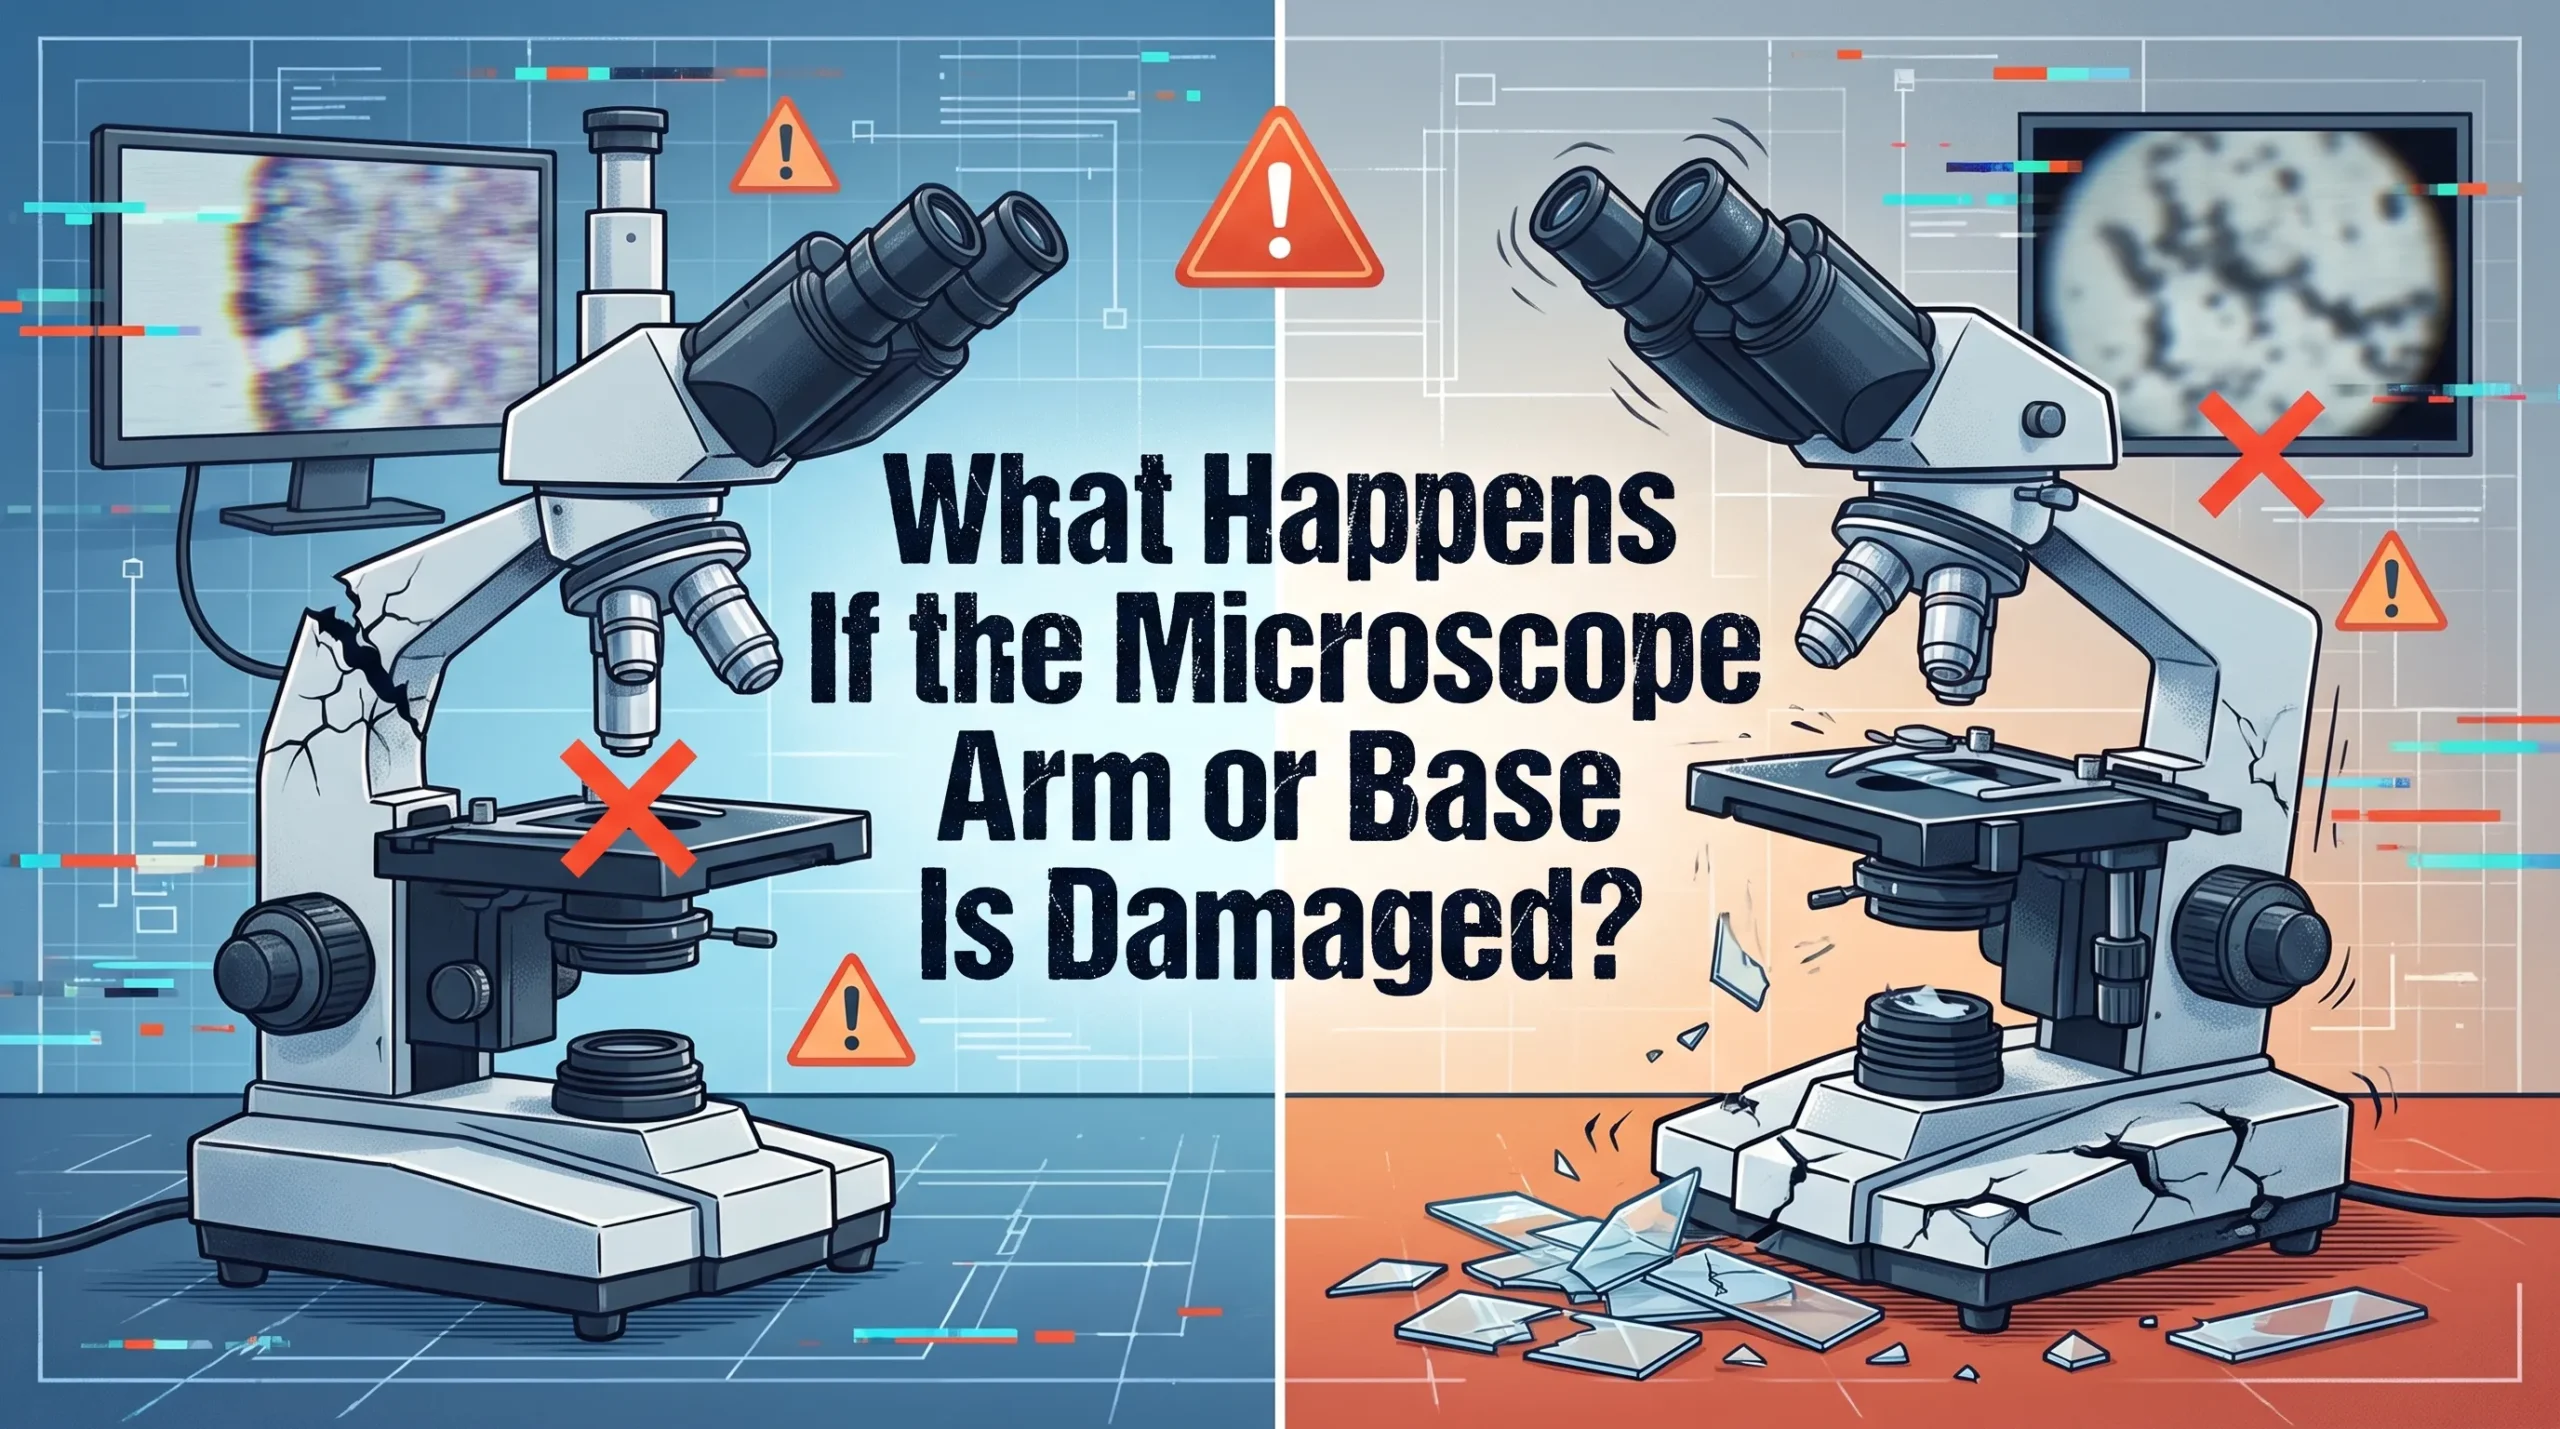
Here is a friendly reality check. The arm and base are the spine and feet of your microscope. When either one is cracked, loose, or bent, everything else feels it. Images blur. Focus drifts. The light may flicker. In the worst case the scope tips and other parts get damaged.
The good news is you can spot problems early and act fast. A quick check before each session saves time and money. It also keeps your samples and lenses safe.
In this guide you will learn what damage looks like, why it matters, and what to do next. You will get simple steps for inspection, repair choices, and smart habits that prevent repeat issues.
Whether you use a scope at home, in class, or in the lab, these tips apply. Keep your work steady. Keep your images sharp. Keep your scope safe.
Ready to get the core points at a glance? Here are the key takeaways.
Always check your microscope arm and base for cracks or loose parts before you use it. This helps keep you safe and the microscope steady. Use both hands to carry the microscope. Put one hand on the arm and the other under the base. This stops accidents and keeps it from breaking. Check often for damage like wobbling or lights that flicker. These signs can mean there are big problems that need fixing right away. Be gentle with your microscope and keep it in a clean, dry place. This helps it last longer and gives you clear results.
If you see damage, decide if you can fix it or if you need a professional. This will help stop more problems from happening.
Damage Consequences for Microscope Arm and Base
Stability and Safety Risks
When you use a microscope, you depend on the arm and base for support. If either part is damaged, you face serious risks. The base acts as the foundation. It keeps the microscope steady and prevents it from tipping over. If the base is cracked or missing parts, the microscope can wobble or fall. This can cause injury or break other parts of the microscope.
A damaged base can also lead to misalignment. You may find it hard to focus or keep the image clear. Even small shakes can blur your view. This makes it difficult to observe details or record results. The base also helps keep the optical parts in line. If the base is not stable, the microscope cannot work as it should. The arm connects the head to the base. If the arm is loose or cracked, the microscope becomes hard to carry. You may drop it or cause more damage. Always support both the arm and base when you move the microscope. Use one hand to grip the arm and the other to hold the base. This keeps the microscope safe and balanced.
Tip: Always lift the microscope with both hands. Support the base and the arm to prevent accidents.
Usability and Function Loss
Damage to the microscope arm and base affects how you use the microscope every day. You may notice shaky images, flickering lights, or even overheating. These problems make it hard to get clear results. The table below shows common issues, their causes, and what you can do:
|
Problem |
Likely Cause |
Actionable Solution |
|---|---|---|
|
Shaky Image |
Unstable table or missing feet |
Move to a solid surface; check if all four rubber feet are present. |
|
Flickering Light |
Loose connection or oxidation |
Unplug and check the bulb seating; rotate the dimmer knob rapidly to clear dust. |
|
Excessive Heat |
Blocked ventilation |
Ensure the base isn’t sitting on paper or cloth that blocks air vents. |
If you ignore these signs, the microscope may stop working. You might not be able to focus or see details. The light may not work, or the microscope may overheat. These problems can damage other parts, like the lenses or the light system.
You need to check the microscope arm and base often. Look for cracks, loose screws, or missing feet. Fix small problems before they get worse. If you carry the microscope the wrong way, you can make the damage worse. Always use both hands and support the microscope from the bottom and the side.
Note: Proper handling and regular checks help keep your microscope safe and working well.
Roles of Microscope Arm and Base
Structural Support and Carrying
The microscope arm and base help keep the microscope steady. The arm links the head to the base. It makes a strong frame for all the main parts. The eyepiece and objective lenses stay lined up because of the arm. The arm is stiff, so your images do not blur or move. When you pick up a compound microscope, you hold the arm. The arm is shaped to fit your hand well. You stop drops by gripping the arm with one hand. You use your other hand to hold the base. This keeps the microscope safe and balanced.
Using both hands helps you avoid damage and makes it easier to move.
Some microscopes have special arm stands that bend. These stands let you move the microscope over big spaces. You can guide it smoothly without it getting stuck. The heavy base and moving parts keep it steady, even when you reach far. You can push the microscope aside to make more room on your table. The metal stands are strong and help the microscope stay in place.
Tip: Always use both hands to move a compound microscope. Hold the arm and support the base to keep it safe.
Housing Illumination and Stability
The base of a compound microscope gives strong support. It is the bottom part that holds everything up. The light system is inside the base. The base also has the power and light controls. You get clear images because the base keeps the microscope from shaking.
|
Function of the Base in Microscope |
Description |
|---|---|
|
Support Structure |
Gives a steady base for all the microscope parts. |
|
Houses Illumination System |
Holds the power and controls for the light. |
|
Ensures Stability |
Keeps images clear and steady while you look. |
You need the base to stop the microscope from tipping or shaking. The base makes the microscope last longer. You should check the base for cracks or loose parts often. If your microscope has a strong base, it works better and lasts longer.
Effects on Other Microscope Parts
Impact on Optical Components
When you see damage to the arm or base, you must check the other microscope parts right away. The arm holds the head and keeps the eyepieces and lenses in place. If the arm bends or cracks, the alignment of the optical components changes. You may notice blurry images or trouble focusing. The head can shift, and the eyepieces may not sit straight. This makes it hard to view samples clearly.
The base supports the illumination system. If the base shakes or tips, the light source moves. You might see uneven lighting or flickering. The light path can break, and you lose the sharpness in your view.
The base also keeps the stage steady. If the stage wobbles, your slides move, and you cannot observe details. You must inspect all compound microscope parts after any damage to the arm or base.
Note: Always check the alignment of the head and eyepieces if you spot damage to the arm. Make sure the light source stays steady and bright.
Risk to Microscope Parts and Longevity
Damage to the arm or base puts all microscope parts at risk. You may see loose screws, broken knobs, or cracked lenses. The microscope loses its balance, and parts can fall off. The lifespan of your microscope drops when the main supports fail. You must protect the arm and base to keep your microscope working for years.
Here is a table showing how the arm and base help your microscope last longer:
|
Component |
Role in Longevity |
|---|---|
|
Arm |
Provides mechanical support and stability, maintaining alignment between optical and mechanical systems, essential for consistent image quality. |
|
Base |
Acts as the foundational support, preventing tipping and minimizing vibrations, crucial for steady focus and operational efficiency. |
If you ignore damage, you risk losing all compound microscope parts. The microscope parts depend on the arm and base for support. You must fix cracks and loose joints quickly. Regular checks help you spot problems early and keep your microscope safe.
Tip: Protect the arm and base to avoid costly repairs and keep your microscope parts in good shape.
What to Do If Damage Occurs
Inspection and Assessment Steps
You need to check your microscope arm and base carefully if you notice any damage. Start by looking for cracks, loose screws, or missing parts. Touch the arm and base gently to see if they wobble or feel unstable. Make sure the microscope sits flat on the table. Check the alignment of the head and eyepieces. Look at the light source and see if it flickers or moves. Use this checklist to guide your inspection:
-
Examine the arm and base for visible cracks or chips.
-
Test stability by gently shaking the microscope.
-
Check all screws and joints for tightness.
-
Inspect the stage and light for proper function.
-
Confirm the microscope sits level and does not tip.
Tip: Always use two hands when moving the microscope. Hold the arm and support the base to prevent further damage.
Repair or Replacement Options
If you find damage, decide if you can repair it or need to replace parts. Small issues like loose screws can be fixed with the right tools. Avoid using superglue or household oils, as these can cause permanent harm. Never force tools into screw heads. If the damage is severe, such as a cracked arm or broken base, you may need professional help.
Some warranties do not cover misuse or accidents, so check your warranty before seeking repairs. If your microscope is out of warranty, look for authorized repair centers.
|
Repair Mistake |
Why to Avoid |
|---|---|
|
Using superglue |
Causes permanent damage |
|
Forcing tools |
Strips fasteners |
|
Household oils |
Attracts dust, degrades optics |
Preventing Future Damage
You can protect your microscope arm and base by following safe handling and storage practices. Always carry the microscope with both hands. Store it in a clean, dry, and dust-free space. Avoid sudden temperature changes. Cover the microscope when not in use.
Keep liquids away from the microscope. Turn off the light after use. Clean the lenses with soft cloth or lens paper. Prepare slides carefully and avoid pressing too hard. Use the microscope in a stable, well-lit environment.
-
Handle with care: Always lift by the arm and base.
-
Cover the microscope when not in use.
-
Avoid liquid spills and sudden temperature changes.
-
Clean lenses gently and prepare slides properly.
Note: Careful handling and regular checks help your microscope last longer.
You need to act quickly if you spot damage to the microscope arm or base. Regular checks and repairs keep your microscope safe and working well. Follow these steps for best results:
-
Carry the microscope with both hands—one on the arm, one under the base.
-
Keep it upright and close to your body.
-
Place it gently on a flat surface.
-
Check that the arm stays secure.
-
Avoid tilting the microscope by the arm.
Prompt inspection helps you catch problems early. If you see issues beyond basic fixes, seek professional repair services.
FAQ
What should you do first if you notice damage to the microscope arm or base?
You should stop using the microscope. Inspect the damaged area for cracks or loose parts. Use a checklist to guide your inspection. Seek help if you find serious damage.
What signs show that the microscope base needs repair?
Look for wobbling, cracks, or missing feet. If the microscope tips easily or the light flickers, the base may need repair. Check for loose screws and uneven surfaces.
What risks do you face if you ignore damage to the arm or base?
Ignoring damage can cause blurry images, broken parts, or injury. The microscope may tip over or stop working. You risk losing clear results and damaging other components.
What tools help you fix minor issues with the microscope arm or base?
You can use a small screwdriver for loose screws. Avoid superglue and household oils. Clean the area with a soft cloth. For major repairs, contact a professional.
What steps prevent future damage to your microscope?
-
Carry the microscope with both hands.
-
Store it in a dry, dust-free place.
-
Cover it when not in use.