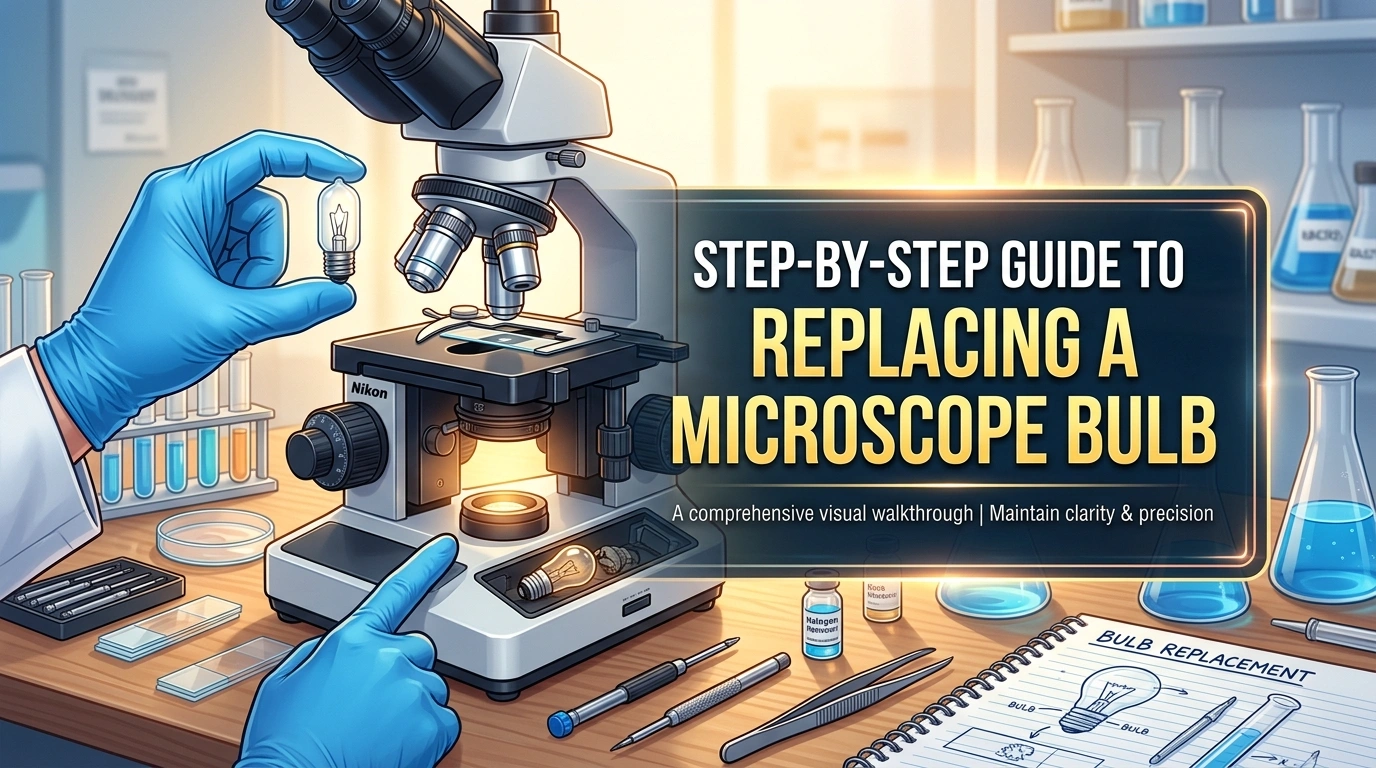
Knowing how to replace microscope bulb parts safely can keep your microscope working well and help you avoid poor lighting during important observations. A weak, flickering, or burned out bulb can make specimens hard to see and may lead to eye strain or inaccurate results. The good news is that bulb replacement is usually simple when you use the correct bulb and follow basic safety steps.
In this guide, you will learn how to choose the right microscope bulb, prepare your tools, remove the old bulb, install the new one, and test the light afterward. Before you start, review these key points so you can work safely and avoid common mistakes.
Key Takeaways
-
Always turn off and unplug your microscope before replacing the bulb to avoid electrical shock and burns.
-
Use gloves when handling bulbs to prevent oils from your skin from shortening their lifespan.
-
Check your microscope’s specifications to ensure you use the correct bulb type, voltage, and wattage for optimal performance.
Preparation and Safety Steps
Tools and Materials
Before you begin, gather all the necessary tools and materials. You need a bulb replacement tool, a screwdriver, and a pair of gloves. Always check the type of bulb your microscope uses. Some microscopes require halogen, screw, fluorescent, or fuse-style bulbs. If you are unsure, look for the part number or voltage and wattage specifications on your old bulb. Many suppliers offer a wide range of bulbs and can help you find the right match, even for discontinued models. Having the correct new bulb ready will make the process smoother.
Recommended tools and materials:
-
Bulb replacement tool
-
Screwdriver (flathead or Phillips, depending on your microscope)
-
Gloves (to protect your hands and the bulb)
-
New bulb (matching your microscope’s specifications)
Turn Off and Unplug
Safety should always come first. You must turn off and unplug your microscope before starting any work. This step protects you from electrical shock and prevents damage to the microscope. Some bulbs can get very hot during use. Allow the microscope to cool down before you touch the bulb compartment.
Tip: Never attempt bulb replacement while the microscope is plugged in or the bulb is still hot.
Common safety hazards include:
-
Risk of electrical shock if the microscope is not powered off and unplugged
-
Potential for burns from hot bulbs
-
Need for proper disposal of hazardous materials from certain types of bulbs
Locate Bulb Compartment
Next, find the bulb compartment on your microscope. Most microscopes have a compartment at the base or behind the stage. Look for screws or clips that secure the cover. Use your screwdriver to remove any fasteners. Some models have spring clips or sliding panels. Open the compartment carefully to avoid damaging any internal parts.
Once open, you will see the old bulb and can prepare for the next steps in the replacement process.
How to Replace Microscope Bulb
Remove Old Bulb
Start by making sure the microscope is off and unplugged. Put on your gloves to protect both your hands and the new bulb from oils and dirt. Open the bulb compartment you located earlier. You may need to use a screwdriver to remove screws or gently release spring clips. Carefully grasp the old bulb. If the bulb is a halogen type, let it cool for at least 20 minutes before touching it. Pull the bulb straight out of its socket. Avoid twisting unless your microscope’s manual says otherwise.
If you feel resistance, check for any additional clips or fasteners holding the bulb in place. Set the old bulb aside for proper disposal.
Tip: Never touch the glass part of a halogen or LED bulb with your bare fingers. Oils from your skin can shorten the bulb’s life.
Identify Correct Bulb
Before you insert a new bulb, check the specifications of your microscope. Look at the old bulb for part numbers, voltage, and wattage. If you have a major brand like Olympus or Nikon, you can use the following table to match your model to the correct halogen bulb:
|
Brand |
Microscope Model |
Common Halogen Bulb Replacement |
|---|---|---|
|
Olympus |
BH2 or BHTU |
6V 20W halogen bulb |
|
Olympus |
BHS |
12V 100W halogen bulb |
|
Olympus |
BX40 and BX41 |
6V 30W halogen bulb |
|
Olympus |
BX50 and BX51 |
12V 100W halogen bulb |
|
Olympus |
CX21 and CX31 |
6V 20W halogen bulb |
|
Olympus |
CX41 |
6V 30W halogen bulb |
|
Nikon |
Labophot, Labophot 2 |
6V 20W halogen bulb |
|
Nikon |
Optiphot, Optiphot 2 |
12V 100W halogen bulb |
|
Nikon |
E400 |
6V 30W halogen bulb |
|
Nikon |
E600 |
12V 100W halogen bulb |
|
Nikon |
50i |
6V 30W halogen bulb |
|
Nikon |
80i |
12V 100W halogen bulb |
|
Nikon |
E200 |
6V 20W halogen bulb |
If you use a Leica or another brand, check the user manual or contact a trusted retailer like Microscope.com. This site offers a wide range of replacement bulbs, including halogen and LED types. Always match the lamp code, voltage, wattage, and base type. Using the wrong bulb can cause:
-
Inadequate illumination
-
Overheating
-
Damage to the microscope
Insert New Bulb
When you are ready to insert the new bulb, handle it with care. For halogen bulbs, follow these steps:
-
Allow the bulb to cool for at least 20 minutes if it was recently used.
-
Use scissors to cut open the protective plastic bag near the tungsten pins.
-
Insert the bulb into its holder while it is still in the bag. This prevents fingerprints on the glass.
-
Once the bulb is in place, remove the bag.
For LED bulbs, avoid touching the light-emitting surface. Align the pins or base with the socket and push gently until it clicks or fits snugly. Some older microscopes may require you to solder the bulb leads. If so, follow the manufacturer’s instructions and use a low-wattage soldering iron.
Note: Never force the bulb into the socket. If it does not fit easily, double-check the bulb type and orientation.
Secure Bulb and Housing
After you insert the new bulb, secure it and the housing. Replace any spring clips or screws you removed earlier. Make sure the bulb sits firmly in the socket. Reattach the compartment cover and tighten all fasteners. Here is a quick checklist:
-
Confirm the microscope is still unplugged.
-
Place the bulb securely in the socket.
-
Reinstall the compartment cover.
-
Tighten all screws or clips.
-
Dispose of the old bulb according to local regulations.
Safety Reminder: Always wear gloves and avoid direct contact with the bulb. This helps prevent contamination and extends bulb life.
Test Microscope Light
Plug in the microscope and turn it on. Set the light intensity to the highest level. Check if the new bulb lights up. If the light does not turn on, try these troubleshooting steps:
-
Make sure the bulb is seated properly.
-
Check for loose connections.
-
Inspect the fuse and power source.
-
Ensure the microscope is plugged in and switched on.
-
Adjust the rheostat control to the brightest setting.
-
Open the field iris to allow light through.
-
Confirm the beam splitter is not engaged.
If the light remains dim or does not work, review the installation steps or consult a professional. Here is a table of common issues and solutions:
|
Issue Type |
Description |
|---|---|
|
Dim Light After Replacement |
Check bulb compatibility, installation, power supply, and light intensity settings. |
|
No Light After Replacement |
Ensure proper seating of the bulb, check for loose connections, fuse, and power source. |
|
Frequent Bulb Burnout |
Indicates potential electrical system issues; professional inspection recommended. |
Tip: If you experience frequent bulb failures, your microscope may need a professional electrical inspection.
By following these steps, you can master how to replace microscope bulb safely and efficiently. Always use the correct bulb and handle all parts with care. This process works for most laboratory microscopes, whether you need to replace microscope light bulbs or are simply changing the bulb for routine maintenance.
You can replace a microscope bulb safely by following each step and choosing the correct bulb. Always check the bulb’s lifespan for optimal performance:
|
Bulb Type |
|
|---|---|
|
Halogen |
2,500 |
|
Tungsten-halogen |
2,000 |
|
LED |
Longest lifespan |
Routine maintenance, including checking bulbs and taking time to clean optical components, helps you achieve reliable results and extend equipment life.
FAQ
How often should you replace a microscope bulb?
You should check your bulb every six months. Replace it if you notice dim light or flickering. Always keep a spare bulb on hand.
Can you use any bulb in your microscope?
No. You must use the exact bulb type, voltage, and wattage. Check your manual or old bulb for specifications. Using the wrong bulb can damage your microscope.
What should you do with a used microscope bulb?
-
Allow the bulb to cool.
-
Place it in a safe container.
-
Dispose of it according to your local hazardous waste guidelines.