Optimizing your microscope camera ensures precise imaging, whether for research, education, or industrial applications. A proper setup not only enhances clarity but also maximizes the performance of your equipment. The global demand for microscope cameras continues to rise, reflecting their critical role in scientific advancements.
Understanding how to set up microscope camera systems effectively allows you to stay ahead in this expanding field.
Choosing the Right Microscope Camera and Adapters
Selecting a Compatible Microscope Camera
Choosing the right microscope camera is essential for capturing high-quality images and videos. You should consider several factors to ensure compatibility and performance:
-
Resolution: Higher resolution cameras provide more detailed images, which is crucial for research and documentation.
-
Frame Rate: A higher frame rate is necessary for observing dynamic processes in real-time.
-
Sensor Type: Decide between CCD and CMOS sensors based on your imaging needs. CCD sensors excel in low-light conditions, while CMOS sensors offer faster processing speeds.
-
Connection Type: USB 3.0 cameras are faster than USB 2.0, making them ideal for transferring large image files efficiently.
For specialized applications, such as using a microscope over-eyepiece camera, ensure the camera supports your microscope model and software. Popular brands like Amscope microscope cameras offer a range of options tailored to different needs.
Identifying the Correct Adapter Size
The adapter connects your microscope camera to the microscope, so selecting the correct size is critical. Common adapter types include:
-
C-Mount Adapters: Widely used in laboratories, these adapters feature a 1-inch (25.4mm) diameter thread.
-
T-Mount Adapters: These allow flexibility by attaching microscope lenses to cameras with a T-thread.
-
Dedicated Adapters: Some manufacturers provide specialized adapters for seamless integration.
The table below outlines standard adapter sizes:
|
Adapter Type |
Size/Specification |
|---|---|
|
Standard C-Mount (Female Thread) |
Dia. 1 inch (25.4mm) |
|
Relay Lens |
Dia. 23.2mm (male) |
|
Ocular Tube |
Dia. 23.2mm (female) |
|
Straight Photo Tube |
Varies by microscope brand |
Always verify the adapter’s compatibility with your microscope model to avoid alignment issues.
Understanding Compatibility with Your Microscope
Not all cameras work with every microscope. To ensure compatibility:
-
Confirm that the camera fits your microscope model.
-
Check the software compatibility with your operating system. Windows supports a broader range of software, while Mac and Linux have limited options.
-
Match the camera’s optical specifications, such as magnification and numerical aperture, with your microscope’s objectives.
-
Consider light sensitivity and dynamic range for low-light imaging.
For example, Amscope microscope cameras are designed to integrate seamlessly with their microscopes, offering reliable performance. If you use a microscope over-eyepiece camera, ensure it aligns properly with the eyepiece for clear imaging.
By carefully evaluating these factors, you can select the best microscope digital camera and adapters for your needs.
How to Set Up Microscope Camera
Setting up your microscope camera correctly is essential for capturing clear and accurate images. This process involves mounting the camera, connecting it to a computer or monitor, and ensuring proper alignment.
Follow these steps to optimize your setup.
Mounting the Camera to the Microscope
To begin, position the camera securely on your microscope. Most cameras are designed to fit into a dedicated camera port or over the eyepiece. If your microscope has a trinocular head, use the third port for mounting. This ensures the camera does not interfere with your visual observations.
When mounting, consider the following:
-
Use the correct adapter: Ensure the adapter matches the camera and microscope specifications. For example, C-mount adapters are common in laboratory settings.
-
Avoid biological artifacts: Studies suggest that mounting techniques, such as using agarose tubes instead of coverslips, can reduce artifacts and improve imaging quality.
-
Secure the connection: Tighten the adapter to prevent the camera from shifting during use.
Proper mounting minimizes vibrations and ensures the camera remains stable during imaging.
Connecting the Camera to a Computer or Monitor
Once mounted, connect the camera to your computer or monitor to view and capture images. Use the appropriate cable, such as USB 3.0, for faster data transfer and better performance. Follow these steps:
-
Plug the camera into the computer or monitor using the provided cable.
-
Install the necessary drivers or software. Most cameras come with installation guides to simplify this process.
-
Open the camera software to verify the connection and adjust initial settings.
The table below highlights key technical guidelines for connecting your camera:
|
Connection Type |
Speed |
Data Volume |
Resolution |
Signal-to-Noise Ratio (SNR) |
|---|---|---|---|---|
|
USB 3.0 |
High |
Large |
High |
Excellent |
|
USB 2.0 |
Moderate |
Medium |
Moderate |
Good |
|
HDMI |
Very High |
Large |
Very High |
Excellent |
Using USB 3.0 or HDMI connections ensures faster speeds and higher resolution, which are critical for real-time imaging.
Ensuring Proper Alignment for Clear Imaging
Alignment plays a crucial role in achieving sharp and accurate images. Misalignment can result in blurry or distorted visuals. To ensure proper alignment:
-
Use real-time imaging: Adjust the camera while viewing live feedback. This method allows you to achieve alignment in under two minutes.
-
Check correlation functions: Evaluate amplitude and width to assess alignment quality. Capturing at least 2,000 frames ensures accurate calibration.
-
Employ dual-color alignment: Use dichroic mirrors or image splitters to align images from different wavelengths.
The table below summarizes proven alignment methods:
|
Method/Metric |
Description |
|---|---|
|
Real-time imaging |
Utilizes live feedback for quick calibration. |
|
Correlation functions |
Measures amplitude and width for precise alignment. |
|
Dual-color alignment |
Ensures maximal overlap between different wavelength images. |
Take your time to position the camera correctly and verify alignment. This step ensures your microscope camera captures high-quality images every time.
Tips for Microscopes Without a Dedicated Camera Port
Not all microscopes come equipped with a dedicated camera port, but this doesn’t mean you can’t achieve high-quality imaging. With the right tools and techniques, you can adapt your setup to capture clear and detailed visuals. Here are some practical tips to help you optimize your microscope camera in such situations.
-
Use an Over-Eyepiece Camera
Over-eyepiece cameras are a versatile solution for microscopes without a camera port. These cameras fit directly over the eyepiece, allowing you to capture images without modifying your microscope. Ensure the camera aligns perfectly with the eyepiece to avoid vignetting or image distortion. Many over-eyepiece cameras come with adjustable clamps or adapters to secure them in place. -
Invest in Aftermarket Equipment
Specialized aftermarket equipment can significantly enhance your imaging setup. For example, you can use a universal adapter that fits snugly over the eyepiece. Some adapters even include built-in lenses to improve image quality. When selecting aftermarket tools, prioritize compatibility with your microscope and camera to ensure seamless integration. -
Stabilize Your Setup
Stability is crucial when using an over-eyepiece camera. Even slight vibrations can blur your images or videos. Place your microscope on a vibration isolation table to minimize movement. If you don’t have access to such a table, use a sturdy surface and avoid touching the microscope during imaging. -
Optimize Lighting Conditions
Proper lighting is essential for clear imaging. Use an external light source if your microscope’s built-in illumination isn’t sufficient. LED ring lights or fiber optic illuminators can provide consistent and adjustable lighting. Position the light source to minimize shadows and reflections, which can interfere with image clarity. -
Calibrate Your Camera and Software
Calibration ensures accurate measurements and sharp images. Adjust the camera’s focus, brightness, and contrast settings to match your microscope’s optical output. Use the camera software to fine-tune these settings further. Some software also includes alignment tools to help you center the camera over the eyepiece. -
Consider Multichannel Imaging Systems
If your work involves multi-color imaging, consider using a multichannel imaging system. These systems allow you to capture images in different wavelengths simultaneously, eliminating the need for manual filter changes. This approach not only saves time but also reduces motion-related artifacts.
The table below summarizes key tools and techniques for microscopes without a dedicated camera port:
|
Tool/Technique |
Purpose |
Benefits |
|---|---|---|
|
Over-Eyepiece Camera |
Captures images through the eyepiece |
Easy to install, no microscope modification required |
|
Universal Adapter |
Secures the camera to the eyepiece |
Enhances stability and compatibility |
|
Vibration Isolation Table |
Reduces movement during imaging |
Improves image clarity |
|
External Light Source |
Provides consistent illumination |
Minimizes shadows and reflections |
Adapting your microscope for camera use without a dedicated port may require some creativity and additional equipment. However, with these tips, you can achieve professional-grade imaging results that meet your research or project needs.
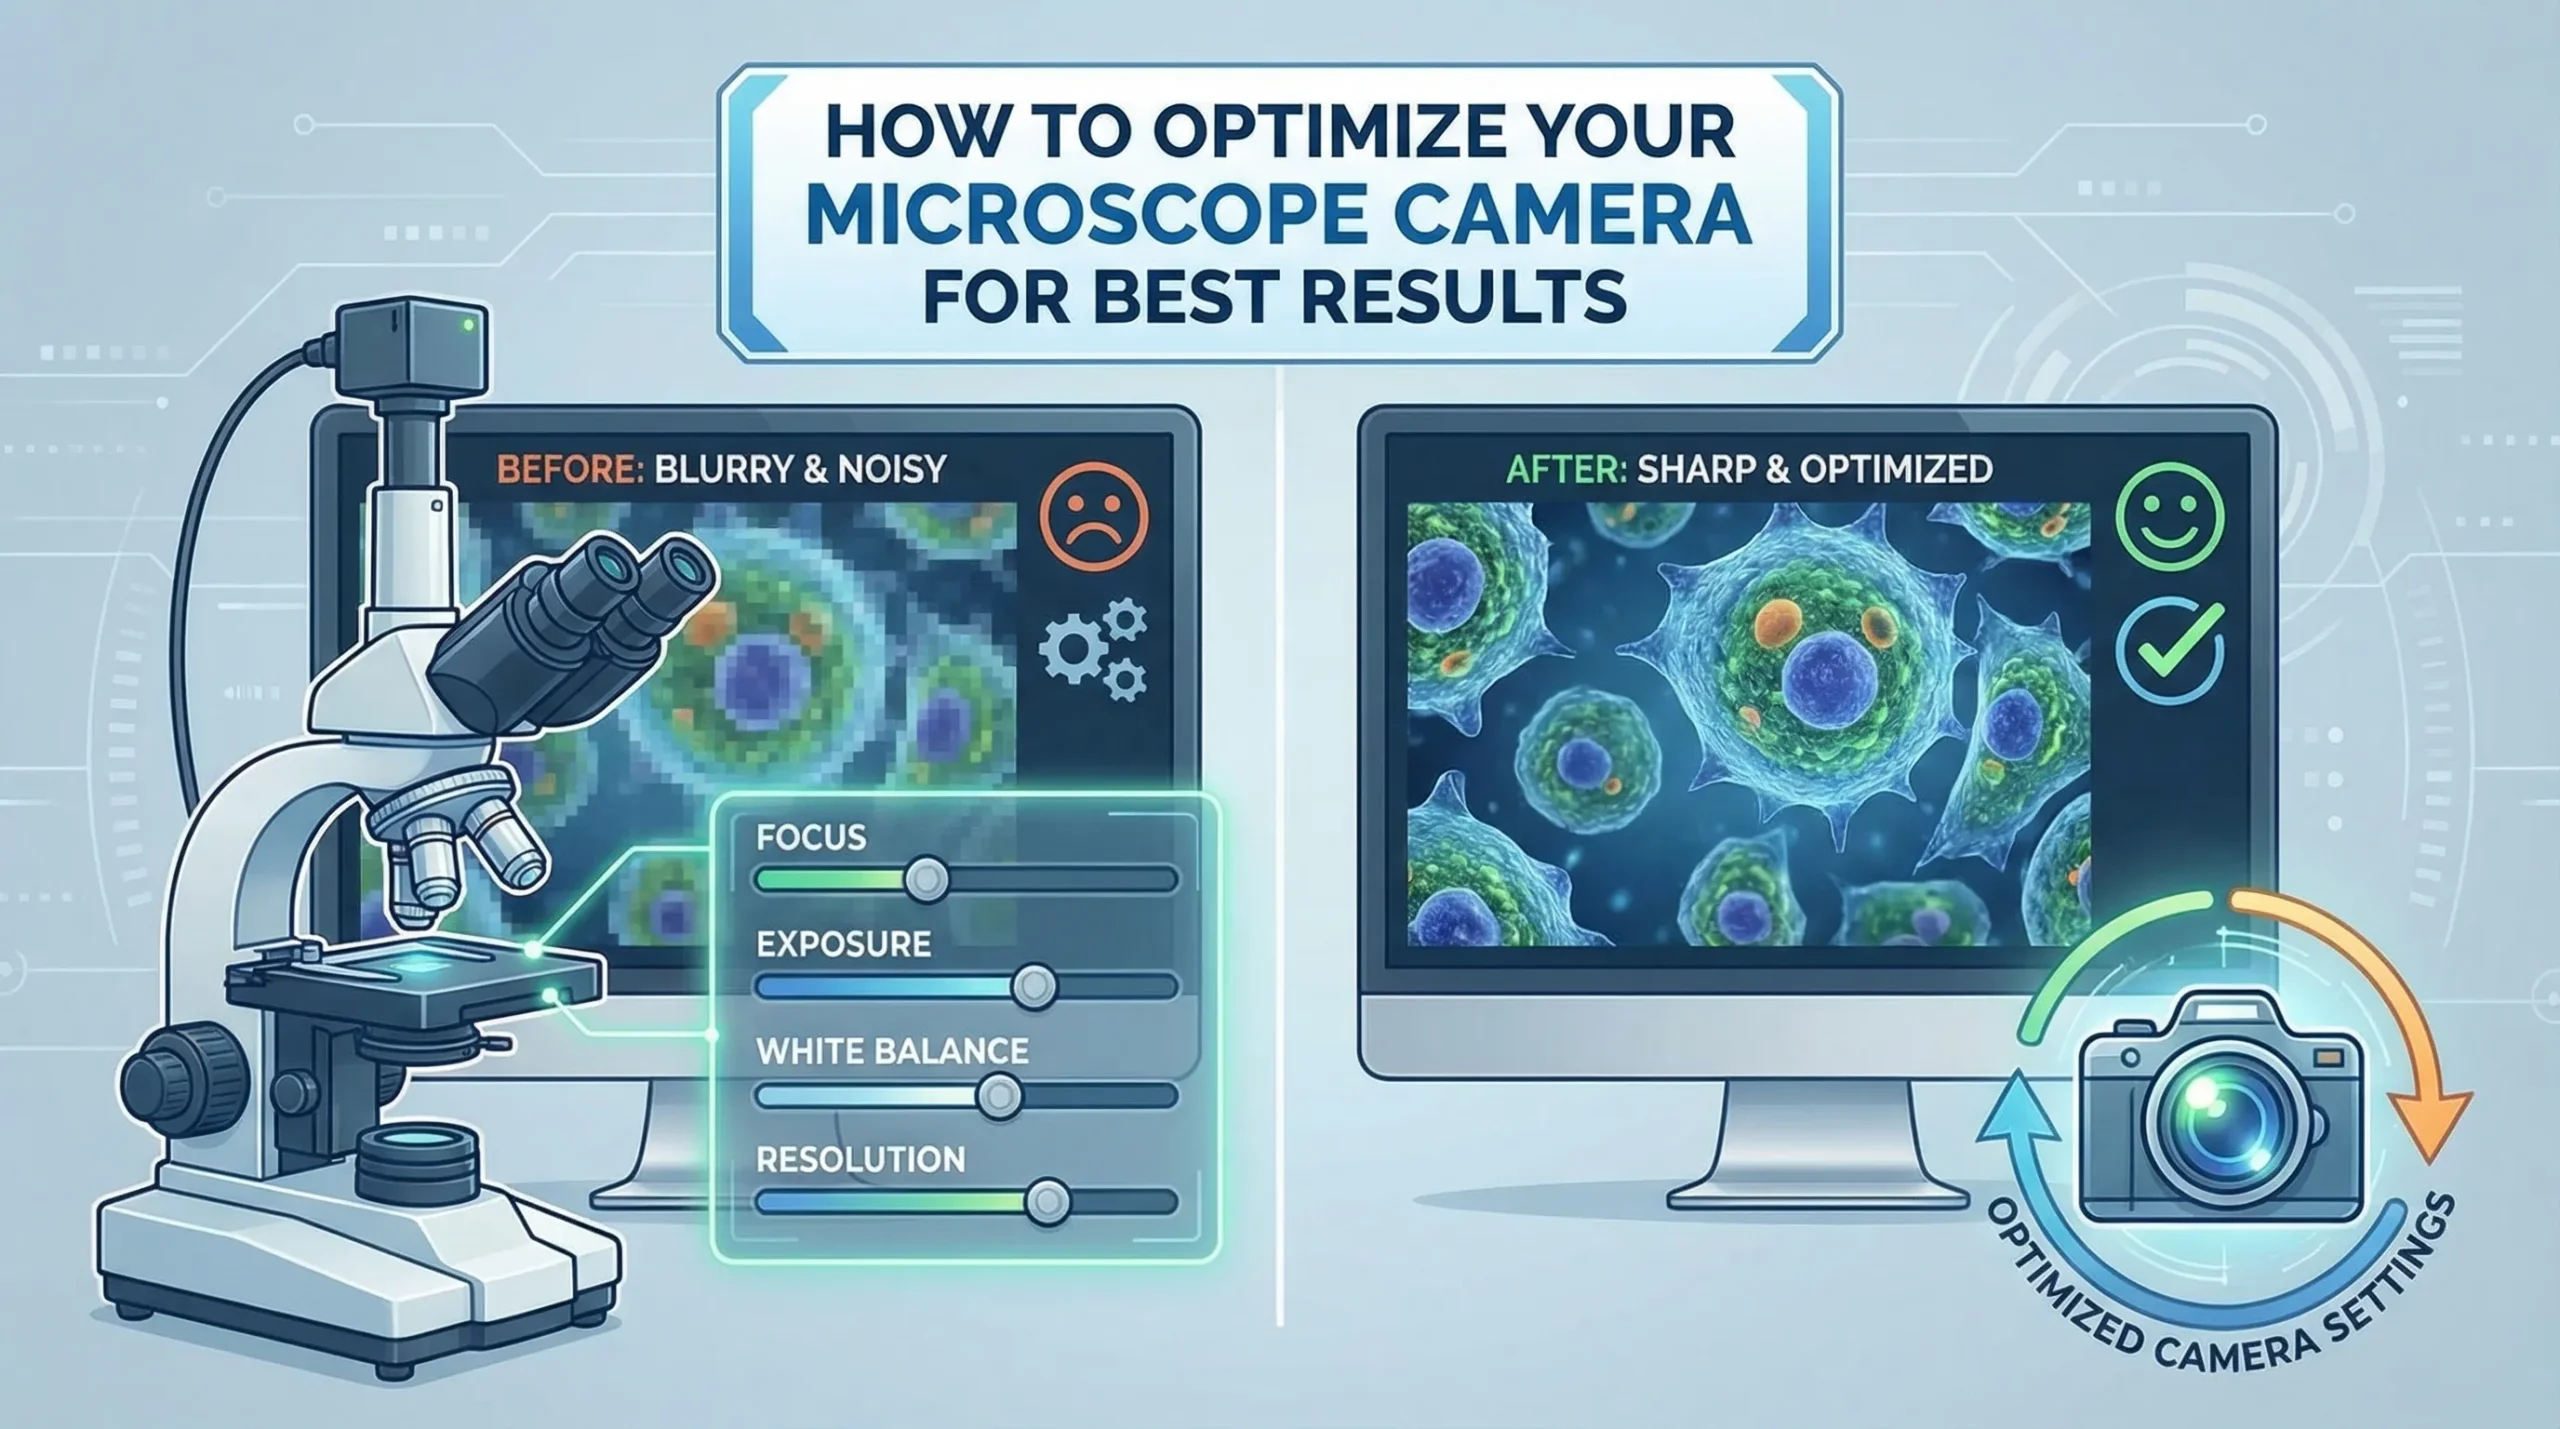
Adjusting Microscope Camera Settings
Fine-tuning your microscope camera settings is essential for achieving optimal image quality. Adjusting brightness, contrast, resolution, focus, and software configurations ensures your images are clear, accurate, and suitable for analysis.
Configuring Brightness, Contrast, and Resolution
Properly configuring brightness, contrast, and resolution enhances the visual quality of your microscope images. Each setting plays a unique role in optimizing your camera’s performance:
-
Brightness: Adjust the brightness to match your sample’s illumination. Excessive brightness can wash out details, while insufficient brightness may obscure critical features. Use your camera software to find the ideal balance.
-
Contrast: Increase contrast to highlight subtle differences between sample components. This adjustment is particularly useful for stained specimens or samples with varying densities.
-
Resolution: Select a resolution that complements your microscope’s optical system. A smaller pixel pitch improves resolution but requires compatibility with the numerical aperture and magnification.
To achieve the best results, consider the following factors:
-
Sensitivity and Noise: A high signal-to-noise ratio ensures reliable imaging. Larger pixel areas and higher quantum efficiency improve sensitivity, reducing noise in low-light conditions.
-
Color Reproduction: Accurate color representation depends on proper white balance. Use automated features or multiaxis color adjustments to optimize colors for different stains.
The table below summarizes key considerations for configuring these settings:
|
Setting |
Purpose |
Optimization Tips |
|---|---|---|
|
Brightness |
Matches sample illumination |
Adjust incrementally using live feedback |
|
Contrast |
Highlights sample differences |
Increase for stained or dense specimens |
|
Resolution |
Enhances image detail |
Match pixel pitch to optical specifications |
Adjusting Focus for Maximum Clarity
Achieving precise focus is critical for capturing sharp and detailed images. Focus adjustments directly impact clarity and measurement accuracy, making this step vital for microscopy.
-
Manual Focus: Use the microscope’s fine focus knob to adjust the focal plane. Gradually move the knob while observing live feedback from the camera software.
-
Autofocus Systems: Modern cameras often include autofocus features. These systems evaluate clarity metrics and adjust focus automatically. Studies show that larger action space sizes improve autofocus accuracy, reducing deviation and enhancing clarity.
When adjusting focus, keep these tips in mind:
-
Clarity Evaluation: Compare images obtained through autofocus with manually focused ones. Autofocus systems often achieve comparable clarity, saving time and effort.
-
Measurement Accuracy: Proper focus ensures accurate measurements. Misaligned focus can distort dimensions and compromise data reliability.
The table below highlights the benefits of focus adjustments:
|
Focus Method |
Benefits |
Key Features |
|---|---|---|
|
Manual Focus |
Precise control over focal plane |
Requires user expertise |
|
Autofocus Systems |
Enhanced clarity and measurement accuracy |
Saves time and reduces focusing deviation |
Calibrating the Camera for Accurate Measurements
Calibrating your microscope camera ensures precise measurements and reliable data. Without proper calibration, even the most advanced camera can produce inaccurate results. Follow these steps to align your camera’s settings with your microscope’s optical system and achieve accurate measurements.
1. Understand the Importance of Calibration
Calibration aligns the camera’s pixel dimensions with the microscope’s magnification. This process allows you to measure objects in your images accurately. For example, if you need to measure cell diameters or particle sizes, calibration ensures that each pixel corresponds to a specific unit of measurement, such as micrometers.
2. Use a Calibration Slide
A calibration slide is an essential tool for this process. These slides typically feature a grid or scale with known dimensions, such as 10 micrometers per division. Here’s how to use one:
-
Place the calibration slide on the microscope stage.
-
Focus the microscope on the grid or scale using the objective lens you plan to use for imaging.
-
Capture an image of the calibration slide using your camera.
3. Measure the Scale in Pixels
Once you capture the image, use your camera software to measure the scale in pixels. Most software includes a measurement tool for this purpose. Follow these steps:
-
Open the captured image in the software.
-
Select the measurement tool and draw a line along a known length on the calibration slide (e.g., 100 micrometers).
-
Record the number of pixels corresponding to this length.
4. Calculate the Pixel-to-Micrometer Ratio
The pixel-to-micrometer ratio converts pixel measurements into real-world units. Use the following formula:
Pixel-to-Micrometer Ratio = Known Length (micrometers) / Measured Length (pixels)
For example, if 100 micrometers correspond to 500 pixels, the ratio is:
100 micrometers / 500 pixels = 0.2 micrometers per pixel
This ratio becomes the basis for all subsequent measurements.
5. Input the Calibration Data into the Software
Most camera software allows you to input the pixel-to-micrometer ratio directly. This step ensures that all future measurements are automatically converted into micrometers or your preferred unit.
-
Navigate to the calibration settings in your software.
-
Enter the calculated ratio for each objective lens.
-
Save the settings for future use.
6. Verify the Calibration
After inputting the calibration data, verify its accuracy by measuring a known object, such as a micrometer ruler or a standard sample. Compare the measured dimensions with the actual dimensions to ensure consistency.
|
Step |
Action |
Outcome |
|---|---|---|
|
Use Calibration Slide |
Capture an image of a known scale |
Provides a reference for pixel measurement |
|
Measure Scale in Pixels |
Use software tools to measure the scale |
Determines pixel length for calibration |
|
Calculate Ratio |
Divide known length by pixel length |
Converts pixels to real-world units |
|
Input Data into Software |
Enter the ratio for each objective lens |
Automates future measurements |
|
Verify Calibration |
Measure a known object to confirm accuracy |
Ensures reliable and consistent results |
7. Maintain Regular Calibration
Calibration is not a one-time process. Changes in lighting, camera settings, or microscope alignment can affect accuracy. Regularly recalibrate your system to maintain precision.
Note: Store your calibration data for each objective lens in a dedicated file. This practice saves time and ensures consistency when switching between magnifications.
8. Troubleshooting Calibration Issues
If your measurements seem inconsistent, consider these troubleshooting tips:
-
Check the Focus: Ensure the calibration slide is sharply focused during image capture.
-
Verify Software Settings: Confirm that the correct pixel-to-micrometer ratio is applied.
-
Inspect the Calibration Slide: Replace damaged or worn slides, as they can distort measurements.
Calibrating your microscope camera may seem tedious, but it is a critical step for accurate imaging and analysis. With consistent practice, you can streamline the process and ensure reliable results for all your microscopy projects.
FAQ
What is the best way to clean a microscope camera lens?
Use a microfiber cloth and lens cleaning solution to gently wipe the lens. Avoid using abrasive materials or excessive pressure, as these can damage the lens coating. Regular cleaning ensures clear imaging and prevents dust or smudges from affecting your results.
Can I use any camera with my microscope?
No, not all cameras are compatible with every microscope. Check for compatibility in terms of adapter size, connection type, and software support. Using a dedicated microscope camera ensures optimal performance and image quality.
How do I reduce vibrations when capturing images?
Place your microscope on a stable surface or use a vibration isolation table. Avoid touching the microscope during imaging. For DSLR setups, use a remote shutter release or timer to minimize vibrations caused by manual handling.
Why are my images blurry even after focusing?
Blurry images can result from misalignment, poor lighting, or incorrect camera settings. Ensure proper alignment of the camera with the microscope, adjust the lighting, and fine-tune the focus. Regular calibration of your system also helps maintain image clarity.
Is it necessary to calibrate the camera for every objective lens?
Yes, calibration is essential for each objective lens to ensure accurate measurements. Different lenses have varying magnifications, which affect the pixel-to-micrometer ratio. Regular calibration maintains consistency and reliability in your data.

