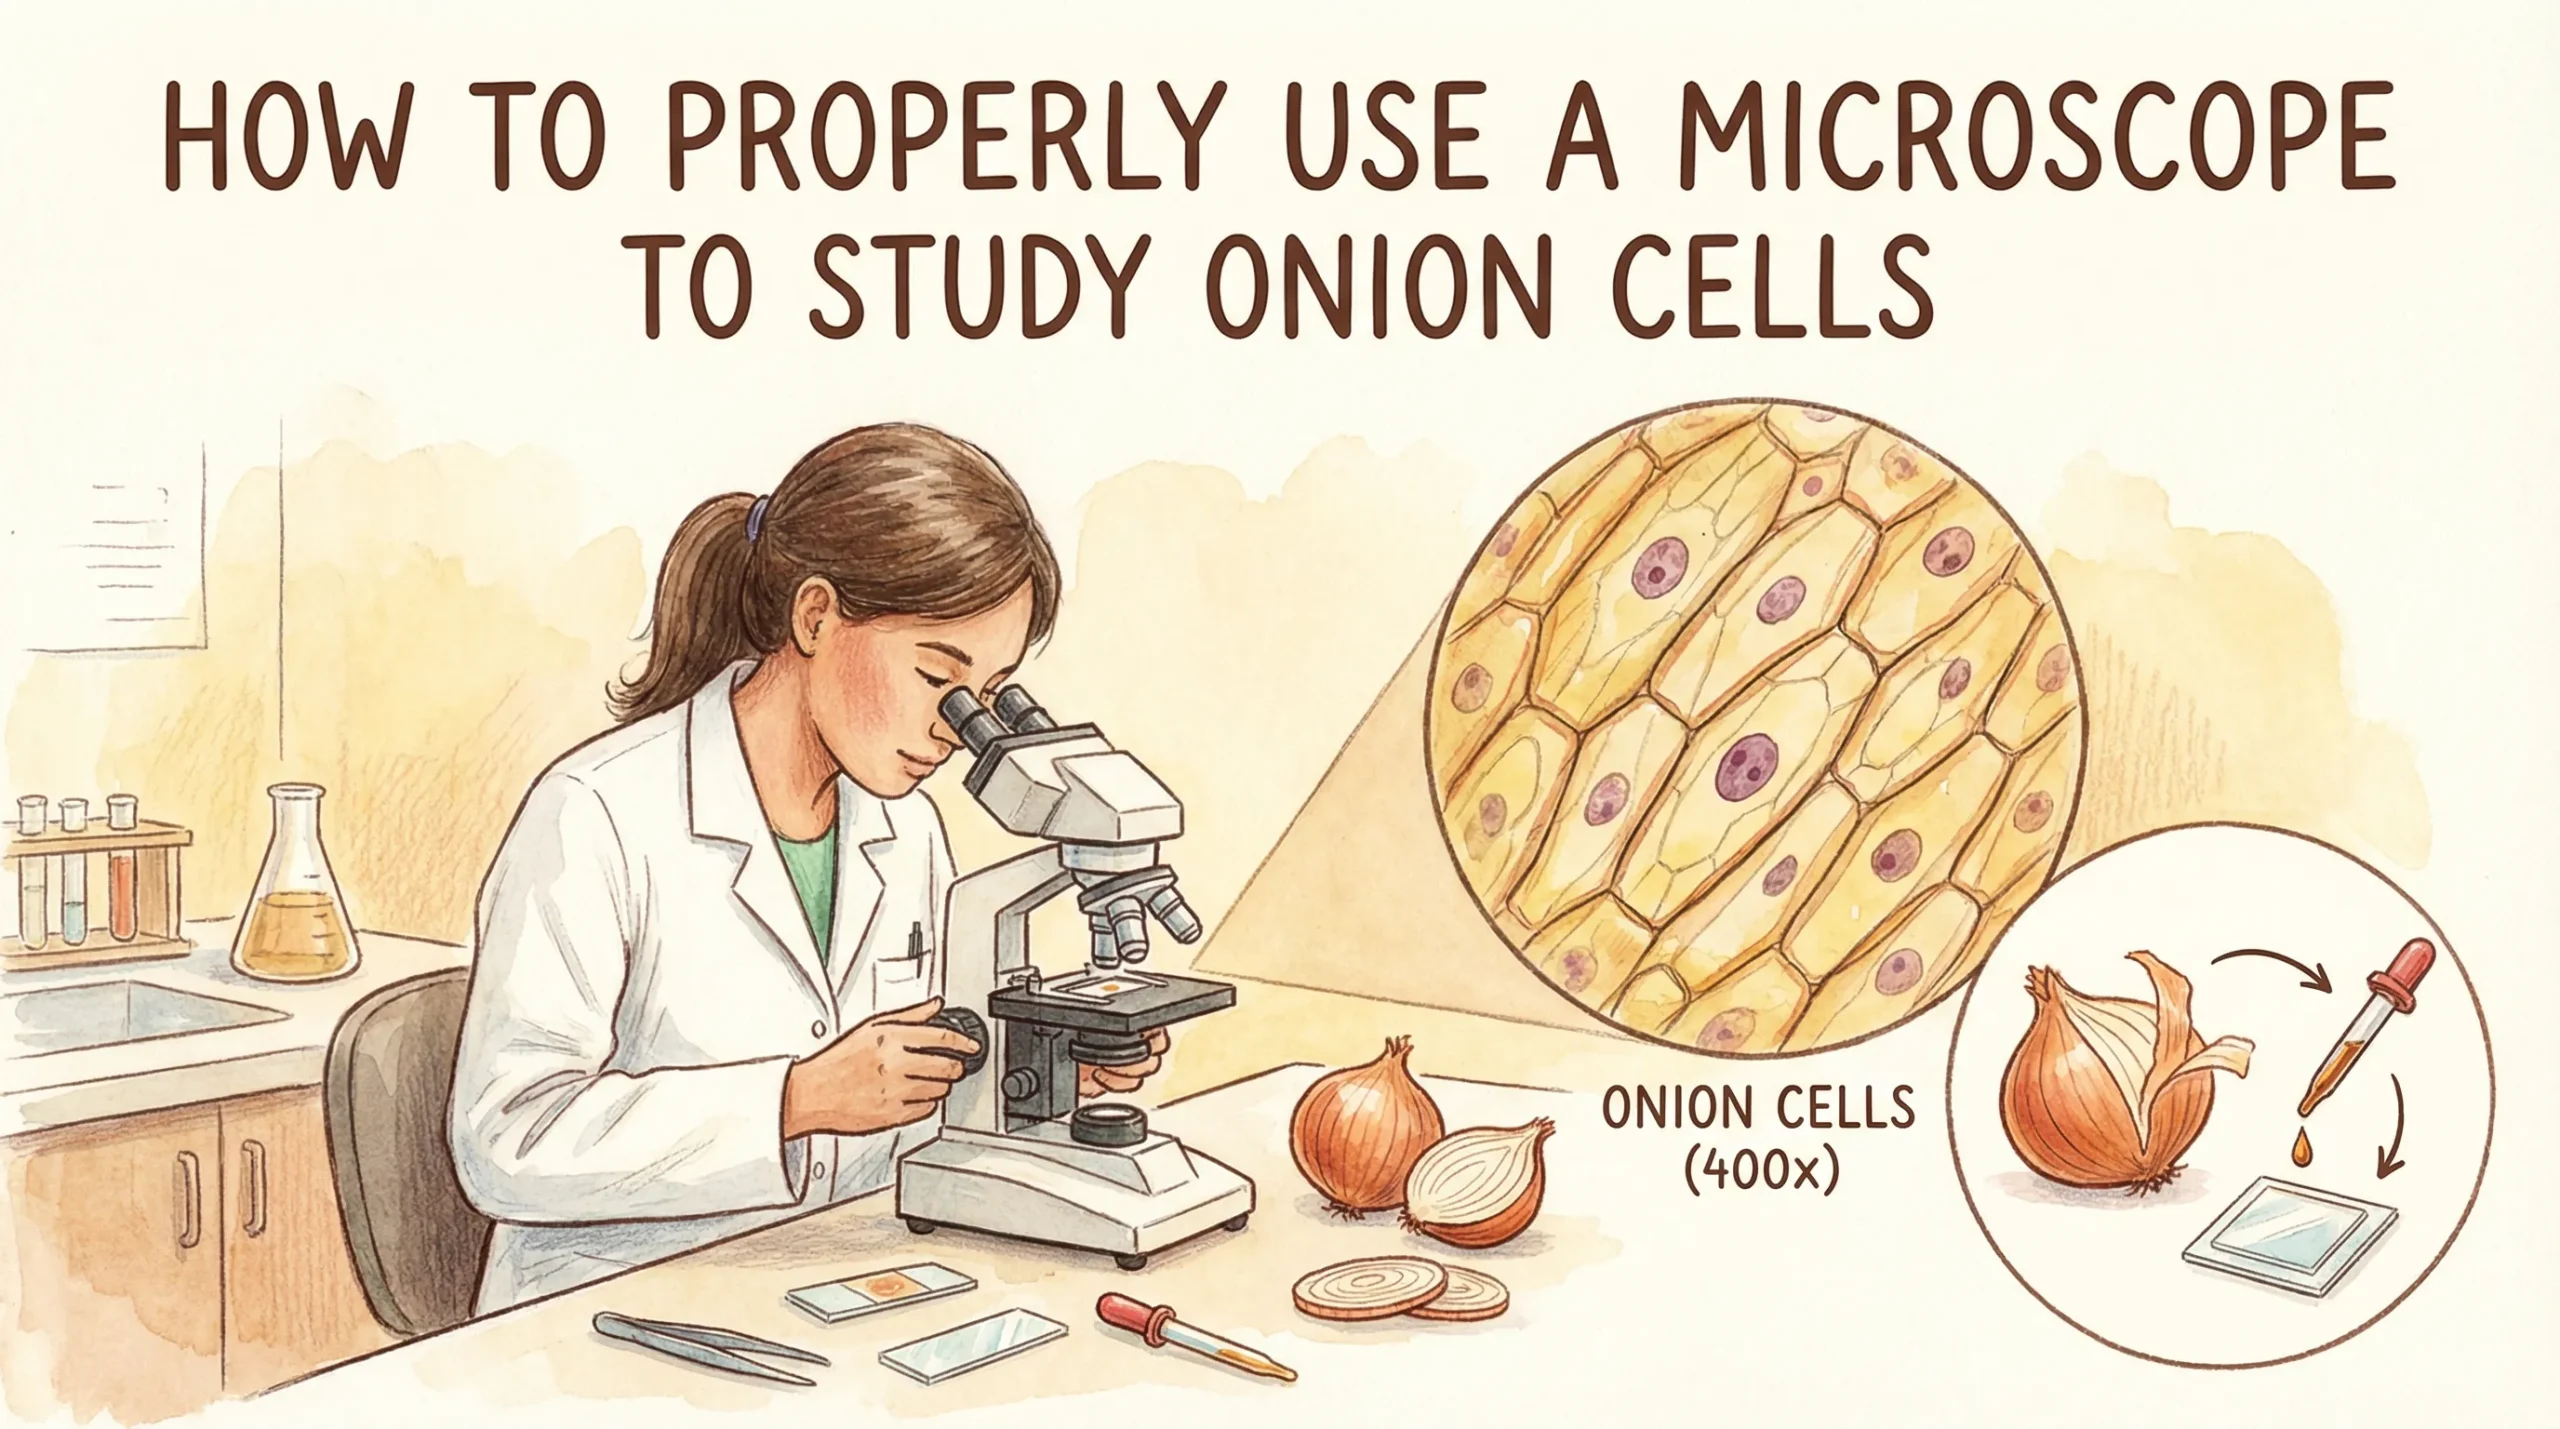
If you’ve ever been curious about how to use a microscope to see onion cells, observing them up close is an excellent way to begin. Onion cells are large and simple to view, making them perfect for those new to microscopy. By peeling a thin layer of onion skin, preparing a slide, and applying staining techniques, you can easily highlight the cell structures. This straightforward process shows you details such as the cell wall, nucleus, and cytoplasm.
Understanding how to use a microscope to see onion cells provides an exciting introduction to the fascinating microscopic world around us.
Materials Needed to Observe Onion Cells
To successfully observe onion cells under a microscope, you need a few essential materials. Each item plays a crucial role in ensuring clear and detailed observations.
Microscope
A microscope is the most important tool for this experiment. A compound microscope is ideal because it provides the magnification needed to view the intricate details of onion cells. Start with a low magnification to locate the cells, then switch to higher magnifications for a closer look at structures like the cell wall and nucleus. Adjusting the light source and focus knobs will help you achieve a sharp and clear image.
Staining the cells with solutions like iodine or methylene blue enhances contrast, making the cellular structures more visible.
Fresh Onion Bulb
Using a fresh onion bulb ensures the best results. Fresh onions have firm, intact cells that are easier to observe. The rectangular shape and compact arrangement of the cells provide a clear view of their structure. The large vacuoles within the cells store materials essential for cellular functions, which you can easily identify under the microscope.
Avoid using onions that are dried out or damaged, as their cells may not be as well-preserved.
Glass Slides and Cover Slips
Glass slides and cover slips are essential for preparing your onion cell sample. A high-quality glass slide provides a stable base for the specimen, while the cover slip protects the sample and ensures even light distribution. Using a cover slip also minimizes air bubbles, which can interfere with your observations.
High-quality glass cover slips enhance image clarity and transparency, allowing you to see the cells in greater detail. Their uniform thickness ensures consistent imaging, which is crucial for accurate results.
Staining solution (e.g., iodine or methylene blue)
A staining solution is essential for enhancing the visibility of onion cells under a microscope. Without staining, the transparent nature of the cells makes it difficult to observe their structures clearly. You can use iodine or methylene blue as your staining agent. Iodine highlights the cell wall and nucleus, while methylene blue provides a vibrant contrast to the cytoplasm.
Both options work well, so you can choose based on availability.
To apply the stain, place a drop near the edge of the cover slip. Allow it to diffuse across the sample by capillary action. This method ensures even staining without disturbing the onion skin. Be cautious when handling the stain, as it can leave marks on your skin or clothing. Using the right amount of stain is crucial.
Too much can obscure the details, while too little may not provide enough contrast to observe cells effectively.
Tweezers, dropper, and scalpel
Precision tools like tweezers, a dropper, and a scalpel play a vital role in preparing your onion cell slide. Each tool serves a specific purpose to ensure accuracy and safety during the process:
-
Tweezers help you handle the delicate onion skin without tearing it. They allow you to transfer the sample onto the slide with ease.
-
A dropper is used to place a drop of water in the center of the slide. This step keeps the sample moist and prevents distortion.
-
A scalpel ensures clean and uniform cuts, which are essential for preparing a thin, even layer of onion skin.
When using these tools, follow these safety tips:
-
Avoid letting the dropper touch the slide to prevent contamination.
-
Handle the scalpel carefully to avoid injury while making precise cuts.
-
Use methylene blue dye cautiously to avoid staining your hands or clothes.
These tools not only make the preparation process smoother but also improve the quality of your slide, helping you observe cells more effectively.
Paper towel or tissue
Paper towels or tissues are indispensable for maintaining a clean and high-quality slide. They help manage excess liquid and ensure the sample remains intact. After applying the stain, place a tissue against the side of the cover slip.
This step absorbs any extra dye, preventing it from pooling on the slide.
You can also use a clean paper towel to gently wipe off any excess liquid around the edges of the slide. This keeps the microscope stage clean and prevents smudges on the lenses. Proper use of absorbent materials ensures that your sample stays clear and free of distractions, making it easier to observe cells in detail.
How to Prepare an Onion Cell Slide
Preparing an onion cell slide is a straightforward process that requires precision and care. Follow these steps to create a high-quality slide for observing onion cells under a microscope.
Peel a thin layer of onion skin
Start by selecting a fresh onion bulb. Remove the outer layers to access the inner tissue, which is ideal for microscopic examination. Use your fingers or tweezers to peel a thin, transparent layer of onion skin from the inner surface. This layer, known as the epidermis, contains the cells you will observe.
Ensure the piece is as thin and flat as possible. A thin layer allows light to pass through easily, making the cellular structures more visible under the microscope.
If the layer appears too thick or uneven, try slicing a small section of the onion with a scalpel. This ensures uniformity, which is crucial for clear observation. Handle the onion skin gently to avoid tearing it, as damaged sections may not provide a clear view of the cells.
Place the onion skin on the slide
Once you have a thin layer of onion skin, transfer it to a clean glass slide. Use fine forceps to carefully place the skin flat on the slide. Position it in the center to ensure even light distribution during observation. Avoid folding or wrinkling the skin, as this can obstruct your view of the cells.
If the onion skin does not lie flat, use the edge of a scalpel or tweezers to adjust it. A smooth and even placement is essential for achieving a clear and detailed view of the onion cells.
Taking the time to position the sample correctly will make the next steps more effective.
Add drops of water to create a wet mount
To prepare a wet mount, place a drop of water in the center of the onion skin using a dropper. The water hydrates the tissue and enhances its transparency, making it easier to observe the cells.
Ensure the water covers the entire sample but does not overflow the edges of the slide.
After adding the water, gently lower a cover slip onto the sample. Hold the cover slip at an angle and let one edge touch the water first. Then, slowly lower it to avoid trapping air bubbles. Air bubbles can distort the image and make it difficult to see the cellular structures clearly.
If bubbles form, use the edge of a scalpel to gently press them out.
A properly prepared wet mount ensures that the onion cells remain intact and visible under the microscope. This step is crucial for achieving clear and detailed observations.
Carefully apply the cover slip
Applying the cover slip is a delicate step that requires precision. A properly placed cover slip ensures your sample remains intact and provides a clear view of the onion cells under the microscope. Follow these steps to apply the cover slip correctly:
-
Hold the cover slip at an angle: Use your fingers or tweezers to hold the cover slip at a 45-degree angle. This position helps you control its placement and prevents air bubbles from forming.
-
Lower one edge first: Touch one edge of the cover slip to the water drop on the slide. This allows the liquid to spread evenly beneath the cover slip.
-
Gently lower the rest: Slowly lower the cover slip onto the sample. Avoid pressing down or dropping it quickly, as this can damage the onion skin or create air pockets.
Tip: If air bubbles appear, use the edge of a scalpel or tweezers to gently press them out. Air bubbles can distort your view and make it harder to observe the cells.
A well-placed cover slip ensures even light distribution and keeps the sample hydrated. This step is essential for achieving clear and detailed observations during your experiment.
Stain the onion cells for better contrast
Staining the onion cells enhances their visibility under the microscope. Without staining, the transparent nature of the cells makes it difficult to distinguish their structures.
Here’s how you can stain the cells effectively:
-
Choose the right stain: Select a staining solution like iodine or methylene blue. Iodine highlights the nucleus and cell wall, while methylene blue provides a vibrant contrast to the cytoplasm.
-
Apply the stain carefully: Place a drop of the staining solution near the edge of the cover slip. Allow the stain to diffuse across the sample through capillary action. This method ensures even staining without disturbing the onion skin.
-
Remove excess stain: Use a paper towel or tissue to absorb any extra stain around the edges of the cover slip. This prevents pooling and keeps your slide clean.
|
Staining Solution |
Purpose |
Color Contrast |
Best for Observing |
|---|---|---|---|
|
Iodine |
Highlights cell wall |
Brownish-yellow |
Nucleus and cell wall |
|
Methylene Blue |
Enhances cytoplasm |
Bright blue |
Cytoplasm and vacuoles |
Staining brings the onion cells to life under the microscope. You’ll be able to see structures like the cell wall, nucleus, and cytoplasm with greater clarity. This step transforms your slide into a vibrant and detailed view of cellular anatomy.
How to Use Microscope to See Onion Cell
Adjust the microscope’s light source
Proper lighting is essential when observing onion cells under a microscope. Begin by turning on the microscope’s light source. Most microscopes have a built-in illuminator or a mirror to direct light. Adjust the brightness to a comfortable level. Too much light can wash out the details, while insufficient light can make the cells hard to see.
Locate the diaphragm, a small rotating disk beneath the stage. This component controls the amount of light passing through the sample.
Rotate the diaphragm to find the best setting for your slide. A medium light intensity often works well for onion cells.
Taking the time to adjust the light source ensures that the cellular structures, such as the cell wall and nucleus, appear sharp and well-defined. This step lays the foundation for successful observation.
Start with the lowest magnification
Always begin your examination with the lowest magnification objective lens. Most microscopes have lenses labeled with magnifications like 4x, 10x, and 40x. Select the 4x lens first. This setting provides a wider field of view, making it easier to locate the onion cells on the slide.
Place the slide on the stage and secure it using the stage clips. Align the sample so that the onion skin is directly under the objective lens. Look through the eyepiece and use the stage adjustment knobs to center the sample in your view.
Once you’ve identified the area of interest, you can switch to a higher magnification for a closer look. This step ensures you don’t miss any important details while exploring how to use a microscope effectively.
Focus using the coarse adjustment knob
The coarse adjustment knob is your primary tool for bringing the onion cells into focus. While looking through the eyepiece, slowly turn the knob to raise or lower the stage. Move the stage until the sample comes into view. Focus carefully to avoid damaging the slide or the objective lens. If the image appears blurry, adjust the knob slightly in the opposite direction.
Take your time to achieve a clear view of the cells.
Once the cells are visible, you’ll notice their rectangular shape and distinct cell walls. At this stage, you can identify the general layout of the cells. For finer details, you’ll need to switch to the fine adjustment knob, which we’ll cover in the next section.
Switch to higher magnification for detailed observation
Once you’ve located the onion cells using the lowest magnification, it’s time to zoom in for a closer look. Switch to a higher magnification objective lens, such as 10x or 40x, to observe the finer details of the cells. Rotate the nosepiece gently to change the lens, ensuring it clicks into place.
Higher magnification allows you to see structures like the nucleus, cytoplasm, and vacuoles with greater clarity.
When using higher magnification, the field of view becomes smaller. Center the onion cells in your view before increasing the magnification. This step ensures the cells remain visible as you zoom in. Adjust the stage slightly if needed to keep the sample aligned with the lens. Higher magnification reveals the intricate details of onion cells. You’ll notice the rectangular shape of the cells and the thick cell walls that provide structural support. The nucleus, often stained darker, becomes more prominent.
Observing these features helps you understand the basic anatomy of plant cells.
Use the fine adjustment knob for clarity
After switching to higher magnification, use the fine adjustment knob to sharpen the image. This knob moves the stage in smaller increments, allowing you to refine the focus without damaging the slide. Slowly turn the knob while looking through the eyepiece. Stop when the cellular structures appear crisp and well-defined. The fine adjustment knob is especially useful for observing delicate details.
For example, you can clearly see the cytoplasm’s texture and the vacuoles’ boundaries. If the image remains blurry, check the light source and diaphragm settings. Adjusting these components can improve clarity further.
As you fine-tune the focus, take your time to explore different areas of the onion skin. You might notice variations in cell size or arrangement. These observations provide valuable insights into how plant cells function and interact.
Learning how to use microscope to see onion cell structures effectively enhances your understanding of cellular biology.
Tips for Observing Onion Cells Clearly
Ensure the onion skin is thin and flat
A thin and flat onion skin is essential for observing onion cells clearly. Thick or uneven layers block light, making it harder to see the cells. Use tweezers to peel a single, transparent layer from the onion’s inner surface. If the layer appears too thick, trim it with a scalpel to achieve uniformity. Place the skin flat on the slide, ensuring no folds or wrinkles. A smooth sample allows light to pass through evenly, highlighting the cell structures.
Avoid air bubbles under the cover slip
Air bubbles can interfere with your ability to observe onion cells. They scatter light and create dark spots, obscuring the sample. To prevent bubbles, hold the cover slip at a 45-degree angle. Lower one edge onto the water drop first, then gently lower the rest. This technique pushes out air as the cover slip settles.
If bubbles form, use the edge of a scalpel to press them out carefully.
Use the right amount of staining solution
Using the correct amount of staining solution is crucial for observing onion cells effectively. Too much stain can obscure details, while too little may not provide enough contrast. Place a single drop of iodine or methylene blue near the edge of the cover slip. Allow the stain to spread across the sample naturally. This method ensures even staining without disturbing the onion skin.
After staining, use a tissue to absorb any excess liquid around the edges of the slide. This step prevents pooling, which can blur the image.
Proper staining highlights key structures like the nucleus and cell wall, making them easier to identify.
Clean the microscope lenses before use
Cleaning the microscope lenses is essential for achieving clear and sharp observations. Dust, smudges, or fingerprints on the lenses can distort the image and reduce visibility. Before starting your experiment, inspect the lenses carefully. Look for any marks or debris that might interfere with your view.
Follow these steps to clean the lenses effectively:
-
Use lens paper or a microfiber cloth: Regular tissues or paper towels can scratch the lenses. Always use lens paper or a microfiber cloth designed for delicate surfaces.
-
Apply a small amount of lens cleaning solution: If the lenses have stubborn smudges, use a drop of lens cleaning solution. Avoid using household cleaners, as they can damage the coating on the lenses.
-
Wipe gently in a circular motion: Hold the lens paper or cloth lightly and clean the lenses in a circular motion. This technique removes dirt without applying too much pressure.
-
Check for streaks: After cleaning, inspect the lenses again to ensure no streaks or residue remain. Repeat the process if necessary.
Keeping the lenses clean ensures you get the best possible view of the onion cells. This simple step enhances the quality of your observations and helps you focus on the intricate details of the sample.
Practice patience when focusing the microscope
Focusing the microscope requires patience and precision. Rushing through this step can lead to blurry images and missed details. Take your time to adjust the focus knobs carefully and observe the sample in stages.
Here’s how you can focus effectively:
-
Start with the coarse adjustment knob: Use this knob to bring the sample into general focus. Move the stage slowly until the onion cells become visible.
-
Switch to the fine adjustment knob: Once the cells are in view, use the fine adjustment knob to sharpen the image. Turn it gradually to avoid over-adjusting.
-
Re-center the sample if needed: If the cells move out of view, adjust the stage slightly to re-center them. This step ensures you don’t lose track of the area you’re observing.
Patience is key to mastering microscope techniques. By focusing carefully, you’ll uncover fascinating details like the cell wall, nucleus, and cytoplasm. This skill enhances your ability to explore the microscopic world and makes the experiment more rewarding.
Observing onion cells under a microscope offers a hands-on way to explore the microscopic world. This activity teaches you how to prepare slides, apply stains, and use a microscope effectively. Following the steps in this guide ensures clear and detailed results.
Take the time to try this experiment yourself. It’s a fun and educational way to understand plant cell structures and develop your microscopy skills. 🌱🔬
FAQ
What magnification is best for observing onion cells?
Start with 4x magnification to locate the cells. Then, switch to 10x or 40x for detailed observation. Higher magnifications reveal structures like the nucleus and cytoplasm. Adjust the fine focus knob for clarity.
Why is staining necessary for observing onion cells?
Staining enhances contrast, making transparent structures like the nucleus and cell wall visible. Iodine highlights the nucleus, while methylene blue enhances the cytoplasm. Without staining, the cells appear faint and harder to study.
How do you avoid air bubbles under the cover slip?
Hold the cover slip at a 45-degree angle. Lower one edge onto the water drop first, then gently lower the rest. This technique pushes out air. If bubbles form, use a scalpel edge to press them out.
Can you reuse a prepared onion cell slide?
Prepared slides can be reused briefly if stored properly. Cover the slide with a damp tissue to prevent drying. However, staining may fade over time, reducing visibility. For best results, prepare a fresh slide for each observation.
What should you do if the image appears blurry?
Check the focus knobs. Use the coarse adjustment knob for general focus and the fine adjustment knob for clarity. Ensure the slide is clean and the light source is adjusted correctly. Dust on the lenses can also cause blurriness, so clean them if needed.

