You want your microscope to deliver clear images for years, right? With the right care, you can make it last over 20 years without major problems. If you learn how to repair microscope issues early, you avoid frustration and costly mistakes.
Let’s get right in and start diagnosing your microscope together.
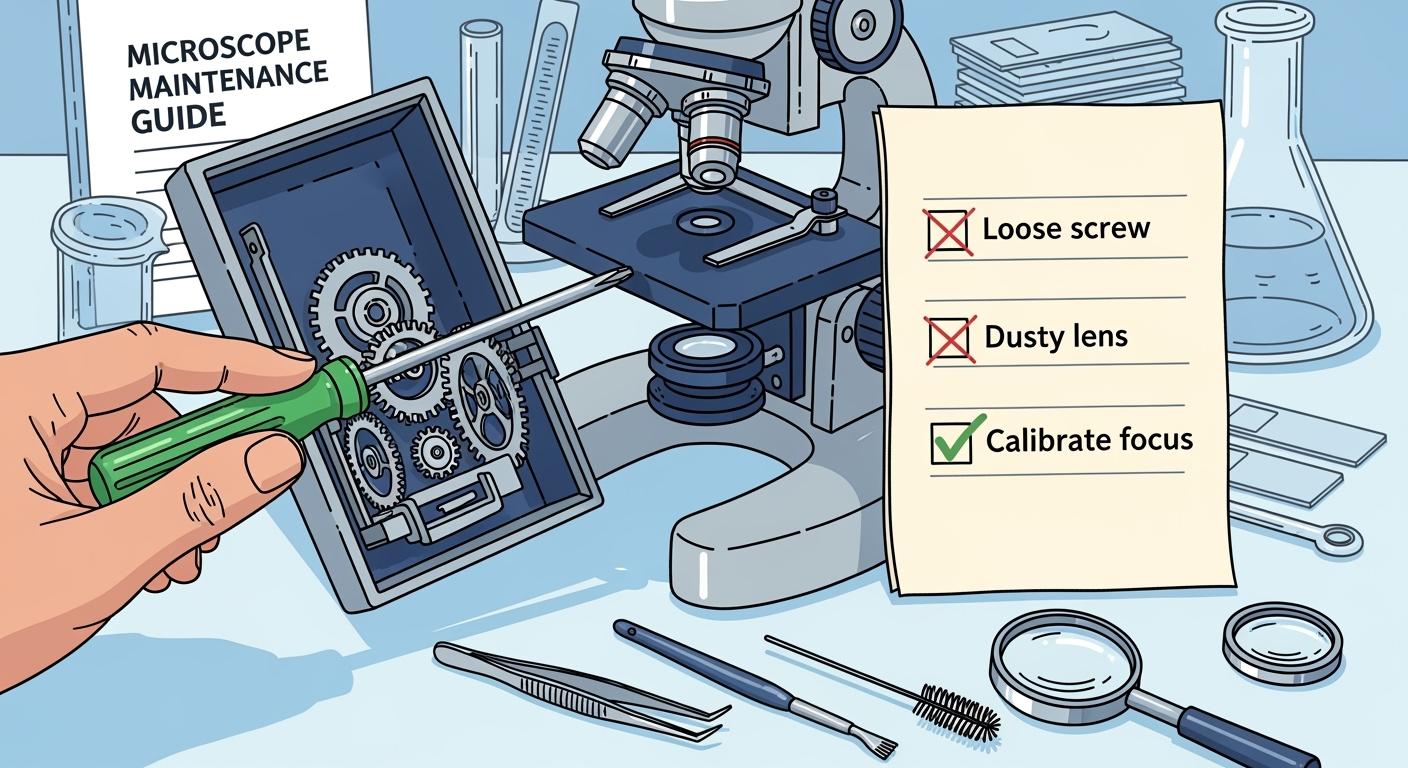
How to Repair Microscope: Quick Diagnosis and Fixes
Ready to get hands-on? You can solve most microscope problems with a little patience and a step-by-step guide. Let’s break down the most common issues and show you how to repair microscope troubles quickly and safely.
Optical Problems and Solutions
You want sharp, clear images every time you look through your microscope. When things go wrong, the optics are often the culprit. Here’s how to spot and fix the most common optical issues:
-
Dirty or Smudged Optics
Dust, fingerprints, or even a little oil can block your view. Grab a lens cleaning cloth or special lens paper. Gently wipe the eyepiece and objective lenses. Never use your shirt or a tissue—these can scratch the optics. -
Blurry Images
If your image looks fuzzy, check the focus knobs first. Make sure the specimen is in the center of the field. Clean the objective lens if you see any smudges. Sometimes, advanced deconvolution software can help restore clarity, but usually, a simple cleaning does the trick. -
Distorted or Misaligned Images
If things look stretched or off-center, the optics might be misaligned. Try removing and reinserting the eyepiece and objectives. Make sure everything clicks into place. If the problem continues, you may need a professional for microscope repair. -
Fungus or Mold Growth
Humidity can cause fungus to grow on your optics. Store your microscope in a dry place and use silica gel packs to keep moisture away. If you spot mold, clean the affected lens with a lens cleaner and consult a technician if it spreads.
Tip: Always check for vibration. Focus on a sharp specimen at high magnification. If the image goes out of focus right away, you might need to isolate your microscope from vibrations.
Illumination Troubleshooting
Good lighting makes all the difference. If your microscope’s light source isn’t working, follow this step-by-step guide:
-
Make sure the microscope is switched on and the brightness control (rheostat) is set to the highest level.
-
Open the field iris so light can pass through.
-
If you use a trinocular microscope, check that the beam splitter isn’t engaged.
-
Adjust the disc diaphragm for proper light control.
-
Inspect the bulb. Replace it if it’s burned out.
-
Check the fuse and replace it if necessary. Always follow the manual for this step.
-
For cordless models, make sure the batteries are charged.
If you still see uneven lighting or dark spots, check the condenser and make sure it’s centered. Adjust the substage condenser aperture diaphragm to about 65–80% of the objective aperture. This improves contrast and gives you a brighter, clearer image.
Mechanical Issues and Simple Repairs
Mechanical problems can make your microscope hard to use. Here’s how to repair microscope mechanical issues with confidence:
-
Stiff or Stuck Focus Knobs
If the focus knob won’t turn, try this step-by-step guide:-
Hold the thin metal ring on the focus knob.
-
Rotate it counterclockwise.
-
Use a push pin or small screwdriver to press one of the slots.
-
Remove the ring to access the nut inside.
-
Tighten the nut with a tool that fits well.
-
Put the ring back and align the knob to the infinity stop.
-
-
Stage Movement Problems
The stage should move smoothly. If it feels stiff or jerky, add a drop of microscope lubricant to the moving parts. Wipe away any extra oil. If the problem continues, the focus rack tensioning mechanism might need adjustment. -
Electrical or Mechanical Malfunctions
If the stage, focusing mechanism, or lighting controls stop working, check for loose connections or worn parts. Sometimes you can fix these with a simple repair. If not, call a professional for microscope repair.
Following these instructions will equip you with the knowledge to troubleshoot microscope issues and ensure your optics, illumination, and mechanics are performing optimally. You’ll save time, avoid frustration, and get back to exploring the microscopic world.
Microscope Cleaning and Maintenance
You’ve learned how to fix common problems, but keeping your microscope in top shape starts with regular microscope cleaning and maintenance. Let’s walk through the best ways to clean microscope parts, protect your investment, and avoid costly repairs.
Daily and Weekly Cleaning Steps
Stay ahead of trouble with daily cleaning routines. Here’s what you should do:
-
Wipe lenses and external surfaces with a microfiber cloth or lens paper.
-
Use a dust blower to remove loose particles.
-
Clean immersion oil off objectives right after use.
-
Always start cleaning from the center of the lens and move outward in a spiral.
-
Inspect your microscope at the end of each day. Make sure all components are clean and ready for tomorrow.
-
Cover your microscope when not in use to keep dust away.
-
Store it in a dry, clean space.
Touching the lens can cause damage. Use minimal pressure and time when cleaning.
Deep Cleaning and Safe Disassembly
You might think about taking your microscope apart for a deep clean.
Don’t do it!
Instead, focus on cleaning optics and mechanical parts you can reach. Use distilled water, lens cleaning solution, and lint-free cloths. For stubborn dirt, try a cotton swab or a bamboo stick with high-purity cotton.
Routine Microscope Maintenance Tips
Routine cleaning and maintenance keep your microscope working smoothly. Lubricate moving parts like focus knobs and the stage with manufacturer-recommended lubricants. Clean old grease before adding new. Test controls after lubrication.
Schedule professional servicing for calibration and complex maintenance.
Skipping routine cleaning and maintenance can lead to unexpected failures, poor image quality, and calibration issues.
Take care of your microscope, and it will take care of your research.
Microscope Repair Mistakes to Avoid
To ensure your microscope remains in excellent condition and provides optimal performance, it’s important to avoid common repair pitfalls. Even with the best intentions, incorrect procedures can unfortunately exacerbate issues, leading to more significant complications.
Let’s look at the most common errors and how you can avoid them.
Common Errors During Repair
Many people rush into fixing their microscope without thinking things through. Here are mistakes you should watch out for:
-
Using the wrong cleaning materials. If you grab a paper towel or your shirt, you risk scratching the lenses and causing contamination.
-
Forcing stuck parts. When you push or twist too hard, you can break delicate gears or misalign the microscope.
-
Skipping the diagnosis step. If you don’t check for the real problem, you might miss hidden contamination or damage.
-
Ignoring power safety. Working on a plugged-in microscope can cause electric shock or short circuits.
-
Leaving the microscope uncovered. Dust and contamination can build up quickly if you forget to cover it.
Preventing Damage to Your Microscope
You can protect your microscope and avoid costly repairs by following a few simple steps:
-
Inspect your microscope regularly. Look for loose screws, worn parts, or any signs of contamination.
-
Keep a log of your inspections. This helps you spot patterns and catch problems before they get worse.
-
Clean the objective lenses with lens tissue only. Never use abrasive materials that can cause scratches or contamination.
-
Power down and unplug your microscope before any repair. This keeps you safe and prevents electrical damage.
-
Cover your microscope when you finish. A dust cover blocks contamination and keeps your microscope ready for use.
|
Step |
Why It Matters |
|---|---|
|
Regular Inspection |
Stops contamination early |
|
Clean Lenses Properly |
Prevents scratches and contamination |
|
Use a Dust Cover |
Blocks dust and contamination |
Be patient and careful. This will keep your microscope in good working order and prevent the headaches associated with contamination or accidental damage. It’s crucial that your microscope functions flawlessly every time you use it. Accurate diagnoses save both time and money. Regular cleaning and upkeep ensure your microscope remains dependable. Keep the lenses clean, inspect the moving parts, and guard against fungus.
Avoid common mistakes and use these steps for ongoing care.
FAQ
You might still have questions about microscope care. Let’s clear up a few common ones so you can keep your microscope in great shape.
How often should you clean your microscope?
You should clean your microscope after every use. Wipe the lenses and cover it. This keeps dust and oil away.
What should you do if your microscope image stays blurry?
First, check the focus knobs and clean the lenses. If the image stays blurry, look for more repair information or ask a professional.
Can you repair a microscope at home?
You can fix simple problems like cleaning or adjusting parts. For complex issues, you should contact a technician. Always follow safe steps when you repair a microscope.

