Are you struggling to use a microscope? You’re not alone! Many students find themselves unsure of where to begin when faced with this powerful tool. But fear not, because in this definitive guide, we will show you step-by-step how to use a microscope effectively.
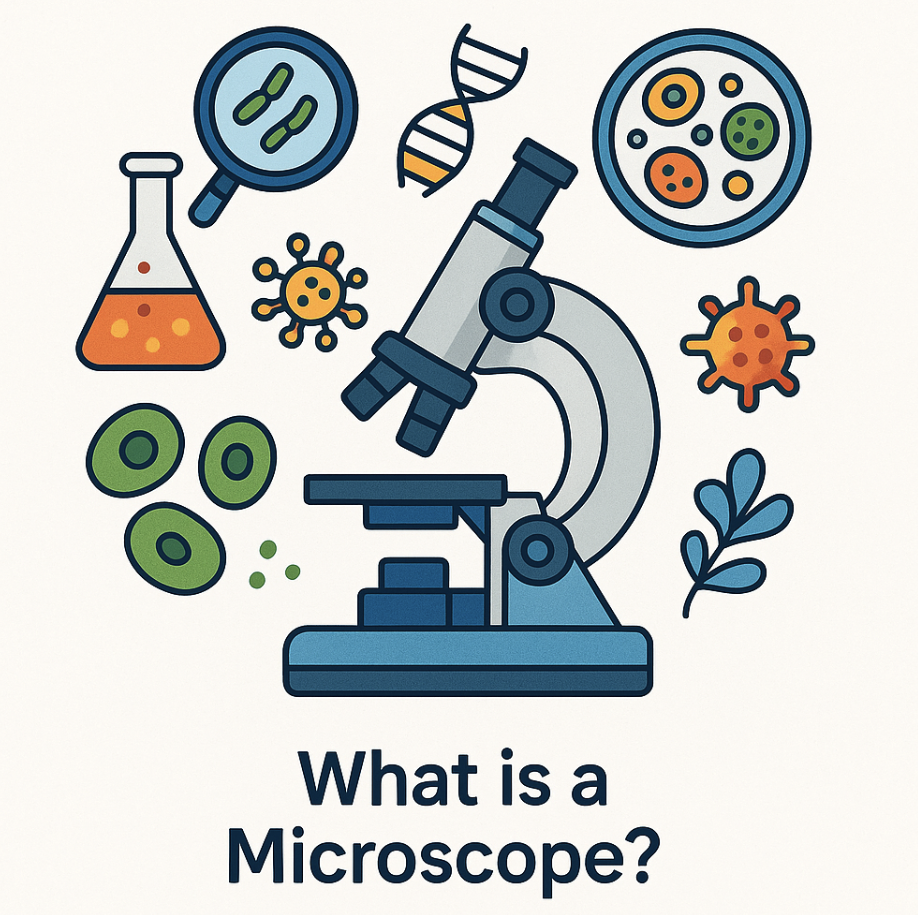
Did you know that microscopes are essential for exploring the tiny world around us? From examining cells to identifying microorganisms, they open up a whole new realm of scientific discovery.
So if you’re ready to unlock the secrets hidden in every slide, keep reading and become a master of microscopy!
Key Takeaway
| 1. Importance of Microscopes |
| Learning how to use a microscope is crucial for observing tiny entities such as cells and germs, fostering an interest in science. |
| 2. Parts of the Microscope |
| Familiarize yourself with key parts: eyepiece, body tube, nosepiece, stage, and focusing knobs. |
| 3. Types of Microscopes |
| Understand different types: light microscopes (cells and organisms), compound microscopes (scientific research, medical labs), stereo microscopes (3D view of larger objects). |
| 4. Setting Up the Microscope |
| Properly set up on a stable surface, adjust focus using knobs, and choose the right objective lens for desired magnification. |
| 5. Slide Preparation |
| Prepare slides with clean slides and cover slips. Place specimens using water or mounting medium. Handle slides carefully to prevent damage or contamination. |
| 6. Using a Compound Microscope |
| Follow steps: set up on a flat surface; prepare slide with specimens; focus using coarse and fine adjustment knobs; adjust diaphragm for light control; change magnification with nosepiece rotation. |
| 7. Troubleshooting |
| Address common issues like blurry images or uneven illumination by cleaning lenses/slides or adjusting diaphragm/light intensity. Seek help if needed from a teacher/supervisor. |
| 8. Advanced Techniques |
| Elevate skills with techniques like drawing observations next to the microscope and making wet mounts to observe living organisms. Patience is key as these skills require practice. |
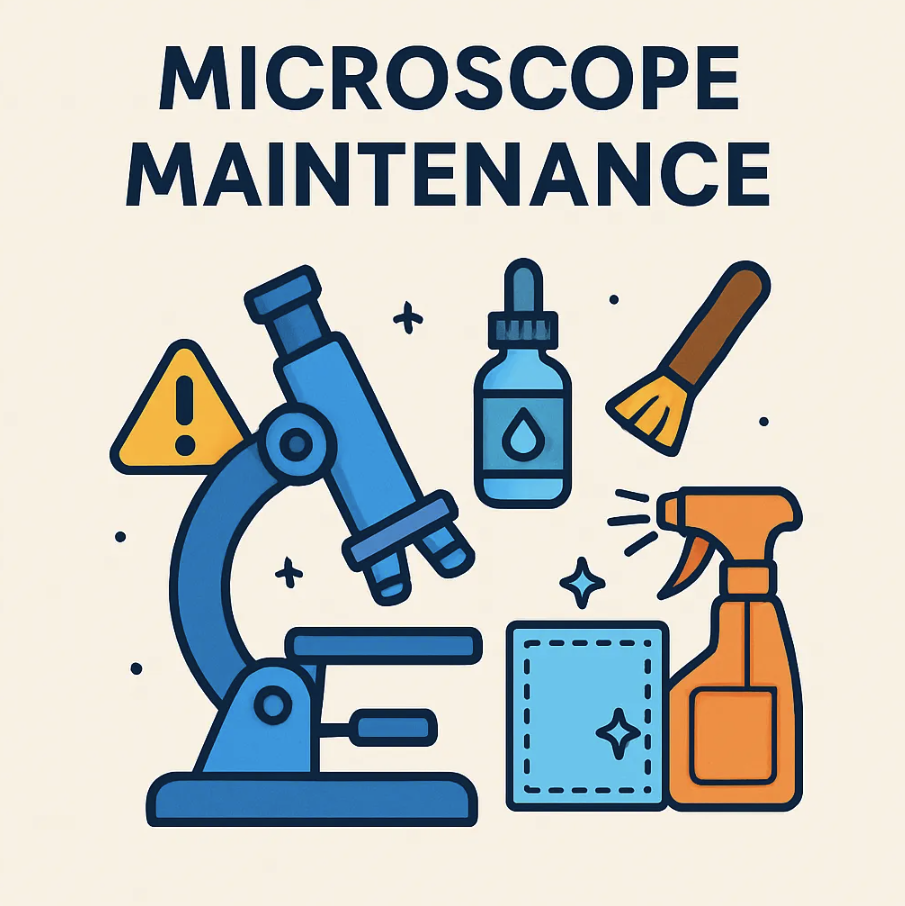
| 9. Microscope Handling and Maintenance |
| Safely handle the microscope by supporting its weight with both hands, avoiding smudging/scratching lenses. Clean gently with a soft brush/lens cleaner solution. Store properly when not in use. |
Why learning to use a microscope is important
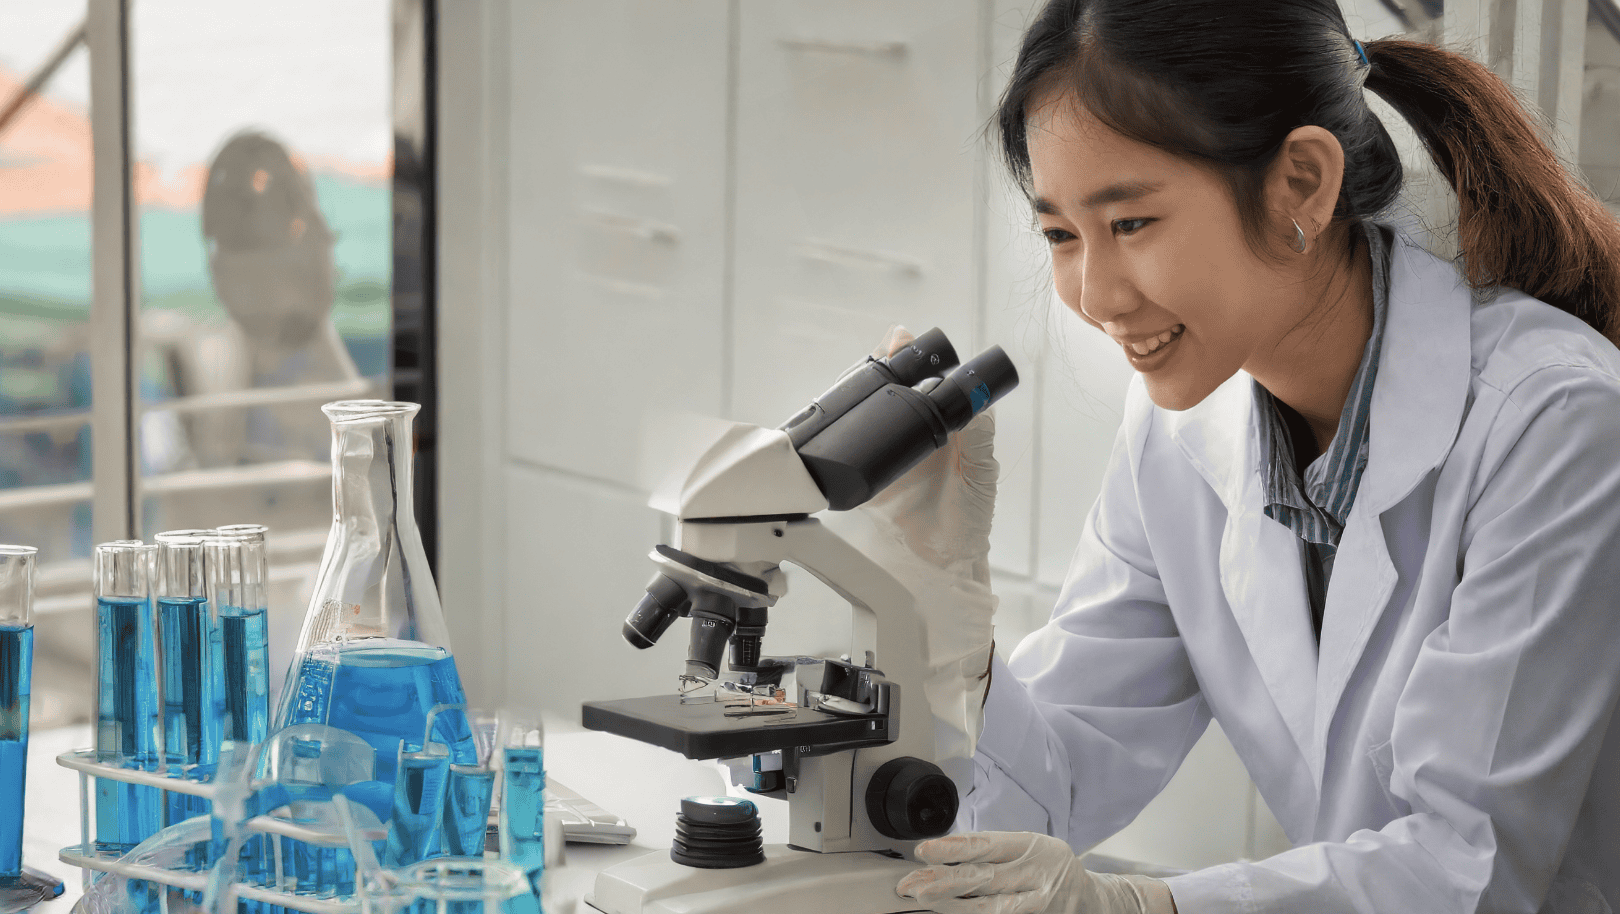
Learning to use a microscope is crucial. It lets you see tiny things like cells and germs that you wouldn’t be able to see with the naked eye. This skill is essential in many scientific careers – doctors use it to diagnose illnesses, for example. But learning to use one isn’t just for future medical professionals. Kids can have a blast exploring a microscopic world! Developing this skill early on will give you a fresh perspective and might even spark a lifelong interest in science.
Getting Familiarized with Your Microscope
To use a microscope effectively, it is crucial to become familiar with its various parts and understand the different types of microscopes available.
Familiarizing yourself with the parts of the microscope
Every microscope has parts you need to know about. The eyepiece is on top. You look through it to see small things bigger. Under the eyepiece, there’s a tube called the body tube. It leads down to the nosepiece which holds many lenses.
The stage sits under the nosepiece and lenses. That’s where you put what you want to see magnified, like a slide with an image on it. To bring what’s on the stage into focus, use knobs found at the side of your microscope.
Understanding the different types of microscopes
There are different types of microscopes that you can use for various purposes. The most common type is the light microscope, which uses visible light to magnify objects. It’s great for viewing cells and small organisms.
Another type is the compound microscope, which has multiple lenses to provide high magnification. This is often used in scientific research and medical labs. Finally, there’s the stereo microscope, also known as a dissecting microscope, which provides a 3D view of larger objects like insects or rocks. Each type has its own strengths and limitations, so it’s important to choose the right one based on what you want to study.
Preparing the Microscope and Slides
To properly set up your microscope, begin by familiarizing yourself with its different parts. Then, follow the proper steps for preparing slides to ensure accurate observations and clear images.
Properly setting up the microscope
To use a microscope, it’s important to set it up correctly. Start by placing the microscope on a stable surface and make sure it is clean. Then, locate the eyepiece and adjust its position for your comfort.
Next, use the adjustment knob to bring the stage (where you place the slide) into focus. Ensure that there is enough light by adjusting the illumination source. Finally, choose the objective lens with the desired magnification power. By properly setting up your microscope, you’ll be ready to explore the fascinating world of tiny organisms and objects!
Tips for preparing slides
To prepare slides for your microscope, start by gathering the necessary materials: a clean slide and cover slip, the specimen you want to observe, and any staining agents if needed.
Place a small drop of water or mounting medium on the center of the slide. Then, carefully place your specimen onto the drop using tweezers or a pipette. Next, gently lower a cover slip over the specimen at a slight angle to avoid trapping air bubbles. Slowly lower it until it touches one edge of the drop, then let it fall into place without pushing down forcefully. If using staining agents, follow the instructions provided and apply them before placing the cover slip.
Remember to handle your slides with care to prevent damage or contamination. Keep them clean by wiping away any excess liquid or debris using lens paper or a lint-free cloth. Store them in labeled slide boxes or containers when not in use.
Step-by-Step Guide on How to Use a Compound Microscope
To use a compound microscope, start by setting it up on a sturdy and level surface. Then, prepare your slide by placing the specimen on it and securing it with a coverslip. Next, adjust the focus using the coarse adjustment knob to bring the image into view.
Fine-tune the focus using the fine adjustment knob for clear details. Finally, adjust the diaphragm and magnification settings to optimize your observation.
Step 1: Setting up the microscope
To start using a microscope, you need to set it up correctly. Begin by placing the base on a flat surface and ensuring that it is stable. Then, attach the arm of the microscope to the base securely.
Next, locate the eyepiece and insert it into the tube at the top of the microscope. Make sure it fits tightly but can still be adjusted if needed. Finally, position the objective lenses on the nosepiece so that they are ready for use when magnifying your specimen. Take your time with this step as proper setup is crucial for obtaining clear images during observation.
Step 2: Preparing the slide
To prepare the slide for your microscope, start by gathering all the materials you’ll need: a clean glass slide, a coverslip, and the specimen you want to observe. Place the specimen on the center of the glass slide.
Then, carefully place one edge of the coverslip against the specimen at a 45-degree angle. Gently lower it onto the slide to avoid trapping air bubbles. Make sure there are no fingerprints or smudges on either side of the coverslip or slide that might interfere with your observation. Now your slide is ready to be placed on the microscope stage for examination!
Step 3: Focusing the microscope
To focus your microscope, start by placing the slide on the stage and securing it with the clips. Then, use the coarse adjustment knob to move the objective lenses away from the slide.
Look through the eyepiece and turn on the light source if needed. Slowly turn the coarse adjustment knob in a clockwise direction until you see a blurry image of your specimen. Next, use the fine adjustment knob to carefully bring your specimen into sharp focus. Remember to adjust both knobs while looking through the eyepiece until you achieve clear magnified view of your sample. Take your time during this step to ensure accurate focusing for detailed observations.
Step 4: Adjusting the diaphragm and magnification
To adjust the diaphragm on your microscope, you can use a knob usually located under the stage. Turning this knob will open or close the diaphragm, which controls the amount of light that passes through the slide. You may need to adjust it depending on how much light is needed for your observation.
To change the magnification, you can rotate the nosepiece until you reach your desired objective lens. Each objective lens has a different level of magnification, so switching lenses will allow you to see different levels of detail in your sample.
Advanced Techniques and Tips for Using a Microscope
In this section, we will provide troubleshooting tips for common issues that may arise while using a microscope. We will also explore techniques for drawing and making wet mounts, as well as guidelines for safely handling and cleaning your microscope.
Troubleshooting common issues
If you encounter any issues while using a microscope, don’t worry – it’s common and easily fixable! One common issue is when the image appears blurry. In this case, check if the lens or slide is dirty and clean them if needed.
Another issue could be uneven illumination, which can be solved by adjusting the diaphragm or light intensity. If you still have trouble, make sure the slide is properly centered on the stage and try refocusing. Lastly, if nothing seems to work, ask for help from your teacher or supervisor who can guide you through troubleshooting steps specific to your microscope model.
Remember that practice makes perfect and with time, you’ll become more confident in identifying and solving any issues that arise during microscopy sessions.
Techniques for drawing and making wet mounts
Once you have mastered the basic steps of using a microscope, you can explore advanced techniques like drawing and making wet mounts. Drawing is a great way to record your observations and share them with others.
To do this, place a piece of paper next to your microscope and carefully sketch what you see through the eyepiece. Remember to label important details! Making wet mounts allows you to observe living organisms or specimens in their natural state. Start by placing a drop of water on a clean slide. Then, gently transfer your specimen into the water using tweezers or a pipette.
Carefully lower a cover slip onto the specimen, being mindful not to introduce air bubbles. This creates a sealed chamber where you can observe the specimen under the microscope.
How to safely handle and clean your microscope
To ensure the longevity and performance of your microscope, it is important to handle and clean it safely. When handling the microscope, always use both hands to support its weight and avoid dropping or banging it.
Remember to keep your fingers away from the lenses and objective to prevent smudging or scratching them. To clean the microscope, start by using a soft brush or air blower to remove any dust or debris from the lenses and other surfaces. Then, lightly dampen a lens cleaning cloth with lens cleaning solution (never use water or harsh chemicals) and gently wipe the lenses in a circular motion from the center outward.
This definitive guide provides step-by-step instructions on how to use a microscope. By familiarizing yourself with its parts and preparing slides properly, you can start exploring the fascinating world of tiny organisms and structures.
Remember to adjust the focus, diaphragm, and magnification for clear images. If you encounter any issues, troubleshoot using the provided tips and techniques. Lastly, be sure to handle and clean your microscope safely for long-lasting use. With practice and patience, you’ll become a skilled microscopist in no time! For additional resources on microscopy, Microscopes for Schools offers more in-depth information and guidance.
Happy exploring!
FAQs
1. What is the definitive guide on how to use a microscope?
The definitive guide on how to use a microscope gives step-by-step instructions for using microscopy. It also includes tips for focusing a microscope, staining a specimen and basics of microscopy.
2. How do I properly use a microscope?
Proper use of a microscope involves understanding the diagram of microscope parts, focusing with lenses, placing slides and adjusting illumination. Cleaning and caring for your lab equipment also ensures its long life.
3. Can I stain specimens using my own compound microscope?
Yes! You can stain specimens for microscopic viewing by following detailed procedures in our guide that focus on staining techniques and capturing high-resolution images through the lens.
4. How does magnification work on microscopes?
Microscope magnification depends upon the lens being used. Each part plays an important role like adjusting focus or resolving detail-rich images during scientific research.
5.What’s needed to keep my microscope working well over time?
Regular observation helps in maintaining it well; always clean your lenses gently after usage and store under dust-free covers when not in use.