Microscopes are the unsung heroes in laboratories, classrooms, and even in coin-collecting circles. To keep these mighty instruments performing at their peak, regular lens maintenance is non-negotiable. Proper cleaning of microscope lenses ensures accurate and clear imaging and prevents any potential damage caused by dirt or debris.
In this article, we will go through a step-by-step guide to help you maintain the clarity and longevity of your microscope lens.
But first, let’s identify and understand the type of microscope lens.
Types of Lenses: Eyepiece and Objective
Microscopes typically feature two main types of lenses:
Eyepiece Lenses (Ocular Lenses)
The eyepiece lenses are the parts you look through at the top of the microscope. They usually have a lower magnification power, typically ranging from 10x to 15x. These lenses are designed to further magnify the image created by the objective lens. Often, they are equipped with a reticle (a small measuring scale) to help gauge the size of the specimen being observed.
The eyepiece lens, also known as the ocular lens, is the part you look through at the top of the microscope. It typically has a magnification power of 10x or 15x. Its job is to further magnify the image created by the objective lens, giving you a close-up view of your specimen.
- Magnification Power: Typically 10x or 15x
- Function: Further magnifies the image produced by the objective lens
- Placement: Located at the top of the microscope
Objective Lenses
The objective lens is closer to your specimen and does most of the heavy lifting when it comes to magnification. These lenses come in varying powers—4x, 10x, 40x, and even 100x for high-powered work like oil immersion microscopy.
Objective lenses can be categorized into different types, including:
- Achromatic Objectives: Designed to correct for color imperfections, making them ideal for standard laboratory use.
- Apochromatic Objectives: Offer higher correction for color and spherical aberrations, providing clearer images.
- Plan Objectives: Ensure that the entire field of view is in focus, beneficial for imaging larger specimens.
Objective lenses are essential for capturing fine details. For example, if you’re interested in seeing how different types of microscopes perform with various objective lenses, our Carson MicroBrite Plus Review might be just what you need. Alternatively, if you’re considering a handheld digital microscope, our comprehensive review on the Dino Lite Pro AM4113T could provide valuable insights.
Microscopes are fascinating tools that open up the hidden world of tiny details. To get the best out of your microscope, it helps to know a bit about its two main lenses: the eyepiece lens and the objective lens.
For an in-depth look at different types of microscopes and their eyepieces, check out our Definitive Guide on How to Use a Microscope.
The Dynamic Duo
Together, these lenses make up a powerful team:
- The objective lens first captures and magnifies your specimen.
- The eyepiece lens then enlarges this image so you can see every minute detail.
Understanding how these lenses work can vastly improve your microscopy experience.
Having well-maintained lenses ensures that these powerful tools function at their best.
How Often Should You Clean Your Microscope Lens?
Knowing when to clean your microscope lens is crucial for maintaining optimal performance without risking damage. The key here: avoid excessive cleaning. Over-cleaning can lead to scratches and other damages.
Guidelines for Cleaning
- Visible dirtiness: If you notice visible dirt, smudges, or fingerprints on the lens, it’s time to clean.
- Blurred images: When images appear blurry despite proper focusing, dirty lenses might be the culprit. However, there are other possible reasons for not seeing a clear image, so ensure to check all aspects.
- Regular maintenance: Periodic cleaning after extensive use helps maintain clarity. You should also follow some basic care guidelines for your microscope.
Risks of Over-Cleaning
Cleaning too often or using harsh methods can scratch the delicate surfaces of your lenses. Always handle with care and use appropriate tools as per the cleaning instructions provided by the manufacturer.
In addition to cleaning, understanding the different parts of a microscope and their functions can significantly enhance your usage experience. If you’re considering acquiring a new microscope, our comprehensive Buying Guide for Microscopes provides essential tips on selecting the best one that fits your budget and requirements.
Preparing for the Cleaning Process
Before diving into the cleaning process, it’s essential to gather the right tools and take necessary precautions. Using appropriate materials ensures that your microscope lenses remain scratch-free and crystal clear.
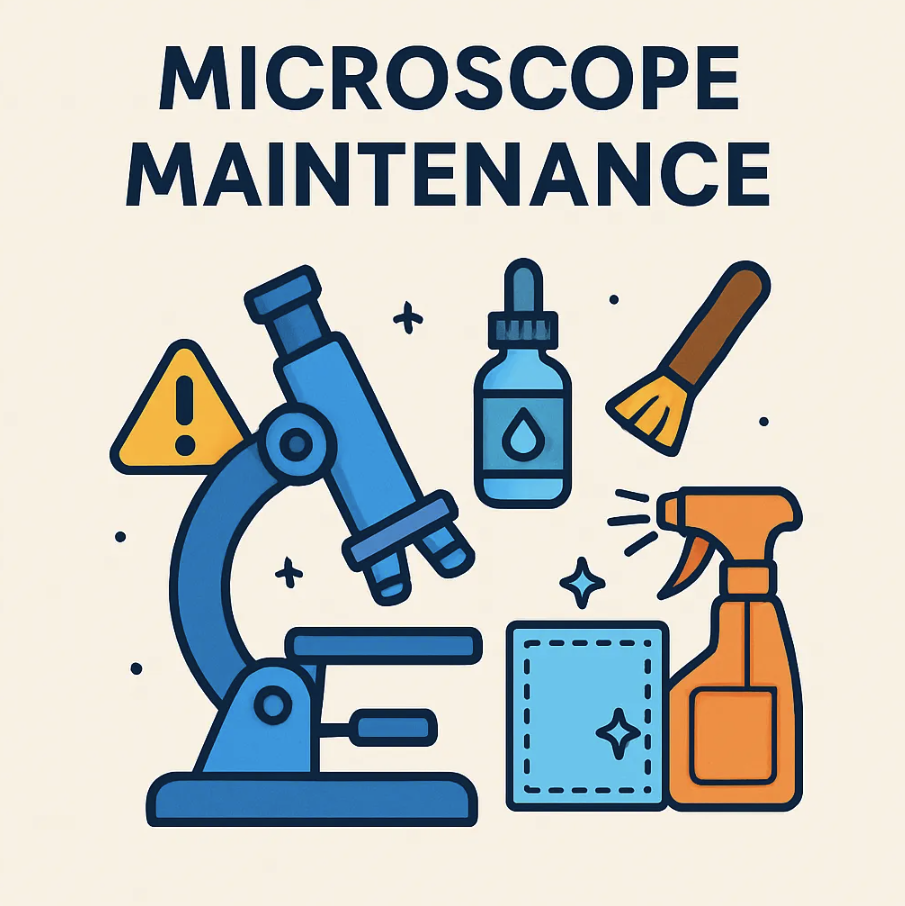
Essential Items Needed for Cleaning
A well-prepared cleaning kit is your best ally. Here’s what you’ll need:
- Squeeze Bulb: Perfect for gently blowing away loose dust and debris.
- Camel Hair Brush: Soft enough to sweep particles off without scratching the glass.
- Microfiber Cloth: Ideal for wiping smudges without leaving lint or scratches.
- Lens Cleaning Solution: A specialized solution to tackle stubborn spots without damaging the lens coating.
- Lens Paper: For a final polish to ensure a spotless finish.
For those looking for specific examples, brands like Zeiss and Nikon offer comprehensive cleaning kits tailored for microscope lenses.
Safety Measures to Take Before Starting the Cleaning Process
Safety first! Here are some precautions:
- Clean Hands: Always start with clean hands to avoid transferring oils or dirt onto the lenses. Wash your hands thoroughly with soap and water, then dry them completely before handling any part of the microscope. This simple step can significantly reduce the risk of introducing contaminants that could affect your lens clarity.
- Dust-Free Environment: Clean in a controlled environment free from excess dust to prevent additional contamination. If possible, choose a workspace with minimal air movement and consider using an air purifier to reduce airborne particles. A clean, clutter-free workspace can greatly enhance your cleaning process’s effectiveness.
- Gentle Pressure: Apply minimal pressure when cleaning to prevent scratching or damaging the lens surface. Using excessive force can lead to irreversible damage, including scratches that impair visibility. Hold the lens gently and use light, circular motions with your cleaning tools to ensure a thorough but gentle clean.
Keep these tips in mind, and you’re well on your way to maintaining a pristine microscope.
Step-by-Step Instructions for Cleaning Microscope Lenses
Cleaning your microscope lenses is an art. It requires precision, the right tools, and a bit of patience.
Let’s get into the nitty-gritty of it.
[1] Dust Removal
Use a soft brush for stubborn dust particles
When cleaning a microscope lens, one of the essential steps is removing dust particles that can obstruct your view and affect the quality of your observations. While an air blower effectively removes loose dust, some particles may cling to the lens due to static electricity or moisture. In such cases, using a soft brush becomes crucial.
Why Use a Soft Brush?
- Gentle on Surfaces: A soft brush is designed to be non-abrasive, meaning it won’t scratch or damage delicate surfaces like microscope lenses.
- Effective at Reaching Tight Spaces: The bristles can easily reach corners and crevices where dust may accumulate.
- Static Reduction: Many soft brushes are made from materials that help reduce static electricity, minimizing the chance of attracting more dust while you clean.
Choosing the Right Brush
- Material: Look for brushes with natural bristles (like squirrel hair) or synthetic fibers designed explicitly for optical cleaning. Avoid stiff-bristle brushes as they can cause scratches.
- Size: Select a brush size appropriate for your microscope’s lenses; smaller brushes work well for eyepieces and objective lenses.
Practical Steps for Dust Removal with a Soft Brush
- Preparation:
- Ensure you have gathered all necessary supplies, including your soft brush, before starting the cleaning process.
- Initial Inspection:
- Before brushing, inspect the lens under good lighting to identify areas with stubborn dust particles.
- Dusting Technique:
- Hold the microscope securely in place.
- Gently sweep the soft brush across the surface of the lens in short strokes.
- Example: If you’re dealing with stubborn dust on an eyepiece, angle your brush slightly so that you can get into any grooves without applying too much pressure.
- Movement Pattern:
- Use circular motions or back-and-forth strokes depending on what feels most effective without risking contact with other components.
- Example: For larger objective lenses, start from one edge and move toward another edge rather than sweeping across its center repeatedly which could push dirt around instead of lifting it away.
- Use circular motions or back-and-forth strokes depending on what feels most effective without risking contact with other components.
- Check Your Progress:
- After brushing, take another look at the lens under light to see if any remaining spots or smudges need attention.
- Repeat if Necessary:
- If stubborn particles remain after initial brushing, repeat this process gently until satisfied with cleanliness but avoid excessive handling which might introduce new debris onto surfaces.
- Final Touches:
- Once you’ve removed all visible dust using your soft brush technique, proceed to use other methods (such as applying cleaning solution) if needed for deeper cleaning tasks later on.
By incorporating these techniques into your routine for caring for microscopes, especially when dealing with stubborn dust, you will ensure optimal visibility through clean optics and prolong their lifespan.
[2] Use a Proper Cleaning Solution
When it comes to cleaning microscope lenses, the cleaning solution you use is crucial for maintaining the quality and clarity of your optics. Using the right solution can prevent damage to the lens coating and ensure that your observations are clear and accurate.
Prepare or Purchase Lens Cleaning Solution
You have two main options when it comes to lens cleaning solutions:
- Purchase a Commercial Lens Cleaner: Many companies offer specialized lens cleaning solutions designed specifically for optical equipment like microscopes. These cleaners are formulated to be safe on coatings found on microscope lenses. Look for products labeled as “lens cleaner” or “optical cleaner.”
- Prepare Your Own Solution: If you prefer a DIY approach, you can create a simple lens-cleaning solution using distilled water and isopropyl alcohol (IPA). A common ratio is:
- 50% Distilled Water
- 50% Isopropyl Alcohol (at least 70%)
This mixture effectively removes oils and dirt without leaving streaks behind.
Avoid Using Household Cleaners
While it might be tempting to reach for household cleaners such as window sprays or all-purpose cleaners, it’s essential to avoid these products when cleaning microscope lenses because they may contain chemicals that can damage the delicate coatings on your lenses. For example:
- Ammonia-Based Cleaners: Often found in glass cleaners, ammonia can strip away protective coatings.
- Surfactants: Common in multi-surface cleaners, these substances can leave residues that interfere with light transmission through the lens.
Instead, always stick with dedicated optical solutions or your homemade mixture mentioned above.
[3] Cleaning Process
Cleaning the lenses of a microscope is a crucial step in maintaining the instrument’s functionality and ensuring clear observations. This process requires care and precision to avoid damaging delicate components.
Below is an extensive overview of how to effectively clean microscope lenses.
-
Apply Cleaning Solution
- Before starting, make sure you have a lens cleaning solution that is specifically designed for optical equipment. Avoid using household cleaners as they can leave residues or damage coatings on the lens.
- Example: If you purchased a commercial lens cleaner, read the label to confirm it’s suitable for microscopes.
-
Use Proper Materials
- Use either lens paper or cotton swabs for applying the cleaning solution. These materials are gentle enough not to scratch the glass but effective at picking up dirt and oils.
- Example: A soft microfiber cloth can also be used if it’s specifically designated for optics.
-
Application Technique
- Apply only a small amount of cleaning solution directly onto your lens paper or cotton swab—just enough to dampen it without soaking it.
- Avoid putting any liquid directly onto the lens itself, as this could seep into areas where moisture should not go.
-
Wiping Motion
- Gently wipe the lens in a circular motion starting from the center and moving outward towards the edges. This technique helps lift dirt away rather than pushing it across the surface.
- It’s important not to press too hard; let your wiping motion do most of the work.
- Example: Imagine you’re polishing an old piece of jewelry; you wouldn’t scrub hard but instead would gently buff it with smooth motions.
- Gently wipe the lens in a circular motion starting from the center and moving outward towards the edges. This technique helps lift dirt away rather than pushing it across the surface.
-
Using Clean Parts
- After one pass, check your cleaning material (lens paper/cotton swab). If it’s dirty, switch to a fresh part before continuing.
- Repeating with dirty materials can lead to scratching or smearing on your lenses.
- After one pass, check your cleaning material (lens paper/cotton swab). If it’s dirty, switch to a fresh part before continuing.
-
Final Touches
- Once you’ve cleaned with one side, inspect your work by looking at light reflections off the surface of the lens under good lighting conditions.
- If there are still spots or smudges visible, repeat using another clean section until satisfied with clarity.
- Once you’ve cleaned with one side, inspect your work by looking at light reflections off the surface of the lens under good lighting conditions.
-
Polishing Off Residue
- For any remaining streaks after initial cleaning, use dry lens paper for polishing:
- Lightly buff in circular motions again until all residue appears removed.
- Ensure no dust or particles remain that could interfere during microscopy usage.
- For any remaining streaks after initial cleaning, use dry lens paper for polishing:
[4] Final Check
After thoroughly cleaning the microscope lens, perform a final check to ensure it is free from spots or smudges.
This step is important for maintaining optimal viewing clarity and ensuring accurate observations during your microscopy work.
Inspect the Lens for Any Remaining Spots or Smudges
- Visual Inspection: Hold the microscope lens up to a light source at an angle. This will help you see any remaining dirt, dust, or streaks that may not be visible under normal lighting conditions.
- Use of Magnification: If available, use a magnifying glass to closely inspect the surface of the lens. Look for imperfections such as fingerprints, water spots, or residues from cleaning solutions.
Example: Imagine you’ve just finished wiping down your microscope’s objective lens. By holding it against sunlight or a bright lamp, you’ll notice if any lingering streaks could interfere with your view when looking through it later.
Use a Dry Lens Paper for a Final Polish
- Choosing the Right Material: Select clean and dry lens paper specifically designed for optical surfaces. Avoid using tissues or cloths that might leave lint behind.
- Gentle Polishing Motion: Using circular motions similar to how you cleaned initially, gently polish the lens again with dry lens paper. This helps in removing any last traces of moisture and ensures maximum clarity.
Example: After inspecting your objective lens and finding some minor streaks left over from cleaning solution residue, take out fresh dry lens paper and lightly buff those areas in circles until they shine without leaving new marks behind.
Performing a thorough final check on your microscope lenses ensures they are completely clean before use. Inspecting them under good lighting conditions and polishing them with appropriate materials like dry lens paper, can enhance both their performance and longevity while providing clear images during observation tasks.
The above steps should keep your microscope performing at its best, whether you’re using it for fun or serious research. For an in-depth look at specific models like the My First Lab Duo-Scope Microscope
Maintenance
Maintaining your microscope lens is as important as cleaning it. A well-maintained lens ensures clear, sharp images and extends the life of your microscope. Here are some key practices for effective microscope lens maintenance.
Store the Microscope with a Dust Cover
One simple yet highly effective way to keep your microscope lenses in top shape is by using a dust cover:
- Dust covers protect against particles that can settle on the lenses when the microscope is not in use.
- Always cover the microscope after every session, even if you plan to use it again soon.
Think of it as tucking your microscope into bed – it deserves a snug, dust-free environment!
Regularly Clean the Lens to Maintain Clarity
Routine cleaning plays a vital role in maintaining clarity. Here’s what you need to keep in mind:
- Make it a habit to inspect and clean the lenses regularly, ideally before and after each use. This will help remove any dust or debris that may have settled on the lens during storage or use.
- Focus on gently removing any accumulated dust or smudges to prevent build-up. Use a clean, lint-free lens cloth or lens paper specifically designed for delicate optics. Avoid using tissues or rough materials that can scratch the lens surface.
Remember, it’s like brushing your teeth – regular care prevents major problems down the road.
Additional Tips for Longevity
To really ensure your microscope stays in pristine condition:
- Handle with care: Always handle your microscope gently, especially when transporting it.
- Environment matters: Store it in a cool, dry place to avoid moisture damage.
You’ll be amazed at how these small steps can make a big difference. By following these maintenance tips, you’re investing in the longevity of your equipment and ensuring optimal performance for all your microscopic adventures.
Happy observing!