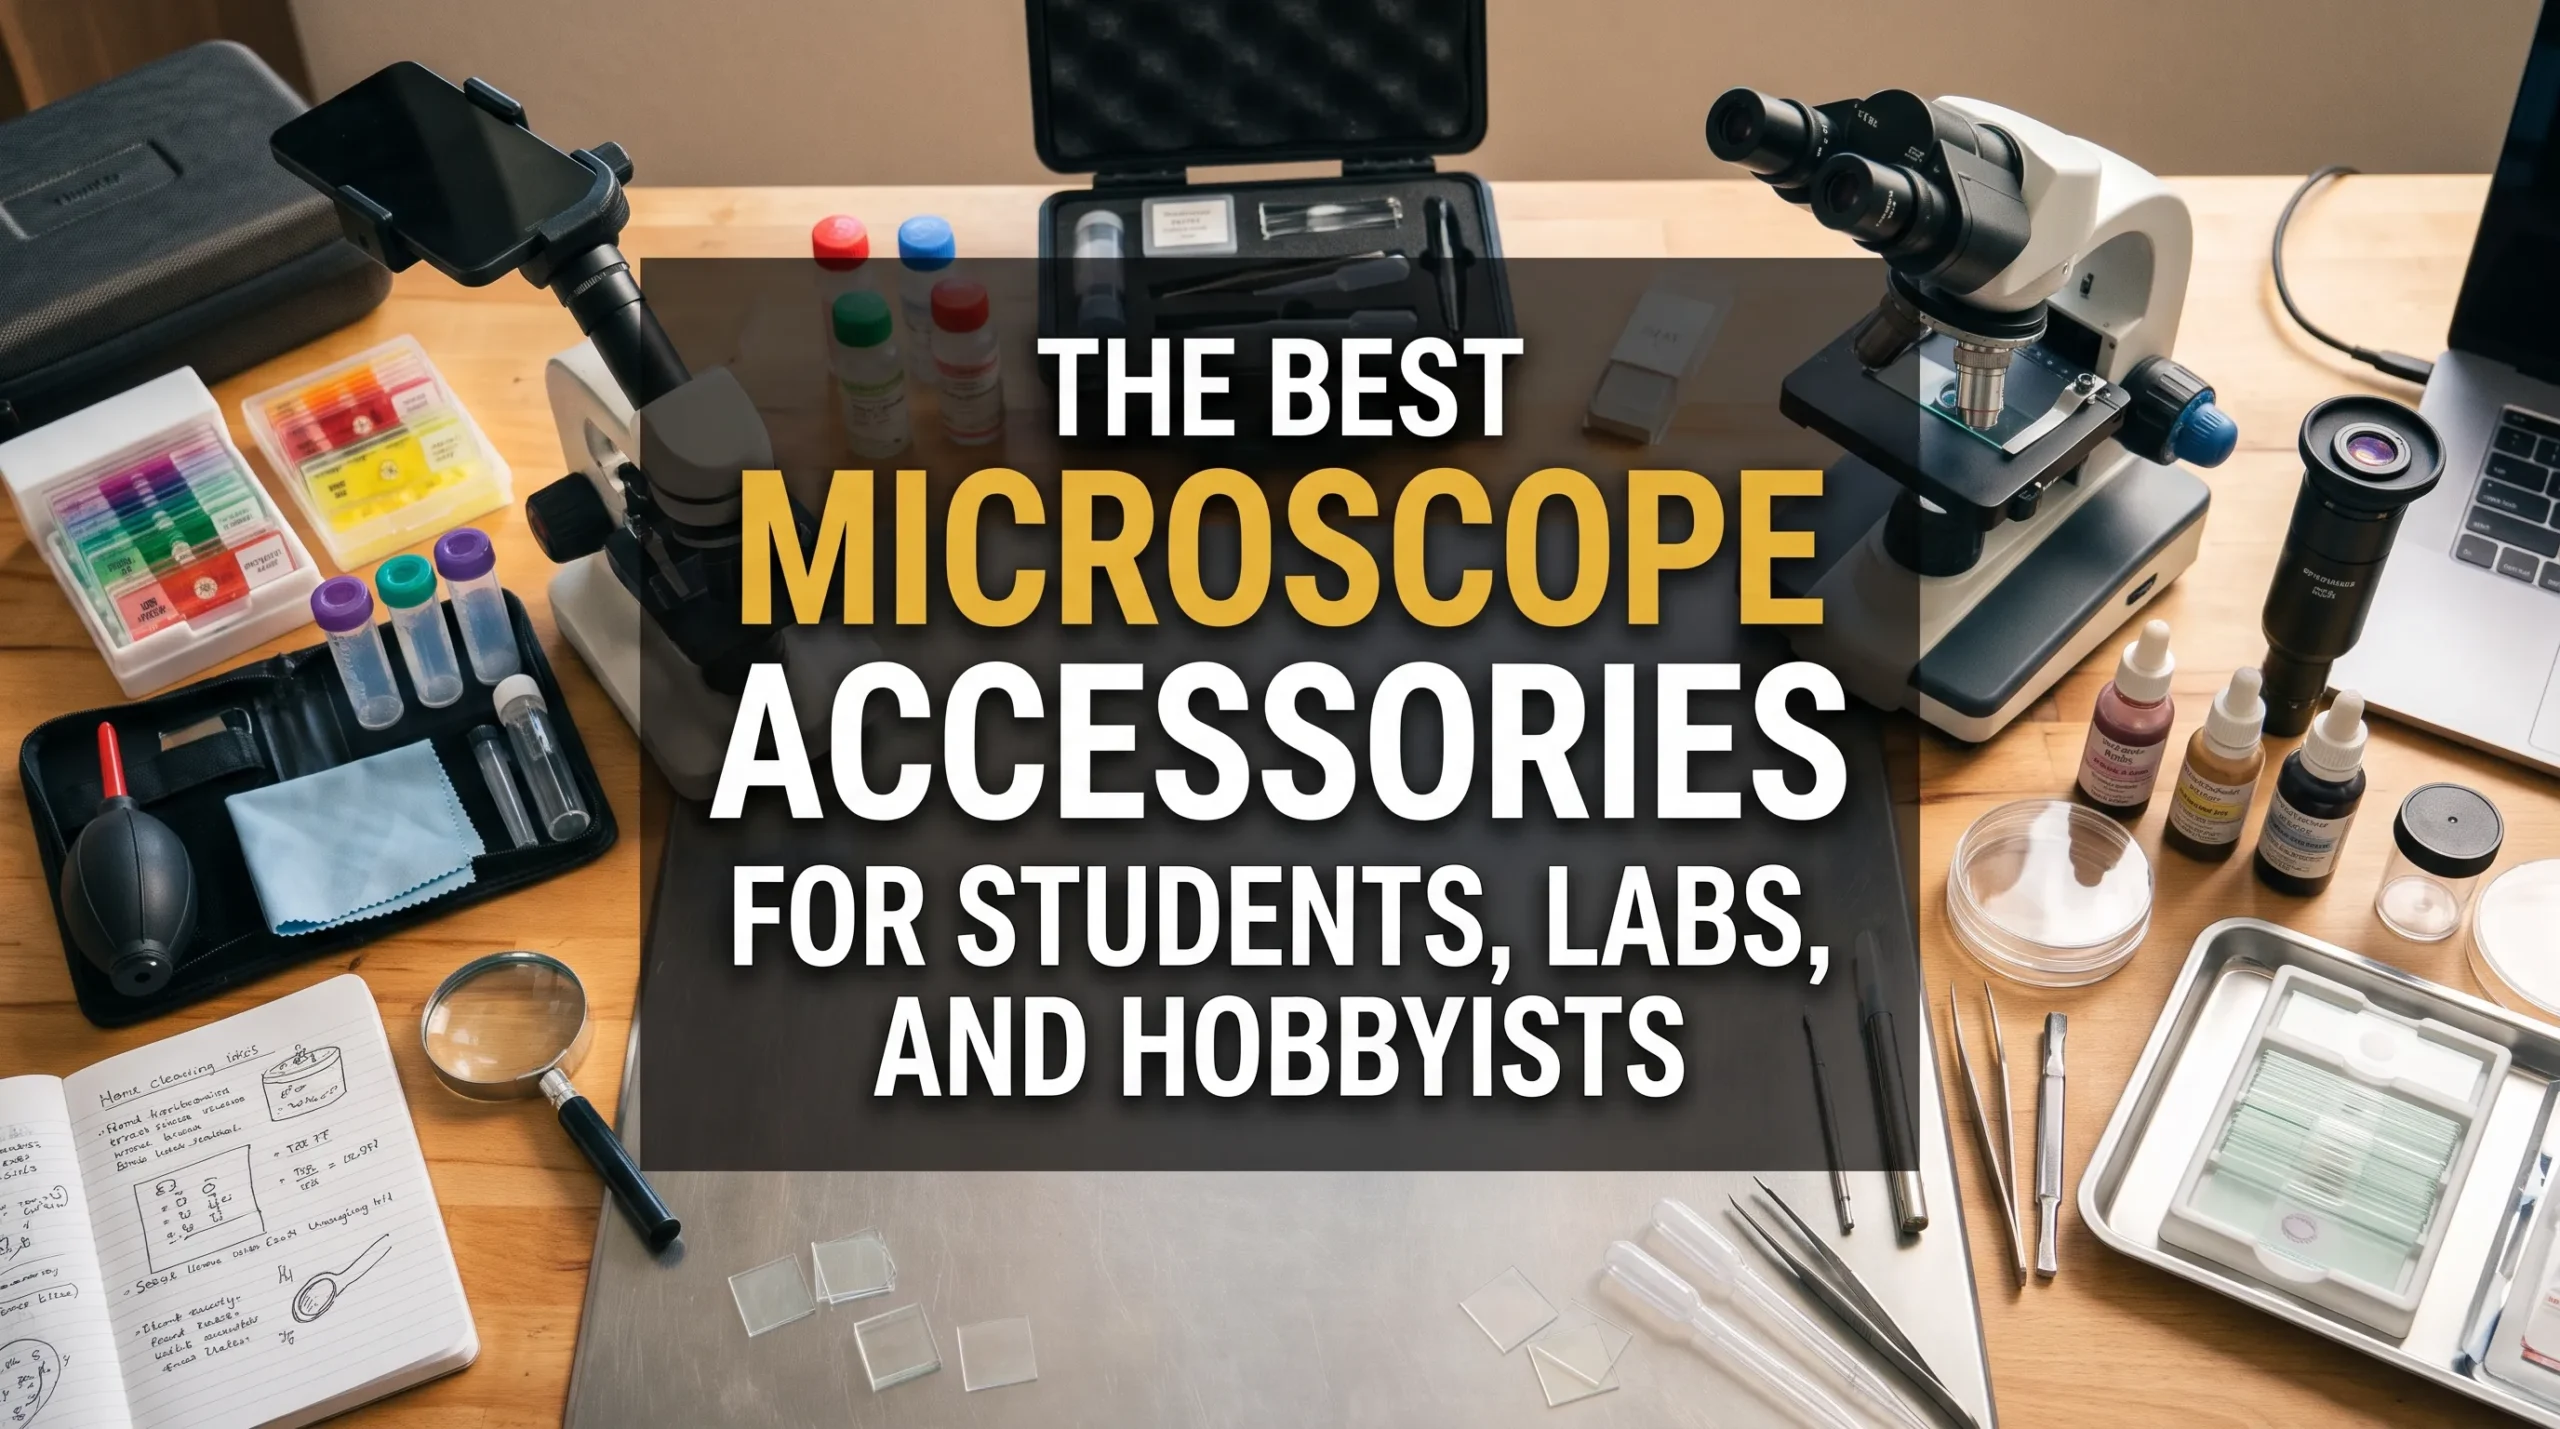
An unplanned microscope-accessory purchase can leave a drawer full of adapters whose chief scientific contribution is collecting dust. Accessories should solve a defined workflow problem: seeing a specimen clearly, preparing it consistently, measuring it reliably, documenting it repeatably, or keeping the instrument functional.
The most valuable accessory is the one that removes the limiting step in the observation, not the one with the flashiest product photo.
This guidance focuses on compound light microscopes, while noting where stereo, digital, and specialty systems differ. The buying rule is straightforward: buy microscope accessories according to the task and the microscope’s optical and mechanical constraints, not according to a generic checklist or a promise of more magnification.
Key Takeaway: Build a Purpose-Driven Accessory Kit
-
Match the accessory to the application, not to a feature list.
-
Confirm mechanical, optical, and software compatibility before ordering.
-
Protect optical quality with suitable sample preparation, illumination, and cleaning practices.
-
Calibrate whenever measurements, scale bars, or comparisons matter.
-
Make image capture repeatable if images will be shared, analyzed, or retained as records.
-
Prioritize sample and illumination basics first, measurement and imaging tools next, specialty add-ons last.
A camera or higher-power objective cannot rescue a dirty lens, a thick specimen, poor illumination, or a badly prepared slide.
|
Need |
First accessory to consider |
Why it matters |
Common buying mistake |
|---|---|---|---|
|
Viewing prepared samples |
Quality slides, cover glass, cleaning supplies |
Supports clear, repeatable observation |
Buying an expensive camera before improving specimens |
|
Improving contrast |
Condenser adjustment, diffuser, filters, or appropriate contrast hardware |
Contrast often reveals more useful structure than magnification |
Treating filters as universal upgrades |
|
Measuring features |
Stage micrometer and calibrated software or reticle |
Makes dimensions defensible |
Assuming a camera scale bar is accurate by default |
|
Recording observations |
Stable phone adapter or microscope camera |
Preserves observations and supports comparison |
Choosing by megapixels alone |
|
Protecting the instrument |
Blower, lens paper, dust cover, appropriate storage |
Reduces avoidable optical and mechanical damage |
Using household tissues or aggressive cleaners |
Compatibility Comes Before the Shopping Cart
Microscope accessories fall into five practical groups:
-
Sample preparation and handling: slides, cover glass, forceps, pipettes, stains, storage boxes, and labels.
-
Illumination and contrast: condensers, filters, polarizers, darkfield stops, phase-contrast components, and replacement light sources.
-
Imaging and documentation: phone adapters, cameras, C-mount adapters, software, and scale-bar workflows.
-
Measurement and calibration: stage micrometers, eyepiece reticles, calibration slides, and image-analysis tools.
-
Protection and maintenance: optical cleaning supplies, dust covers, storage solutions, and spare consumables.
Before purchasing, verify the microscope model; microscope type; camera-port arrangement; eyepiece tube diameter; objective and nosepiece system; stage dimensions; condenser design; illumination type; and software or operating-system requirements. A listing that says “universal” often means “universal after several return shipments.”
|
Microscope type |
Typical accessory priorities |
Compatibility warning |
|---|---|---|
|
Compound light microscope |
Slides, cover glass, condenser accessories, measurement tools, camera adapters |
Objective, eyepiece, condenser, and camera systems may be manufacturer-specific |
|
Stereo microscope |
Specimen dishes, incident-light accessories, stand options, ring lights, cameras |
Working distance and stand geometry matter more than on compound microscopes |
|
Digital microscope |
Software, lighting, positioning stands, calibration targets |
File formats, operating-system support, and built-in optics can limit upgrades |
Magnification is not the same as useful detail. Optical resolution depends heavily on numerical aperture, which describes an objective’s ability to gather light and resolve fine specimen detail. Olympus Life Science explains numerical aperture and its relationship to resolution. A 100x label is not a wizard hat that grants 100 times better information.
Accessories Worth Prioritizing
Prioritize sample handling before optical upgrades
Specimen quality is frequently the limiting factor in routine microscopy. Slides, cover glass, forceps, transfer pipettes, labels, and organized slide storage are unglamorous purchases because they work. They help produce specimens that are thin enough, clean enough, and consistently oriented enough to observe and compare.
For instructional and basic biological work, prepared reference slides can also establish what good preparation and focusing should look like before students work with their own specimens. OpenStax’s microscopy overview provides useful context on light microscopy in microbiology education.
Laboratories should standardize consumables when results must be compared across users or dates. A change in cover-glass thickness, sample volume, staining sequence, or labeling method can create variability that no camera accessory will fix.
Treat illumination and contrast as performance accessories
Even illumination and appropriate contrast usually improve observation more than another increment of magnification. The condenser, aperture diaphragm, specimen thickness, and light-source settings should be reviewed before buying specialty optical components.
Köhler illumination is a technique for achieving controlled, even illumination across the field of view. It supports consistent viewing and imaging by properly aligning the light source, condenser, and field diaphragm. Nikon MicroscopyU’s explanation of Köhler illumination is a practical reference for users whose instruments support the method.
Useful options depend on the specimen:
-
Diffusers can reduce uneven illumination, particularly with some LED systems.
-
Polarizers can reveal birefringent materials such as crystals, minerals, polymers, or certain biological structures.
-
Darkfield accessories can improve visibility of small, unstained objects against a dark background.
-
Phase contrast can help visualize transparent, unstained specimens, but requires matched objectives and condenser components.
-
Color filters may improve contrast for certain brightfield observations, but are not a substitute for correct condenser adjustment.
Fluorescence work requires additional caution. Filter cubes, light sources, objectives, camera sensitivity, and fluorophores operate as a matched system, not as mix-and-match jewelry. ZEISS fluorescence microscopy fundamentals explains the relationship among excitation, emission, and filter sets.
Buy measurement tools when a result must be defensible
Measurements should be calibrated, not estimated from what “looks about right.” A stage micrometer provides a known scale on a slide. An eyepiece reticle can then be calibrated against that known scale for each objective. Image capture requires its own calibration because a scale bar in software must reflect the specific optical and camera configuration used.
The National Institute of Standards and Technology’s SI length resources provide context for traceable length measurement. In practice, microscopy users should document the objective, camera adapter, camera settings where relevant, calibration specimen, date, and software settings.
For image analysis, NIH ImageJ documentation covers tools commonly used to set scale, measure features, and manage image data. Calibrate each magnification and imaging configuration separately. Changing the camera adapter, digital zoom setting, objective, or binning mode can invalidate an earlier calibration.
Choose imaging accessories for reproducibility, not merely sharing
A phone adapter is often sufficient for classroom records, field notes, outreach, and casual documentation. It can be an excellent first imaging accessory if it holds the phone securely and aligns the camera lens with the eyepiece.
Dedicated cameras become more useful when the workflow requires stable mounting, repeatable exposure, software control, metadata, standardized file handling, or calibrated analysis. The correct C-mount adapter and sensor-to-optics match matter more than an impressive megapixel number. A poorly matched adapter may produce vignetting, uneven field coverage, or an image that crops away the useful part of the view.
A practical imaging workflow includes:
-
A stable mount or adapter
-
Controlled illumination and exposure
-
A specimen identifier and date
-
Objective and contrast method recorded with the image
-
Calibration for any image used for measurement
-
Consistent storage and file-naming conventions
Maintenance accessories protect every other investment
Every optical and imaging upgrade depends on clean, undamaged optics. Keep a blower, appropriate lens paper or lint-free optical wipes, manufacturer-approved cleaning materials, and a dust cover near the microscope. Use cleaning fluid sparingly and only when necessary.
Nikon MicroscopyU’s guidance on cleaning microscope optics emphasizes proper handling of optical surfaces. Household paper products, excessive liquid, and routine rubbing can scratch or contaminate lenses. Clean only when needed, begin with loose dust removal, and follow the manufacturer’s instructions for the specific instrument.
|
Accessory category |
Best fit for students |
Best fit for laboratories |
Best fit for hobbyists |
Compatibility check |
When to skip it |
|---|---|---|---|---|---|
|
Slides and cover glass |
Essential |
Essential, preferably standardized |
Essential for prepared specimens |
Cover-glass thickness and application needs |
Only for observation that does not use slides |
|
Phone adapter |
Useful for assignments |
Limited use for controlled documentation |
Strong value for casual records |
Eyepiece diameter and phone-camera alignment |
When stable, calibrated imaging is required |
|
Stage micrometer |
Shared instructional tool |
Strongly recommended for measurements |
Useful for serious documentation |
Works with chosen objectives and capture system |
When no dimensions will be reported |
|
Polarizer set |
Useful for specialized coursework |
Application-dependent |
Valuable for minerals and crystals |
Stage, analyzer, and optical path |
For routine brightfield biology only |
|
Phase contrast |
Usually shared department equipment |
Valuable for suitable live-cell workflows |
Worthwhile only with regular use |
Matched condenser and phase objectives |
For occasional pond-water viewing |
|
Cleaning kit and cover |
Essential |
Essential |
Essential |
Manufacturer cleaning guidance |
Never skip basic protection |
Three Sensible Starting Kits
The right kit varies by task frequency, sample type, and documentation requirements. The goal is to avoid both under-equipping a serious workflow and over-equipping an occasional one.
|
User |
Start with |
Add when needed |
Avoid buying first |
|---|---|---|---|
|
Students |
Slides, cover glass, prepared reference slides, basic cleaning supplies, verified replacement illumination support |
Phone adapter if assignments require images; shared stage micrometer |
Specialty contrast systems without curriculum need |
|
Laboratories |
Validated sample consumables, calibration tools, standardized camera route, documented cleaning supplies |
Ergonomic accessories, automation, specialty contrast hardware |
Consumer camera gear with no validation plan |
|
Hobbyists |
Sample-collection tools, slides, cover glass, storage, cleaning supplies, notebook or digital log |
Phone camera route, polarizers, darkfield hardware for suitable specimens |
Phase contrast or fluorescence systems for rare use |
Ergonomics is a legitimate equipment decision, especially for routine laboratory work. Microscope height, viewing angle, chair adjustment, and positioning affect fatigue and consistency. OSHA’s computer workstation guidance is not microscope-specific, but its general principles on neutral posture and adjustable workstations are useful when evaluating bench arrangements.
Hobbyists should add specialty contrast tools only when their specimens justify them. Buying phase contrast to inspect pond water once a year is an ambitious route to studying the phase of one’s credit-card statement.
When Fewer Accessories Are Better
A basic microscope and careful technique are enough for many educational and observational tasks. Students learning focusing, specimen orientation, depth of field, and simple morphology do not need every available optical enhancement. In those cases, a reliable brightfield microscope, clean slides, sound illumination, and good instruction may outperform a cluttered bench.
Minimalism is good microscopy when it protects the workflow. It becomes false economy when it compromises image quality, safety, measurement, or repeatability.
Smartphone adapters also do not make dedicated cameras obsolete in every setting. They are effective for informal documentation, but controlled laboratory imaging may require repeatable exposure, stable mounting, calibrated scale bars, metadata, and validated software workflows.
Likewise, higher magnification is not automatically the best upgrade. Resolution, numerical aperture, specimen thickness, contrast, and illumination set hard limits on what can be seen. More empty magnification simply produces a larger view of the same unresolved blur.
Evidence, Safety, and Purchase Verification
|
Claim |
Why it matters |
Evidence source |
Practical implication |
|---|---|---|---|
|
Numerical aperture affects resolving ability |
Useful detail depends on more than magnification |
Evaluate objectives and illumination as a system |
|
|
Köhler illumination supports even, controlled illumination |
Uneven lighting can reduce image consistency |
Learn alignment before buying extra lighting accessories |
|
|
Optics need appropriate cleaning procedures |
Improper cleaning can damage or contaminate optical surfaces |
Use approved materials and clean only when needed |
|
|
Measurements require calibration |
Image pixels and reticle marks are not inherently traceable units |
Calibrate each objective and imaging configuration |
|
|
Accessories do not replace biosafety controls |
Sample handling can create exposure risks |
Perform risk assessment and follow institutional procedures |
Microscope accessories do not replace risk assessment, containment procedures, training, or personal protective equipment. Users working with biological samples should consult the CDC’s biosafety resources and, in teaching settings, the American Society for Microbiology’s biosafety guidelines. Sample preparation choices should also reflect the material being handled. Thermo Fisher Scientific’s microscopy sample-preparation resource offers application-specific context for preparing microscopy samples.
Before purchasing an accessory:
-
Identify the exact microscope manufacturer, model, and configuration.
-
Review the manual for port specifications, tube diameters, condenser requirements, and supported accessories.
-
Confirm whether the accessory changes the optical path or requires matched components.
-
Ask the manufacturer or distributor for written compatibility confirmation when the purchase is significant.
-
Check software support, return terms, and warranty implications for cameras and digital accessories.
-
Test measurement calibration and image quality after installation using a repeatable specimen.
Final Thoughts
A modest, compatible, well-maintained setup can outperform a pile of poorly matched upgrades. Audit the three microscopy tasks performed most often, identify the failure point in each one, and buy the single accessory most likely to improve it. The right microscope accessory improves the quality, reliability, or efficiency of an observation; the wrong one merely improves the appearance of the shopping cart.
FAQ
What microscope accessories should I buy first?
Start with accessories that support reliable specimens and clear viewing: quality slides and cover glass, basic handling tools, appropriate optical cleaning supplies, and dependable illumination. Add measurement and imaging tools only when the work requires documented dimensions or repeatable images.
Do I need a microscope camera, or will a phone adapter work?
A phone adapter works well for casual documentation, teaching, field notes, and basic sharing. A dedicated camera is more appropriate when images need consistent exposure, stable mounting, metadata, calibrated measurements, controlled file handling, or routine laboratory use.
How do I know whether an accessory will fit my microscope?
Verify the microscope model, camera-port type, eyepiece tube diameter, objective or adapter thread where applicable, stage and condenser design, and software requirements. Consult the instrument manual and seek manufacturer or distributor confirmation for cameras, contrast systems, and other higher-cost items.
Is more magnification always better?
No. Useful detail depends on resolution, numerical aperture, illumination, contrast, and specimen preparation. As Olympus Life Science notes in its numerical-aperture reference, numerical aperture is central to resolving fine detail. More magnification without sufficient resolution creates empty magnification.
How often should microscope optics be cleaned?
Clean optics only when necessary, such as when dust, fingerprints, or visible contamination affects viewing. Start by removing loose particles with a blower, then follow the instrument manufacturer’s instructions. Nikon MicroscopyU’s cleaning guidance is a useful reference for appropriate optical-cleaning practices.